One night I was busy sewing a quilt for a friend, and I kept knocking off all my tools. I then knocked off my PINS!!! Yep, about 50 pins went falling all over the floor and I sew barefooted. I am thankful I have a magnetic pin holder, so I just run it over the carpet a few times, and I usually get them all. However, by the time I was done quilting that quilt, I was annoyed at my small table and my growing need for tools.
I then did some searching (as always); I looked at tables for sale, and sewing tables at different craft stores. I looked at machines for quilting with bigger area under them to place a quilt, but nothing was going to help me get all the product off my table and out of my way. I then saw, randomly one night, while on pinterest someone had pinned a sewing machine mat. I was so interested in the mat, I then started searching and looking for every idea and option. I just needed something simple, but still wanted to make a cute mat.
Awhile back during a vacation with my MIL, we went to a few shops in the area. I had purchased a few fat quarters of some material and it was by far the best material for this project! I also had some light blue/teal fabrics from my stash and they went GREAT with the other fabrics. I had the fabric, and after a few drawings, I had a design!!
To start out, I measured the base of my machine and added however any inches I wanted on each side, and front and back. I then measured the side of the table, and how long I wanted my pockets to hang. Once I had all my measurements I could begin cutting and assembling fabric.
I took the front and back fabric and cut those two pieces from the left side of my machine all the way down to the last pocket. An example is: if my machine is 10inches, and I wanted 2 inches extra on both sides, that 14 inches. If I wanted 8 inch pockets then I would need to cut my two fabric 22 inches long, and however wide. Hopefully you can all understand my math (if not, scroll down and look at the final product, maybe then you will see what I am talking about.)
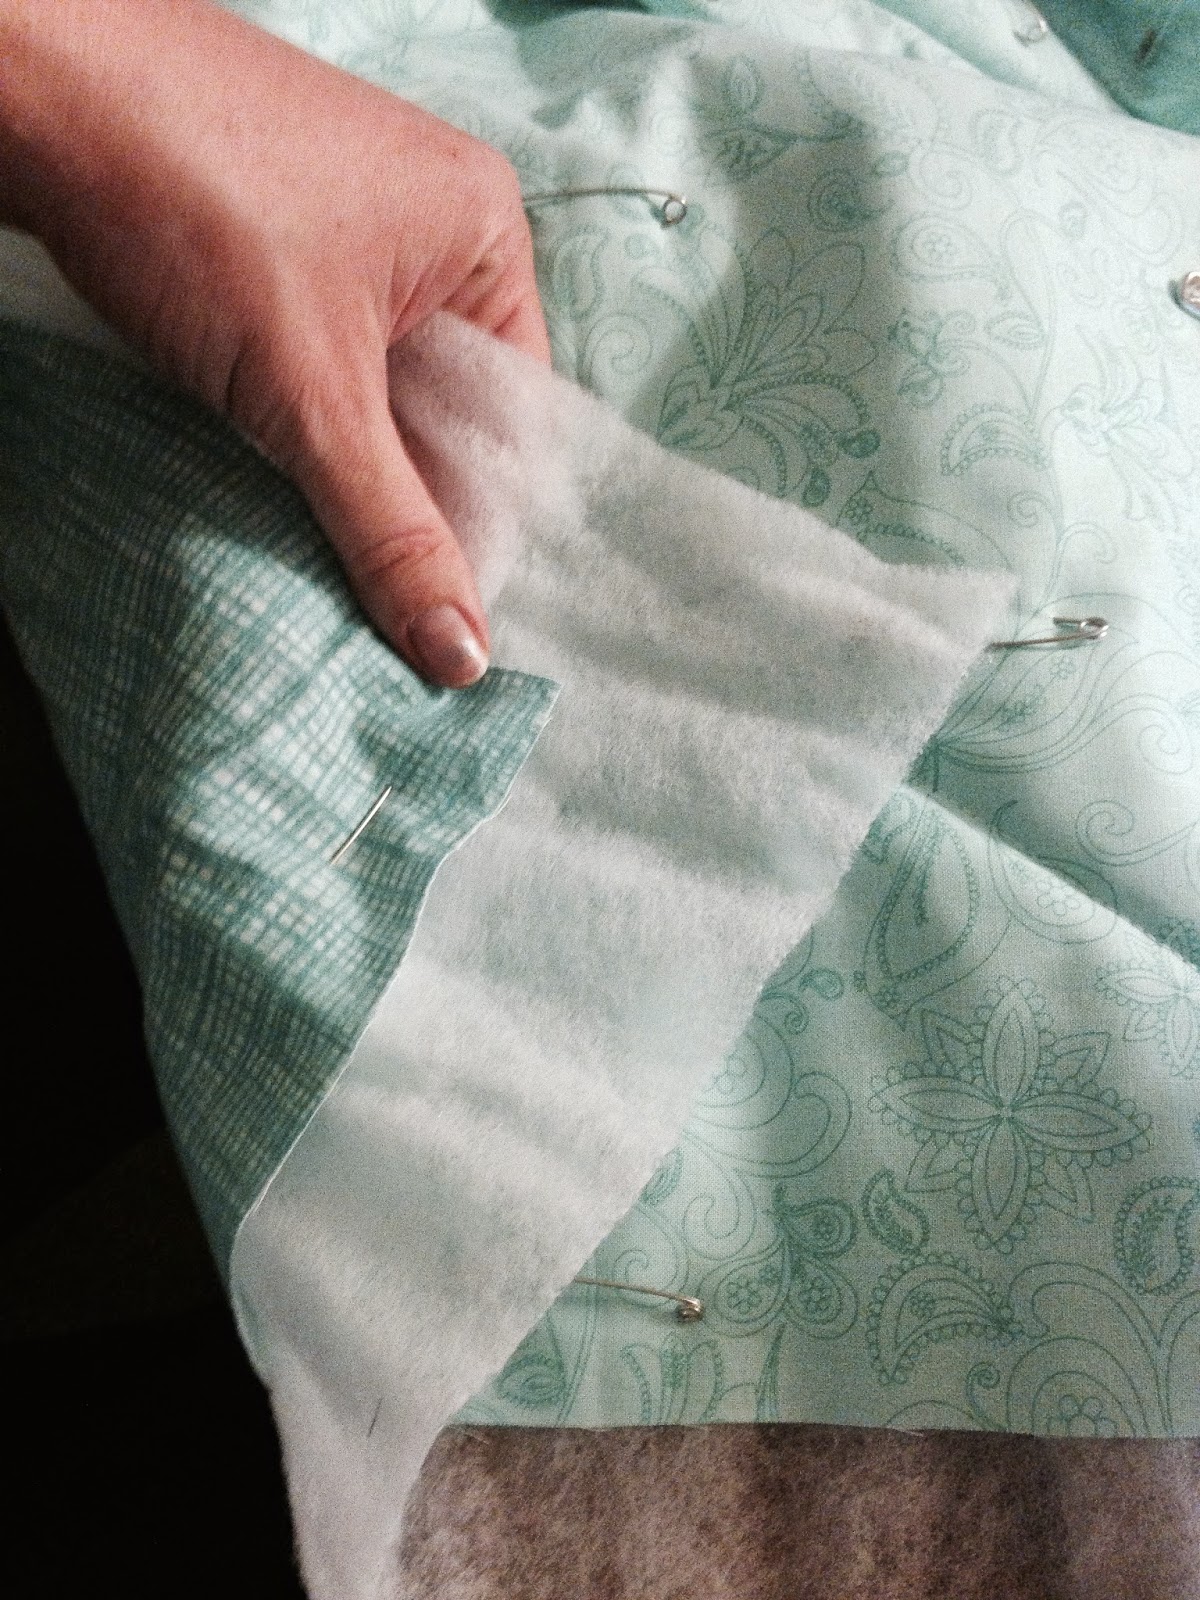
I then pin the front, batting, and back of those fabrics together. They are now ready to be quilted.

I then pick a design, and begin to quilt.

One way is done quilting, now the other way...

See, I am quilting the other directions, oh so pretty!

Once I am done, I square the entire thing up and cut off all the extra batting and or material.

I then cut two pockets. You can do more, and design them however. I, again, wanted something simple, so I cut 2 pockets. One small one about 5inches, and one large one about 9 inches. I folded the top and stitched a nice hem (so the top of my pockets are pretty).


I then added some interface to the back side of both my pockets (as I wanted them to be slightly stiff).

I then added to one of the ends both pockets. The 9inch pocket I placed down first, then the 4inch pocket. I pined the pockets in place and drew the 3 pockets on the fabric with a washable pen and a ruler.

I then stitched from the top of the 9inch pockets (with back stitch) to the bottom of the 4 inch pocket (again, back stitch). I made 3 pockets, on both levels and they all line up. This is extremely easy to do. You can always add more pockets and do all sorts of crazy cool pockets, but again, I wanted simple!

Last step is to make some binding, and add that to your mat. Check out my binding video, over here.


Don't forget the tag (hey practice makes perfect!!)

I then set my machine on the mat, and marked a line where my cords would hit the mat. I then zig zag stitched (or use a button hole foot) to make a button like hole. The hole is about 2-3 inches long. Once I am finished zig zag stitching and creating a solid stitch around where the hole will be, I cut along the line I marked.

I then set my mat down, place my machine on top, slide my cords from under the mat, through the hole and connect them to my machine.

Oh look at how nice this is, no cords in my way anymore!

Then I placed all my items away, and got my entire sewing table cleaned up! YAY, I am finally getting organized.

Perfect fabric right? Sorry about the lighting, it was late at night.

Once I was done, all I thought was now I need to make everything else for my room, and have it all match!! Which means I need more fabric... yay!
Hopefully, you all enjoy making a mat for your machine too. If you do, be sure to show it off in the comments below.
Now, Get Organized,
Sarah
1 comment:
I am totally digging the holes for the cords! If I had placed my items on the side on mine I would totally do this too! Maybe whenever I make another one! Great job!
Post a Comment