Finally, after spending all that time dreaming about mug rugs, I got around to making a few. Check out the post I made awhile back about my new obsession. I just couldn't get enough of them. I was looking all over the internet to find mug rugs to make, ideas to do, and just anything that inspired me. I enjoyed the idea of making the mug rugs more personalized and special to each person. I just need someone to make them for.
My mother-in-law and father-in-law both have August birthdays and now that August is over I can finally post their gifts. Of course I wanted to make them MUG RUGS!!!! My father-in-law has an RV and it has been one of those running jokes between us, about how much I am not a fan of the RV. I figured it would be a great idea to make him an RV mug rug. I used some flannel fabric I had on hand, and just picked matching scrap fabric that coordinated with the flannel.
I started out by drawing up the RV template on some freezer paper. I just added all the details that I wanted to sew on. I even made notes of colors and anything else.
I then cut the RV out, of course I used my PAPER scissors, not my fabric scissors.
Then I cut out all the small compartments. I made a second set, by using extra freezer paper, placing it on top of the RV drawing and tracing the small compartments. I then wrote down what they all were and cut them out.
I then ironed down the freezer paper onto the RV main body fabric. I then pinned and cut it out. I gave myself extra room on all sides just in case I needed it.
I then sewed the sides and bottom, leaving the top open. I am going to be placing the bins on the roof and thought that I might as well leave it open, that way I can tuck them in, and just top stitch across it.
I made the wheels by using two black pieces of fabric, cutting them into circles, stitching around the circle, leaving a hole, flipping it inside out and then ironed the hole so the seams all line up. I then place them onto the RV where I want them to be. You can use your template for placement.
Once I top stitched the tires on and I pretty much did the same thing with the bins for the roof. I stitched 3 sides, flipped them inside out, and left the BOTTOM open. I then slid those opened bottoms into the top of the roof (remember we left it open) and pinned those in place. Time to top stitch the RV.
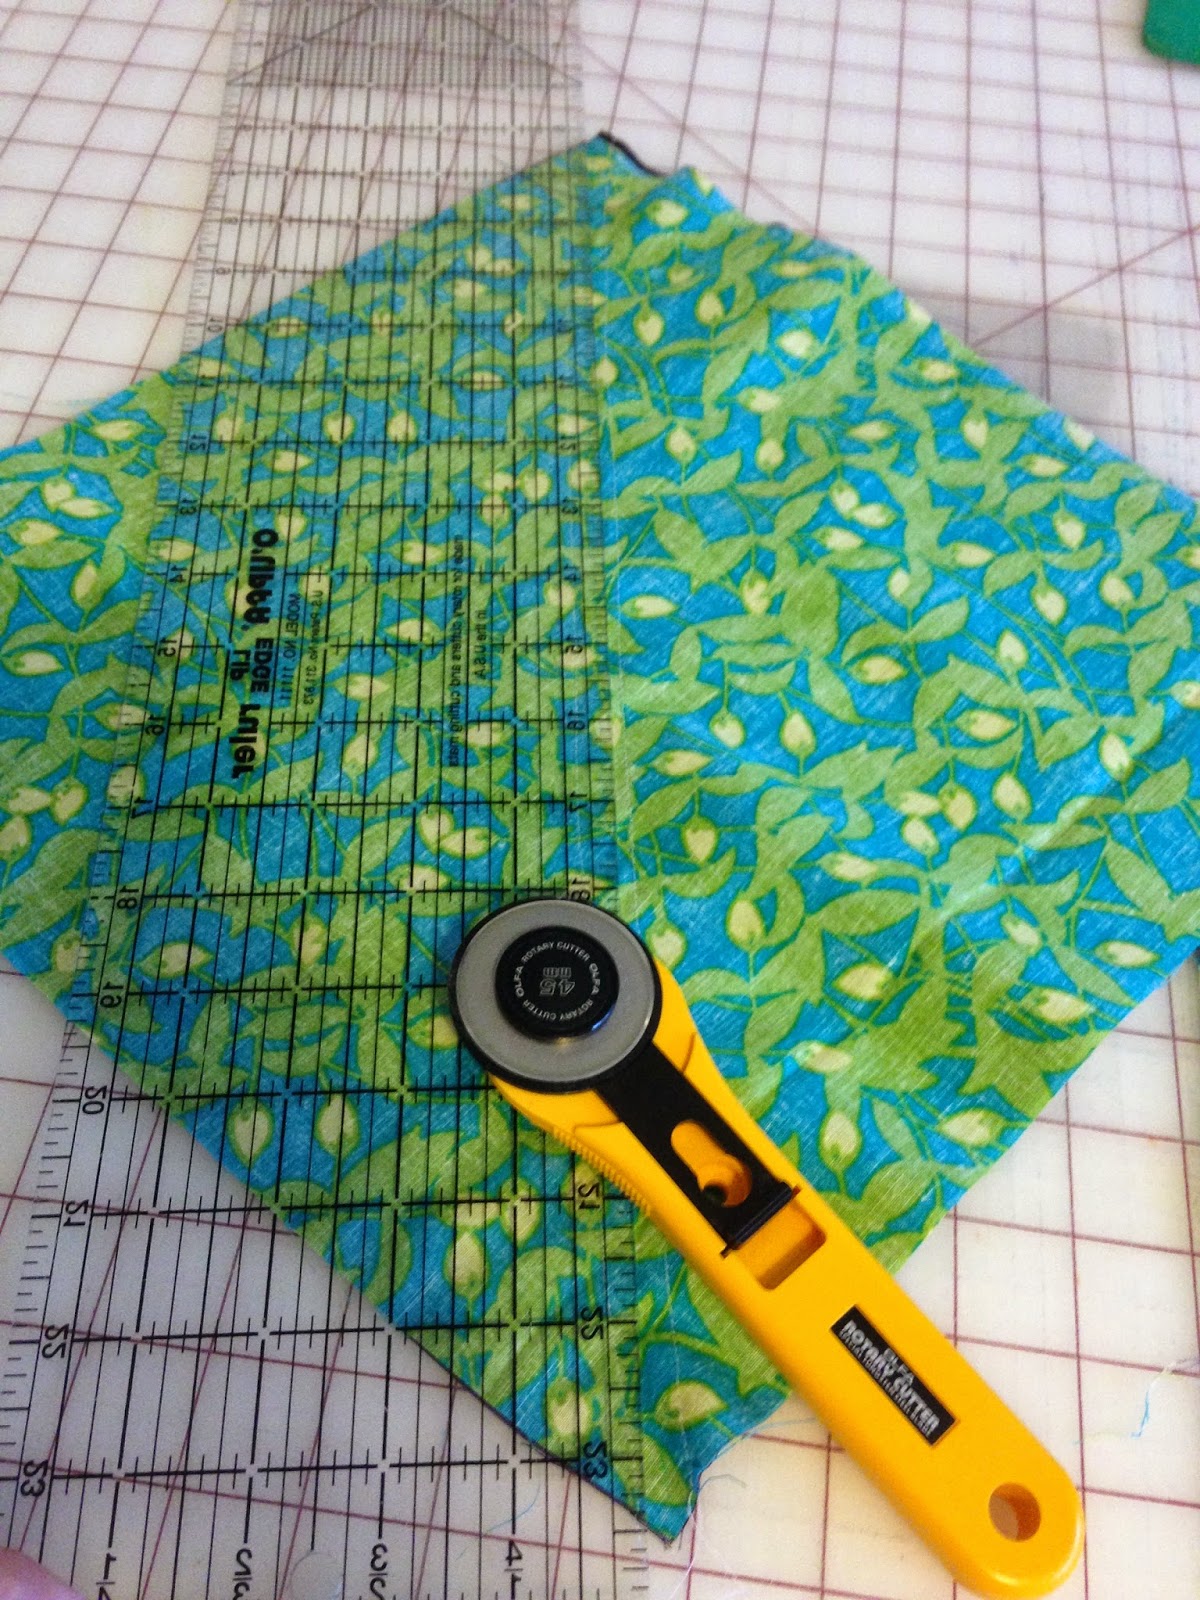
Now that the RV is closed up and the wheels are on, I cut out the small pieces that go on the RV. I cut them out with about 1/2 inch extra, all the way around. I then iron that 1/2 inch under the piece/freezer paper. Then I laid them onto the RV to test if they all fit in place correctly.
I then used matching thread and contrasting thread to top stitch those pieces into place, and to add accent and details. I highly recommend using a fabric glue stick for helping place the smaller pieces down in place.
Details, like handles make this mug rug perfect!
Also, I added my handmade label onto the back of the mug rug.
The finished mug rug RV was so dang cute, I had a hard time giving it away. Ill make one for myself, someday!
The second mug rug I made, which took a little more planning; was for my Mother-in-laws birthday. Now, let me explain a little why I gave her the mug rug that I made for her. She loves to read, yes; but she is also a librarian. I wanted to make sure I had the "classics" on her "bookshelf". I even thought about making this mug rug two or three shelves, but once I saw how small the books would be, I decided against it, because the books would be to small to add titles. I really wanted to add the titles to the books to give them just that much more realistic feel.
Alright, enough gibber gabber, lets see the mug rug, right?
To start out, I cut out a bunch of scrap fabric that matched or coordinated well with each other. I made sure to write down each pieces size, for future reference. (Reference, get it? HAHA.... shes a librarian!)
I used the sizes of the books to help me cut out the black background pieces. I didn't even bother attempting to figure out how to sew the fabric onto the tilted book, so I cut several large pieces, sewed them on, and laid the book in place where I liked it. I then sewed the two books to the side of it, and trimmed off the extra fabric. Walllaaaaa, I had a tilted book! I also used a dark brown as the shelf, or base, and you'll see why in a minute.
I then cut out and made the book labels with different fonts. (If you want to see how I did this, check out how to make labels.)
When I cut out the book titles, I left about a 1/2 inch to about 3/4 of an inch all the way around them. Then I ironed the extra fabric under/to the back side, to give the labels a clean folded edge. I then top stitched them onto their books.
Once all the books were in place, with their titles, I added a back fabric, and batting.
I then quilted the brown fabric to look like wood; remember its a bookshelf!
I quilted the books by stitching around them and slightly inside the books. Nothing too fancy as I wanted the books to be the main focus, not the quilting.
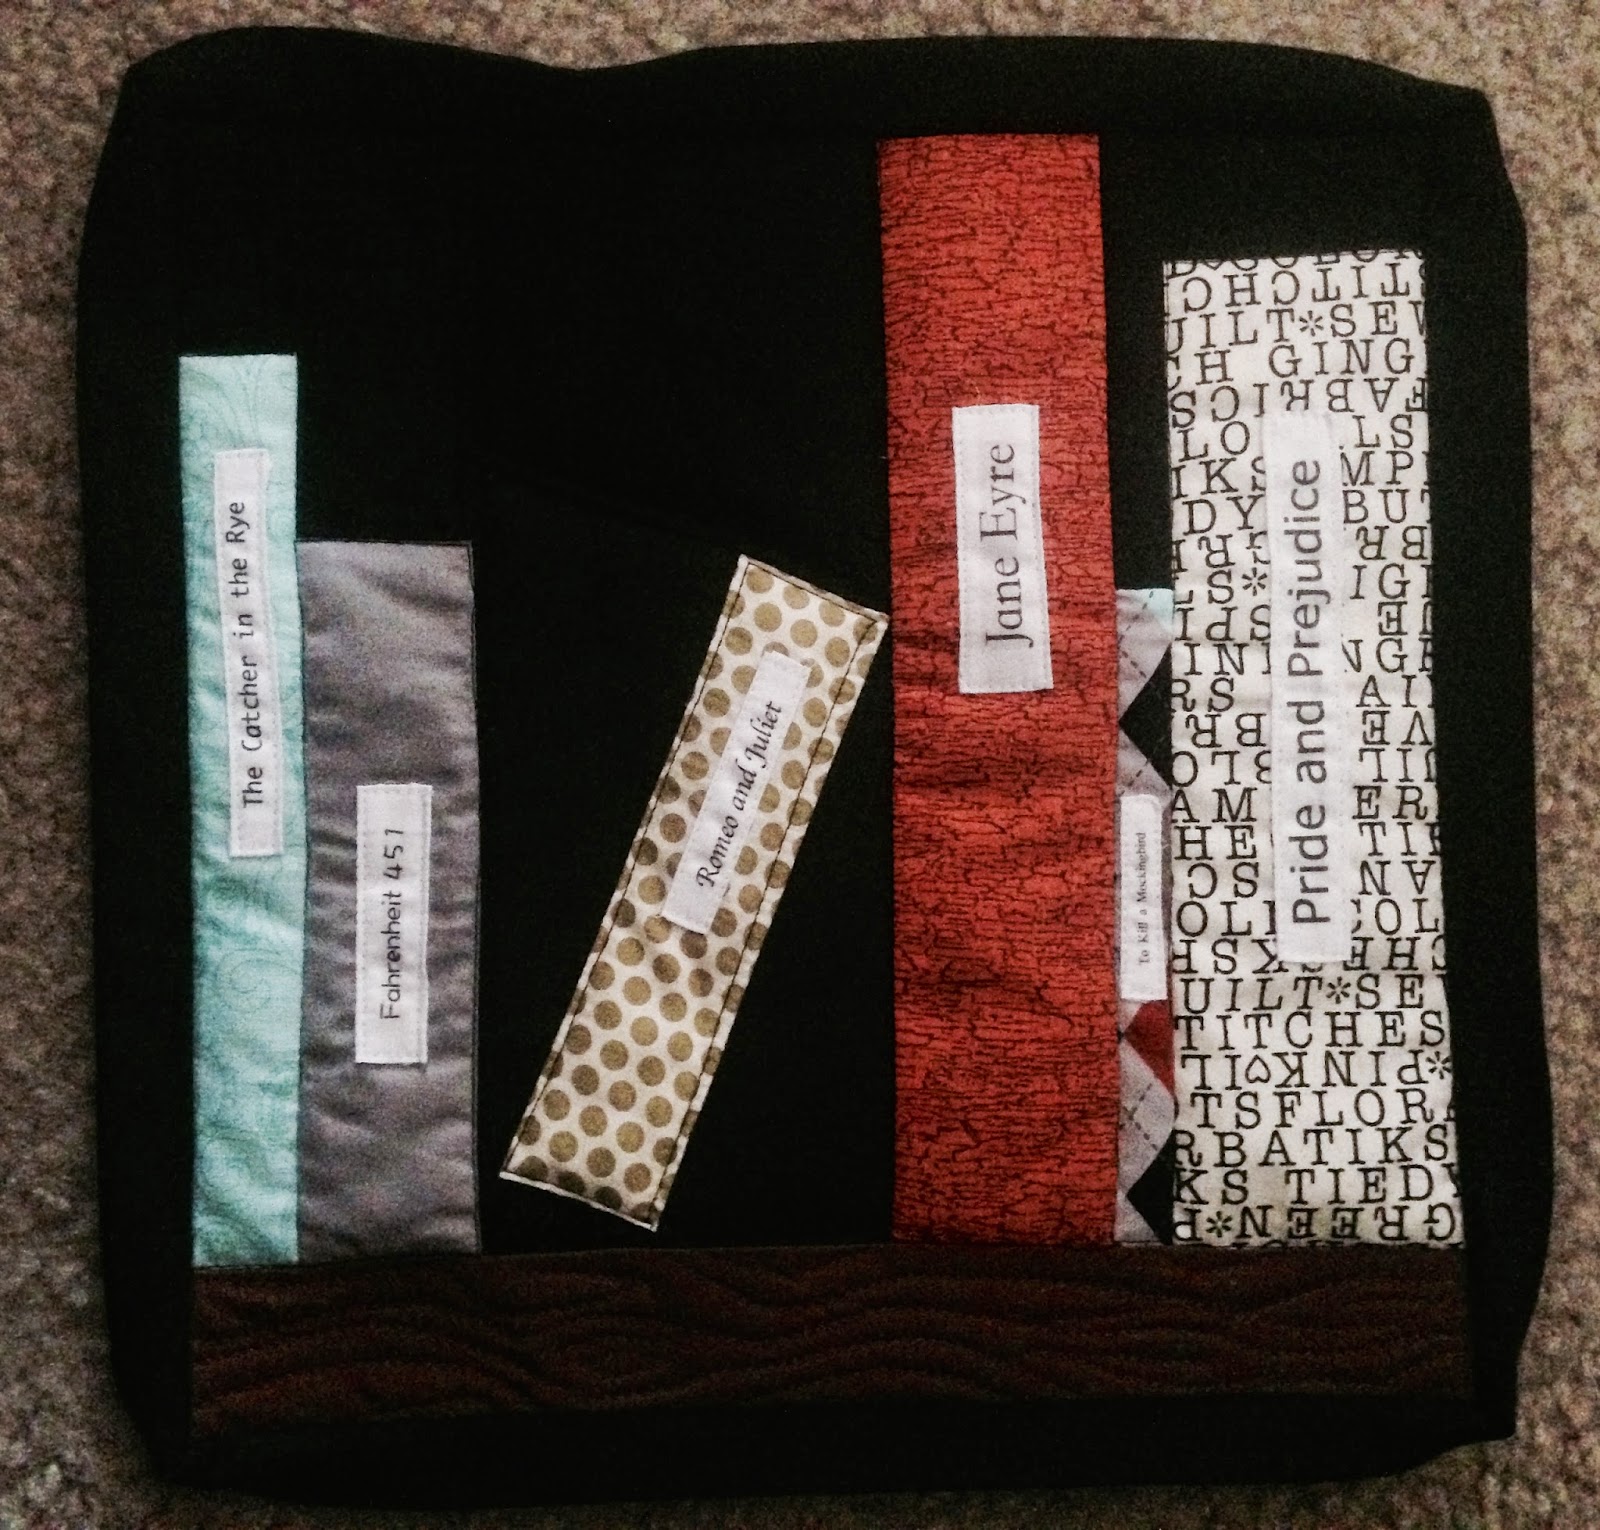
I chose the black fabric to put on as the binding, and finished that by hand. If you want to see how I sew on my binding, which is super easy, check out the video.
Heres the back, all quilted up.
Lastly, I added a cute label to the mug rugs back. Perfect!
Time to Enjoy the Morning Coffee,
Sarah
Wednesday, September 17, 2014
My Mug Rugs
Labels:
binding tutorial,
books,
fabric labels,
label tutorial,
librarian,
mini,
motor home,
mug,
mug rug,
quilt,
rug,
RV,
shelf,
titles
Monday, September 15, 2014
September Give Thanks, Week 2
September 8:
Thankful for a reschedule of my school appointment for later in the day, it worked out well. The hubby watched the kids and I was able to get everything done. Now I hope and cross my fingers that everything goes according to plan and I start school on time!
September 9:
Today I am so very, very thankful for my wonderful sister who was able to fax a few papers for me. I needed to send them for school, and I could not find any information or places here on base that could send a fax. Then my sister did all of the heavy lifting for me! So, so, soooo thankful for her!
September 10:
Thankful for so many quilters/friends who helped me and gave me a ton of feed back about a baby quilt I have been working on. It has made the quilt and process so much easier as well as satisfying. Knowing that the quilt is more appealing to the eye, means that the person who is going to receive it will love it just that much more (I hope).
September 11:
Today as we all take a moment to remember those who lost their lives, many years ago; I am finding some bright joy in between all this sadness. Today I am thankful to have received my acceptance into the SDSUs Medical Assistant, with externship, certificate program!! Ill be back in school before the month is over.... a little scary!
September 12:
Today I was reminded why having kids is a roller-coaster ride no matter what. While the kids were in their bath, Brian was upset because the bubbles were popping, and Jared was laughing at all the bubbles and enjoyed putting them on his head. I am just so thankful that I can find those small moments of just pure joy on one childs face and overly dramatic moment on another. They are my life, and someday I hope I can tell them this story and they will be thankful that I remembered it.
September 13:
Today I am so thankful for such a wonderful blessing, from a fellow quilter friend (Lynn), who took the time and her own money to send me a TON of brand new zippers!! She has the biggest heart, and I hope I can be just as giving and caring as her. She made my day, week and month!
September 14:
Today is one of those days where I am thankful we all survived. We ran a ton of errands, did a ton of grocery shopping, and when it was all said and done, I think everyone was tired... Kids and adults!
Give Thanks,
Sarah
Thankful for a reschedule of my school appointment for later in the day, it worked out well. The hubby watched the kids and I was able to get everything done. Now I hope and cross my fingers that everything goes according to plan and I start school on time!
September 9:
Today I am so very, very thankful for my wonderful sister who was able to fax a few papers for me. I needed to send them for school, and I could not find any information or places here on base that could send a fax. Then my sister did all of the heavy lifting for me! So, so, soooo thankful for her!
September 10:
Thankful for so many quilters/friends who helped me and gave me a ton of feed back about a baby quilt I have been working on. It has made the quilt and process so much easier as well as satisfying. Knowing that the quilt is more appealing to the eye, means that the person who is going to receive it will love it just that much more (I hope).
September 11:
Today as we all take a moment to remember those who lost their lives, many years ago; I am finding some bright joy in between all this sadness. Today I am thankful to have received my acceptance into the SDSUs Medical Assistant, with externship, certificate program!! Ill be back in school before the month is over.... a little scary!
Today I was reminded why having kids is a roller-coaster ride no matter what. While the kids were in their bath, Brian was upset because the bubbles were popping, and Jared was laughing at all the bubbles and enjoyed putting them on his head. I am just so thankful that I can find those small moments of just pure joy on one childs face and overly dramatic moment on another. They are my life, and someday I hope I can tell them this story and they will be thankful that I remembered it.
September 13:
Today I am so thankful for such a wonderful blessing, from a fellow quilter friend (Lynn), who took the time and her own money to send me a TON of brand new zippers!! She has the biggest heart, and I hope I can be just as giving and caring as her. She made my day, week and month!
September 14:
Today is one of those days where I am thankful we all survived. We ran a ton of errands, did a ton of grocery shopping, and when it was all said and done, I think everyone was tired... Kids and adults!
Give Thanks,
Sarah
Labels:
9-11,
acceptance,
bath,
bubbles,
fax,
give thanks,
give thanks 365 days a year,
groceries,
help,
husband,
kids,
Medical assistant,
quilt,
remember,
school,
SDSU,
sew,
sister,
zippers
Saturday, September 13, 2014
A Thank You Quilt
My wonderful neighbors have done so much for us in the one year that we have been neighbors. They have let us come over, have dinner, drink wine, let the kids play, give us stuff, and even watched our cat while on vacation. They are just wonderful amazing neighbors. I am so thankful for everything they have done for us. I wanted to take some time to make them a thank you quilt. I pulled a bunch of fabric out, and finally came across this pile of green, blue, and purples. I have been saving it for no particular reason, just haven't found anything to use it for. When I came across it, I thought this will be perfect.
The colors and patterns have feminine and masculine colors and designs. The pieces of fabric came in squares, so I just paired them together (as randomly as I could), and then stitched down the left and right of the center. I then cut the squares down that center and ironed them open.
Once I had a ton of squares with two different fabric on either side, I laid out a front and a back.
I added some higher loft batting. I did not use my usual cotton batting as I wanted them to be able to use it as a blanket/quilt.
Once it was quilted up and the binding was on, I had to make sure I placed a label on it, and it was done!
The quilting was mostly geometric shapes. I did triangles, circles, lines, trapezoid, and curved lines.
The colors are so vibrant, these photos don't do justice! The purple is a dark purple with a black floral pattern. The green is more of a lime green, and the blue is a nice teal and light blue.
They loved the quilt, and I am just glad I could give them something handmade and special.
Don't forget to give thanks to those you care about.
Give Thanks,
Sarah
The colors and patterns have feminine and masculine colors and designs. The pieces of fabric came in squares, so I just paired them together (as randomly as I could), and then stitched down the left and right of the center. I then cut the squares down that center and ironed them open.
Once I had a ton of squares with two different fabric on either side, I laid out a front and a back.
| Front laid out. |
![]() |
| The front all sewn together. |
![]() |
| The back all sewn together. |
![]() |
| Batting added, and pinned. |
![]() |
| Had to add a label. |
![]() |
| Front all done. |
![]() |
| Quilting. |
![]() |
| Quilting. |
![]() |
| Quilting. |
![]() |
| Quilting. |
![]() |
| The back, finished. |
| Front. |
| Back. |
They loved the quilt, and I am just glad I could give them something handmade and special.
Don't forget to give thanks to those you care about.
Give Thanks,
Sarah
Thursday, September 11, 2014
Thimble Quilt
This quilt is the one I made a tutorial about, while I put the binding on. You can see that video here, and please feel free to share it, pin it, or post it. However, I never really showed off the finished quilt. I wanted to give it a nice spot light for all that wanted to see it.
This quilt top was made by my mother-in-law, Corinne. She made a thimble quilt top, and had placed a tan/gold boarder around the edges of it. She said she had already purchased a back fabric for it, and said I could have it. I was desperate, while on vacation, to sew. My hands are always moving, and I am always wanting to sew something. I then took the top, and the back fabric, placed everything together, with batting and started to quilt away.
The finished quilt is somewhat a country feeling quilt. Lots of florals, browns, and soothing colors.
I hope you all enjoyed this quilt, as much as I did, quilting it.
If you would like to purchase this quilt, it is available at my Etsy shop.
Find Your Thimble,
Sarah
This quilt top was made by my mother-in-law, Corinne. She made a thimble quilt top, and had placed a tan/gold boarder around the edges of it. She said she had already purchased a back fabric for it, and said I could have it. I was desperate, while on vacation, to sew. My hands are always moving, and I am always wanting to sew something. I then took the top, and the back fabric, placed everything together, with batting and started to quilt away.
| Quilting the thimbles. |
![]() |
| Just did a mimic if the pattern. |
| Hand sewing on the binding. |
![]() |
| All done. |
![]() |
| With the back. |
I hope you all enjoyed this quilt, as much as I did, quilting it.
If you would like to purchase this quilt, it is available at my Etsy shop.
Find Your Thimble,
Sarah
Subscribe to:
Posts (Atom)