I made a soft book a few days ago and got a request to make a tutorial for it. I have done a few of these panels with instructions on them, but when I tried following the instructions I feel like I am ready an encyclopedia. Its tough to follow. Thankfully, I am pretty good at visually seeing what I need to do. So with out babbling too much here is the tutorial for the book and soft toy.
To start I want to show you how the panel looks. My wonderful mother-in-law got a few of these and then gave me them! I am so thankful for them, I love making them. Ok, so the panels are by
Hugabook, which is one of many you can purchase. I have seen others just on a bolt at a store, so don't think you have to purchase something like this.
 |
| back with panel image |
 |
| front, how it looks on the shelf |
Once you open the package and take the panel out, it will look something like this:
Grab your scissors, or a straight edge ruler and rotary cutter. Carefully, cut out each panel piece. I used a ruler, but left a small 1/8th of an inch trim around it, as almost EVERY book page is wonky and NOT straight.
Cut out all pages. When your done you should have 2 front and back pages, and 4 regular pages.
Take them over to your ironing board, and iron all the pages out.
Make sure you place each page RIGHT sides together. If you forget which orders they are, simply refer to the packaging (or take a photo of the panel before you cut it up). Even if you mix them up, these are kid books and honestly doesn't seem to be any specific order.
Pin the two pieces together.
Continue doing the same with the other pages, RIGHT sides together and pin.
Once they are all pinned, head over to your cutting board.
You can use any batting, but to make the book fluffy I use this brand with low loft. You can purchase any, even high loft, but I just prefer this brand and type.
Lay the batting over the pinned page (one at a time), and cut out a piece of batting about 1/4 inch or 1/2 inch larger then the page.
Pin the page to the batting.
Continue doing this with all three pages.
Note: the front/inside cover/back/inside back pages are LARGER then the other 2 pages, thats why I said cut each page separately.
Grab all three pages and head over to your SERGER or SEWING MACHINE.
Using my serger I sew around the edge of each page. Leave a hole about 2 inches on the BOTTOM of the pages. If you are using a regular sewing machine you can just use a straight stitch, but make sure you sew slightly inside the black line around the edge. If you feel that wont hold, you can always go back over and use a zig zag around the edge to the right of your straight stitch.
Once your done, the page should look something like this:
Don't forget the hole:
Continue on to the second page, leaving a hole.
Complete the third page, leaving a hole.
Using the hole, turn the material inside out between the two cotton pieces.
Push each corner out as much as you can.
Completely finish flipping the page inside out.
Do the same with the other pages.
Take all three pages to the ironing board.
Don't worry if this happens, and you have a small hole where you didn't mean to have one. Its an easy fix. Just push the two pieces inwards and pin.
Push the pieces inwards towards the batting, and iron if you need to. This piece was in a corner so it wasn't hard to pinch shut.
Make sure you pin it well. This was a small hole so I only needed one pin.
With the big hole that you flipped the pages inside out with, fold each piece inward towards the batting (you might need to trim the batting with scissors, but be careful to not cut the pages).
Hold the pieces down, and iron over them to help keep them in place.
Pin the hole shut.
Do the same with the other pages as well.
Take your pages over to the sewing machine. Straight stitch about 1/8th of an inch from the edge of the page, making sure you back stitch or lock in stitch, and then carefully make sure you catch both pieces where the hole was. Stitch around the entire top of the page, and finish with a lock in stitch or back stitch.
The page will look like this:
Continue onto the next pages, and complete them as well.
Get all three of the pages in order. Cover, page 1/2 - 7/8, and 3/4 - 5/6 in order.
Then stack them, lining up the center as much as you can. Again, note that the front page is larger then the other pages, so be sure to center the other inside pages inside the front cover.
Fold the book to make sure you pinned in the center.
Take your pinned center to the sewing machine. Lock in stitch or back stitch at the top and carefully stitch in a straight line down the center of the book. If you need to you can always use a pencil or washable fabric pen and draw a straight line with a ruler.
Then clip any loose strings, and your book should be done!
Now you can make the toy. You can make the toy flat, or puffy. Ill show you both ways if thats what you want to do.
Cut out the trucks/toy. Cut out slightly larger then the outside (I leave about 1/8th of an inch around the edge).
You can see the 1/8th of an inch around the edge.
Iron them, and place them RIGHT sides together.
Pin the pieces together.
One way you can make the toy is to use the same batting and cut it out as the same size of the toy (just like the pages), this will make the toy flat, not big.
Otherwise, if you want a plush toy then use your serger or straight edge and sew around the edge of the toy, be sure to leave a hole.
I left the hole at the bottom, so you can't see it. Turn the toy inside out.
Push all the corners and curves out.
Go back to your iron and tuck the pieces towards the inside, and iron the hole flat, so it lines up with the rest of the seams.
Add your poly-fill, pushing it into the corners and curves, then the center. Don't put too much in it, just a nice handful.
Take a few pins and pin the hole closed. You can hand sew the hole shut with invisible stitch, or use your machine.
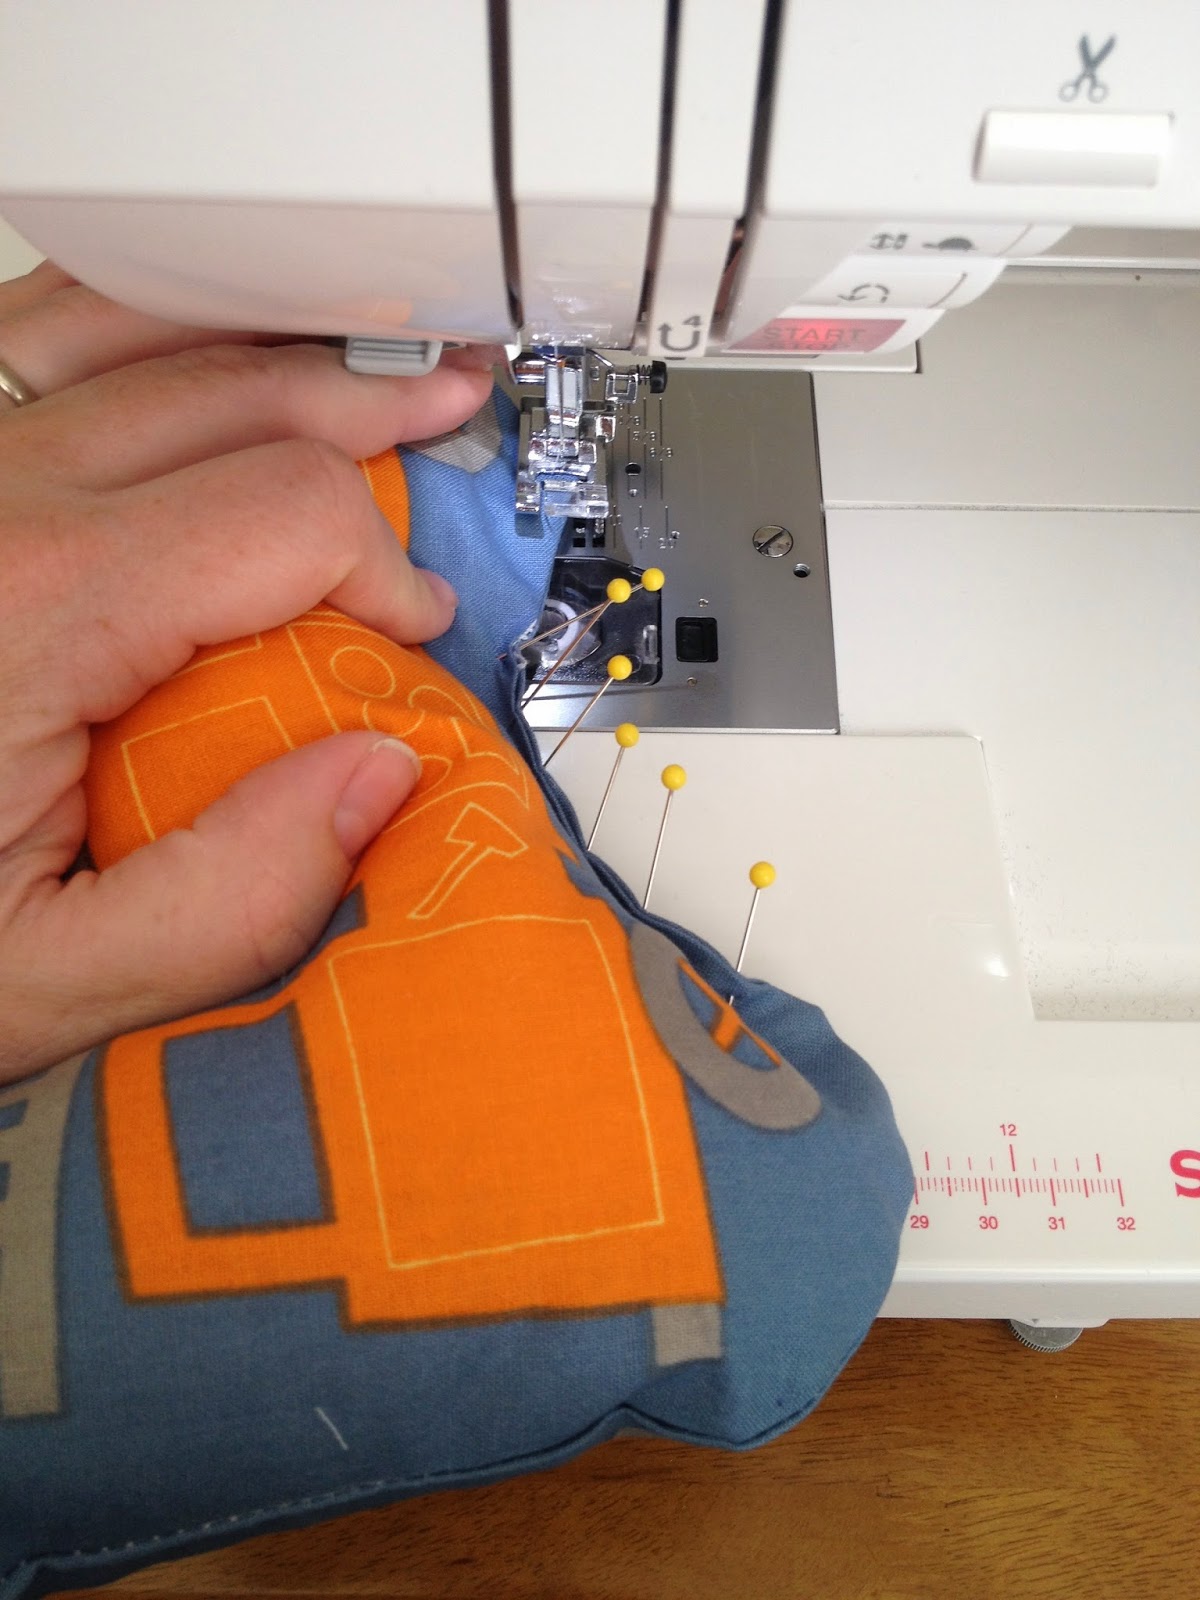
I used my machine. I simply started with a back stitch (or lock in stitch), and pull the stuffing away from your machines pressure foot. Carefully sew the hole shut with a 1/8th inch seam.
Finish it up with back stitch (or lock in stitch).
You are now finished!
Hugabook is only one brand, heres a few others you can find:
Christmas Panel
Bunny Book
Pooh Bear
Busytown Panel
Golden Book Panel
Fuzzy Duck Book
Lion Panel
Mother Goose Panel
and so many many more. Just check any online or local fabric or craft store. Be sure to check the fabric section, as some of these do come on bolts, and are not individually cut.
Enjoy Reading,
Sarah