One of our close family friends was having a baby, and a baby girl, at that! By now, you should all know I enjoy making anything having to do with girls. I just can't get enough because I have such true, rough and tough boys.
I wanted to make her the traditional "Sarah" gift, which is usually burp cloths. However, I didn't want to make a ton, and only give her those. So, instead I made each burp cloth extra special, and even added in some adorable bibs as well.
Here are the burp cloths. I added a few "scallops" or half circles to the rows of different colored pinks. I did a raw edge finish on them, so they would fray and have even more detail, and texture.
I just love all the girl colors, and yet still has a little blue/teal.
The bibs I made with strips of the same fabric, and just simply made a large panel of the strips and then cut out the bibs.
I added terry cloth to the back, to make them extra absorbent, and help keep the wetness away from the skin.
I, of course, added fun pink snaps, with just that extra detail on them.
Heres how I finished packaging them all up:
Lastly, heres the items with the handmade card:
I hope the wonderful mother and baby girl love them all.
Burp That Baby,
Sarah
Showing posts with label gift. Show all posts
Saturday, January 10, 2015
Baby Shower Gift
Labels:
baby,
baby shower,
bib,
bright,
burp,
burp cloth,
card,
cloth,
cotton,
fun,
gift,
handmade,
handmade card,
pink,
Pitcher's Boutique,
purple,
teal,
terry cloth
Thursday, January 8, 2015
More Handmade Cards
I enjoy ever second I spend on making cards. It has been a great way to use my scrapbooking paper, stickers, and tools up. I love adding a little quilting into it as well. Not to mention the amount of money I have saved by using what I have.
The first card below, I made was for my mother's birthday back in October. I made a wall hanging for her, and wanted a card to match the theme and colors. The fabric in the wall hanging was floral and the theme was a vintage apron. She said she wanted an old vintage style apron, as a gift. Since I am not local and can not take measurements of my mother, I decided to add a little humor into my quilting and make a mini wall hanging of a vintage apron.
This is the cover of the card, its purple with a quilted floral diamond and gem style cover.
I used a bright colored floral paper for the inside. Using matching letters I added "Happy Birthday Mom!" I also have the press on/transfer quotes, and the one I added really went well.
The back, I used the diamond quilted paper pieces, and added my "handmade" touch.
Another card I enjoyed making was for a family friend having their very first baby (girl). I love anything baby! I enjoy making burp cloths, baby blankets, and baby pants/shorts. Anyways, I had a ton of really girly stickers and paper, so I cut a few onesies out, added a few stickers and ribbon, and of course a gem or two.
The back of the card:
The inside, I added some very girly stickers, gems and a punch of color.
This last card was for another new mom, also having a girl. I had fun making her card, and tried my hand at a baby carriage. I also did a little tutorial on how I made it.
First thing I did was cut a circle the size I wanted the carriage to be. I need it to have a flat side, and also open like a card. I folded my paper in half, and placed my circle on the folded paper. I then slid my circle down slightly off the fold for the flat bottom of the carriage. Trace your circle and cut.
Once you have it cut, you need to measure out the opening of the carriage, or where the hood would end and the handle bars will be.
Trace and cut that window out.
I then placed my carriage on top of a white piece of scrap paper. I drew a pretty handle (you can do this as unique as you want).
Cut out two of those handles and glue one on the front and one on the back.
I then added wheels, detailed paper, and a few stickers. This is where you can have fun and add all the gems, colors, bows, ribbons, etc.
Once all the glue dried, I added a fun flower, and a few stickers.
Don't forget the inside, and that can be as simple as a little decorative paper.
Heres the back, with my handmade signature.
The finished baby quilt with the matching handmade carriage card.
If you are on a tight budget, and have a ton of stickers, or scrapbook paper available, this is a great way to use those items up, save you TONS of money, and say you care because you spent time MAKING their card!
I love when everyone says, "this card is so cute", "I love this card".... It makes it just that much more sweet, as you invested more time.
Give a Gift,
Sarah
The first card below, I made was for my mother's birthday back in October. I made a wall hanging for her, and wanted a card to match the theme and colors. The fabric in the wall hanging was floral and the theme was a vintage apron. She said she wanted an old vintage style apron, as a gift. Since I am not local and can not take measurements of my mother, I decided to add a little humor into my quilting and make a mini wall hanging of a vintage apron.
This is the cover of the card, its purple with a quilted floral diamond and gem style cover.
I used a bright colored floral paper for the inside. Using matching letters I added "Happy Birthday Mom!" I also have the press on/transfer quotes, and the one I added really went well.
The back, I used the diamond quilted paper pieces, and added my "handmade" touch.
Another card I enjoyed making was for a family friend having their very first baby (girl). I love anything baby! I enjoy making burp cloths, baby blankets, and baby pants/shorts. Anyways, I had a ton of really girly stickers and paper, so I cut a few onesies out, added a few stickers and ribbon, and of course a gem or two.
![]() |
| Yes I did cut those onesies out, no punch, they are not stickers, and I did not buy them. |
The back of the card:
The inside, I added some very girly stickers, gems and a punch of color.
This last card was for another new mom, also having a girl. I had fun making her card, and tried my hand at a baby carriage. I also did a little tutorial on how I made it.
First thing I did was cut a circle the size I wanted the carriage to be. I need it to have a flat side, and also open like a card. I folded my paper in half, and placed my circle on the folded paper. I then slid my circle down slightly off the fold for the flat bottom of the carriage. Trace your circle and cut.
Once you have it cut, you need to measure out the opening of the carriage, or where the hood would end and the handle bars will be.
Trace and cut that window out.
I then placed my carriage on top of a white piece of scrap paper. I drew a pretty handle (you can do this as unique as you want).
Cut out two of those handles and glue one on the front and one on the back.
I then added wheels, detailed paper, and a few stickers. This is where you can have fun and add all the gems, colors, bows, ribbons, etc.
Once all the glue dried, I added a fun flower, and a few stickers.
Don't forget the inside, and that can be as simple as a little decorative paper.
Heres the back, with my handmade signature.
The finished baby quilt with the matching handmade carriage card.
If you are on a tight budget, and have a ton of stickers, or scrapbook paper available, this is a great way to use those items up, save you TONS of money, and say you care because you spent time MAKING their card!
I love when everyone says, "this card is so cute", "I love this card".... It makes it just that much more sweet, as you invested more time.
Give a Gift,
Sarah
Saturday, September 13, 2014
A Thank You Quilt
My wonderful neighbors have done so much for us in the one year that we have been neighbors. They have let us come over, have dinner, drink wine, let the kids play, give us stuff, and even watched our cat while on vacation. They are just wonderful amazing neighbors. I am so thankful for everything they have done for us. I wanted to take some time to make them a thank you quilt. I pulled a bunch of fabric out, and finally came across this pile of green, blue, and purples. I have been saving it for no particular reason, just haven't found anything to use it for. When I came across it, I thought this will be perfect.
The colors and patterns have feminine and masculine colors and designs. The pieces of fabric came in squares, so I just paired them together (as randomly as I could), and then stitched down the left and right of the center. I then cut the squares down that center and ironed them open.
Once I had a ton of squares with two different fabric on either side, I laid out a front and a back.
I added some higher loft batting. I did not use my usual cotton batting as I wanted them to be able to use it as a blanket/quilt.
Once it was quilted up and the binding was on, I had to make sure I placed a label on it, and it was done!
The quilting was mostly geometric shapes. I did triangles, circles, lines, trapezoid, and curved lines.
The colors are so vibrant, these photos don't do justice! The purple is a dark purple with a black floral pattern. The green is more of a lime green, and the blue is a nice teal and light blue.
They loved the quilt, and I am just glad I could give them something handmade and special.
Don't forget to give thanks to those you care about.
Give Thanks,
Sarah
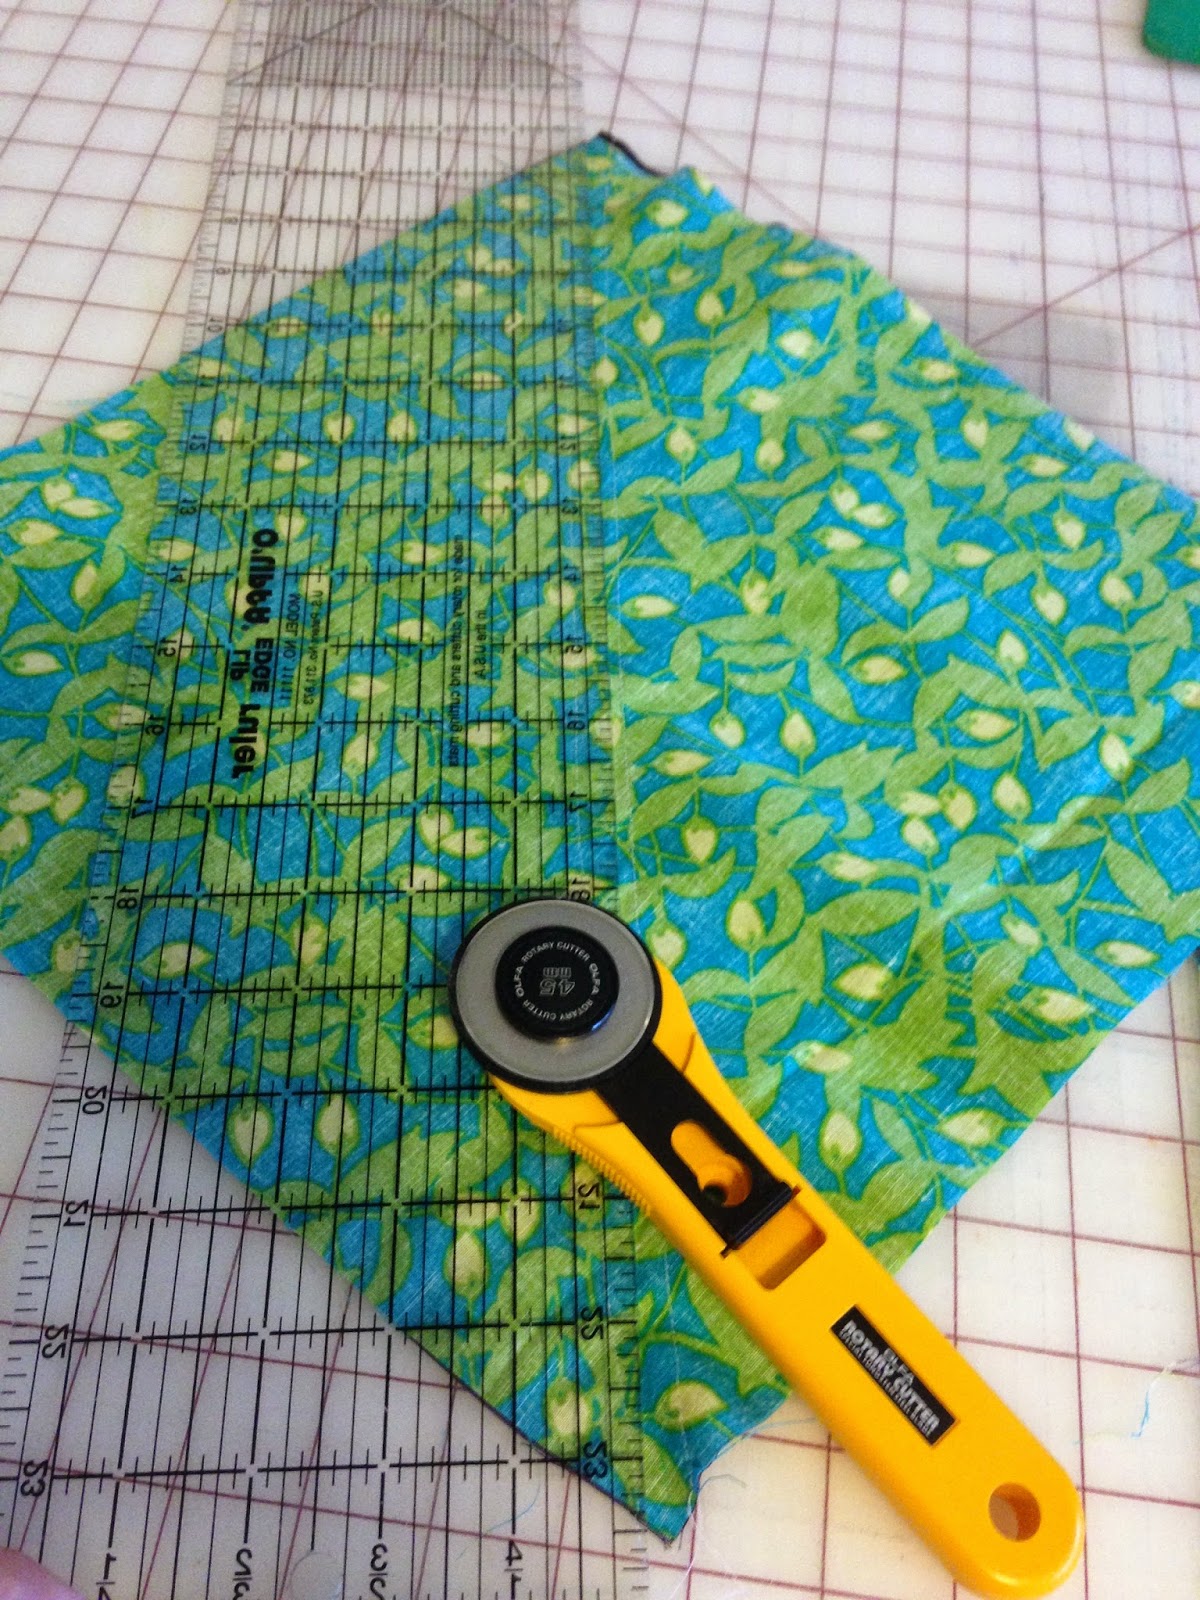
The colors and patterns have feminine and masculine colors and designs. The pieces of fabric came in squares, so I just paired them together (as randomly as I could), and then stitched down the left and right of the center. I then cut the squares down that center and ironed them open.
Once I had a ton of squares with two different fabric on either side, I laid out a front and a back.
| Front laid out. |
![]() |
| The front all sewn together. |
![]() |
| The back all sewn together. |
![]() |
| Batting added, and pinned. |
![]() |
| Had to add a label. |
![]() |
| Front all done. |
![]() |
| Quilting. |
![]() |
| Quilting. |
![]() |
| Quilting. |
![]() |
| Quilting. |
![]() |
| The back, finished. |
| Front. |
| Back. |
They loved the quilt, and I am just glad I could give them something handmade and special.
Don't forget to give thanks to those you care about.
Give Thanks,
Sarah
Subscribe to:
Posts (Atom)


