One of our close family friends was having a baby, and a baby girl, at that! By now, you should all know I enjoy making anything having to do with girls. I just can't get enough because I have such true, rough and tough boys.
I wanted to make her the traditional "Sarah" gift, which is usually burp cloths. However, I didn't want to make a ton, and only give her those. So, instead I made each burp cloth extra special, and even added in some adorable bibs as well.
Here are the burp cloths. I added a few "scallops" or half circles to the rows of different colored pinks. I did a raw edge finish on them, so they would fray and have even more detail, and texture.
I just love all the girl colors, and yet still has a little blue/teal.
The bibs I made with strips of the same fabric, and just simply made a large panel of the strips and then cut out the bibs.
I added terry cloth to the back, to make them extra absorbent, and help keep the wetness away from the skin.
I, of course, added fun pink snaps, with just that extra detail on them.
Heres how I finished packaging them all up:
Lastly, heres the items with the handmade card:
I hope the wonderful mother and baby girl love them all.
Burp That Baby,
Sarah
Showing posts with label baby shower. Show all posts
Saturday, January 10, 2015
Baby Shower Gift
Labels:
baby,
baby shower,
bib,
bright,
burp,
burp cloth,
card,
cloth,
cotton,
fun,
gift,
handmade,
handmade card,
pink,
Pitcher's Boutique,
purple,
teal,
terry cloth
Thursday, January 8, 2015
More Handmade Cards
I enjoy ever second I spend on making cards. It has been a great way to use my scrapbooking paper, stickers, and tools up. I love adding a little quilting into it as well. Not to mention the amount of money I have saved by using what I have.
The first card below, I made was for my mother's birthday back in October. I made a wall hanging for her, and wanted a card to match the theme and colors. The fabric in the wall hanging was floral and the theme was a vintage apron. She said she wanted an old vintage style apron, as a gift. Since I am not local and can not take measurements of my mother, I decided to add a little humor into my quilting and make a mini wall hanging of a vintage apron.
This is the cover of the card, its purple with a quilted floral diamond and gem style cover.
I used a bright colored floral paper for the inside. Using matching letters I added "Happy Birthday Mom!" I also have the press on/transfer quotes, and the one I added really went well.
The back, I used the diamond quilted paper pieces, and added my "handmade" touch.
Another card I enjoyed making was for a family friend having their very first baby (girl). I love anything baby! I enjoy making burp cloths, baby blankets, and baby pants/shorts. Anyways, I had a ton of really girly stickers and paper, so I cut a few onesies out, added a few stickers and ribbon, and of course a gem or two.
The back of the card:
The inside, I added some very girly stickers, gems and a punch of color.
This last card was for another new mom, also having a girl. I had fun making her card, and tried my hand at a baby carriage. I also did a little tutorial on how I made it.
First thing I did was cut a circle the size I wanted the carriage to be. I need it to have a flat side, and also open like a card. I folded my paper in half, and placed my circle on the folded paper. I then slid my circle down slightly off the fold for the flat bottom of the carriage. Trace your circle and cut.
Once you have it cut, you need to measure out the opening of the carriage, or where the hood would end and the handle bars will be.
Trace and cut that window out.
I then placed my carriage on top of a white piece of scrap paper. I drew a pretty handle (you can do this as unique as you want).
Cut out two of those handles and glue one on the front and one on the back.
I then added wheels, detailed paper, and a few stickers. This is where you can have fun and add all the gems, colors, bows, ribbons, etc.
Once all the glue dried, I added a fun flower, and a few stickers.
Don't forget the inside, and that can be as simple as a little decorative paper.
Heres the back, with my handmade signature.
The finished baby quilt with the matching handmade carriage card.
If you are on a tight budget, and have a ton of stickers, or scrapbook paper available, this is a great way to use those items up, save you TONS of money, and say you care because you spent time MAKING their card!
I love when everyone says, "this card is so cute", "I love this card".... It makes it just that much more sweet, as you invested more time.
Give a Gift,
Sarah
The first card below, I made was for my mother's birthday back in October. I made a wall hanging for her, and wanted a card to match the theme and colors. The fabric in the wall hanging was floral and the theme was a vintage apron. She said she wanted an old vintage style apron, as a gift. Since I am not local and can not take measurements of my mother, I decided to add a little humor into my quilting and make a mini wall hanging of a vintage apron.
This is the cover of the card, its purple with a quilted floral diamond and gem style cover.
I used a bright colored floral paper for the inside. Using matching letters I added "Happy Birthday Mom!" I also have the press on/transfer quotes, and the one I added really went well.
The back, I used the diamond quilted paper pieces, and added my "handmade" touch.
Another card I enjoyed making was for a family friend having their very first baby (girl). I love anything baby! I enjoy making burp cloths, baby blankets, and baby pants/shorts. Anyways, I had a ton of really girly stickers and paper, so I cut a few onesies out, added a few stickers and ribbon, and of course a gem or two.
![]() |
| Yes I did cut those onesies out, no punch, they are not stickers, and I did not buy them. |
The back of the card:
The inside, I added some very girly stickers, gems and a punch of color.
This last card was for another new mom, also having a girl. I had fun making her card, and tried my hand at a baby carriage. I also did a little tutorial on how I made it.
First thing I did was cut a circle the size I wanted the carriage to be. I need it to have a flat side, and also open like a card. I folded my paper in half, and placed my circle on the folded paper. I then slid my circle down slightly off the fold for the flat bottom of the carriage. Trace your circle and cut.
Once you have it cut, you need to measure out the opening of the carriage, or where the hood would end and the handle bars will be.
Trace and cut that window out.
I then placed my carriage on top of a white piece of scrap paper. I drew a pretty handle (you can do this as unique as you want).
Cut out two of those handles and glue one on the front and one on the back.
I then added wheels, detailed paper, and a few stickers. This is where you can have fun and add all the gems, colors, bows, ribbons, etc.
Once all the glue dried, I added a fun flower, and a few stickers.
Don't forget the inside, and that can be as simple as a little decorative paper.
Heres the back, with my handmade signature.
The finished baby quilt with the matching handmade carriage card.
If you are on a tight budget, and have a ton of stickers, or scrapbook paper available, this is a great way to use those items up, save you TONS of money, and say you care because you spent time MAKING their card!
I love when everyone says, "this card is so cute", "I love this card".... It makes it just that much more sweet, as you invested more time.
Give a Gift,
Sarah
Thursday, April 3, 2014
Baby Shower Goody Bags/Jars
For a Baby Shower party, what else is cuter and fits in perfect for favors as baby jars with candy! Yes, its that simple. Find baby food jars, ask your mommy friends, or collect them yourself. I have a 9 month old and I use about 2-3 baby food jars a day; so it was easy for me to collect a few jars. I rinsed them, pulled the labels off, then used Goo-Gone to pull the sticky goo off, then lastly I ran them through the dishwasher (lids too). Once they were dry and clean I was able to start the process of putting the labels on them.
I printed out Thank You in different colors, and cut them up. I also took colored paper to match the baby shower colors and cut those just slightly larger then the Thank You squares. I then trimmed it all up.
Next I take the jar and find my front and back. Some of the jars had random black ink marks on them, so I used this chance to place it in the back or put my ribbon over it if I could.
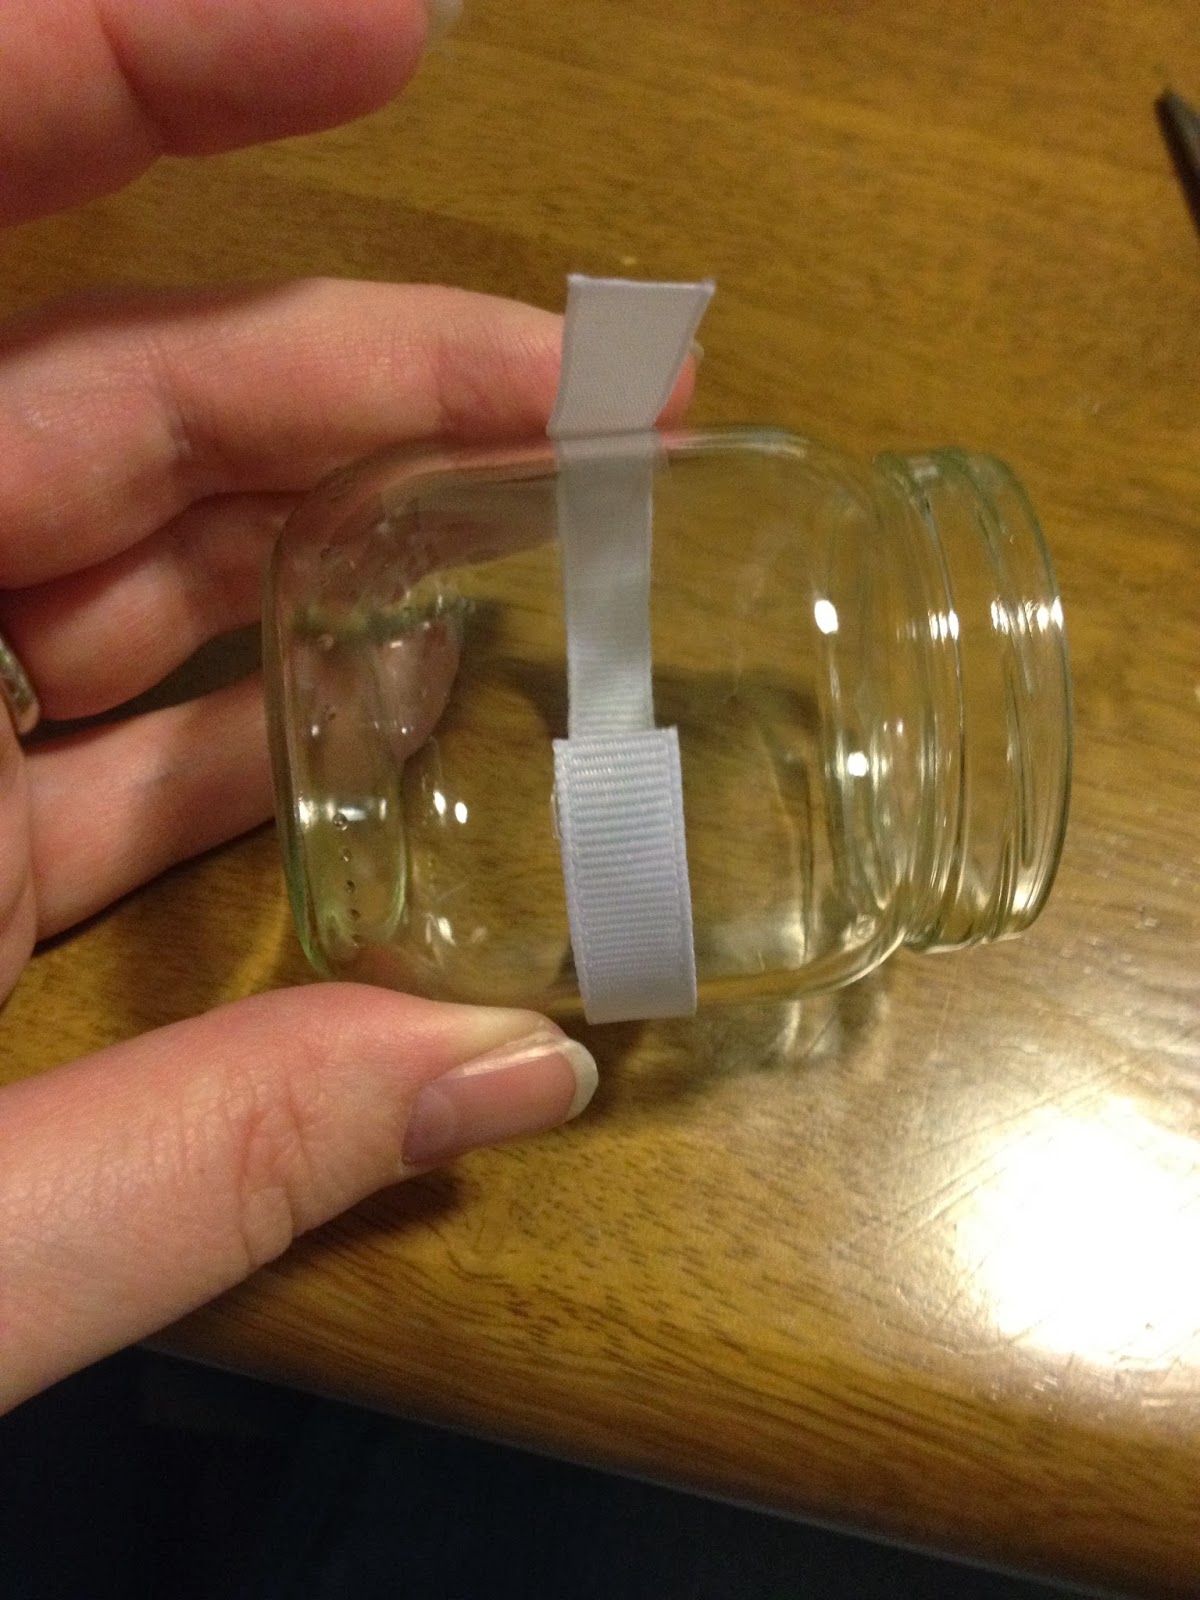
I used a thin ribbon, and just a basic white. Make sure you have enough ribbon!
Take a hot glue gun and glue on side of the ribbon down in the FRONT of your jar.
Wrap the ribbon around and glue it in place next to the other end.
Now turn the jar around so the seam is facing away from you. Set it right next to you.
Grab your colored paper with the Thank You glued on to it, and place it facing down.
Place hot glue on it.
Press the ribbon seam side into the paper (do NOT use your fingers as the glue will be too hot and you might burn yourself). Press the jar into the paper, and roll it from side to side.
Then turn it around and press with your finger to make sure its secure.
Set them aside, and continue on... and finish the rest of your jars.
Grab all the lids off all the jars, and a can of colored spray paint. I used white, but after I sprayed the lids with several coats the expiration date was still noticeable. I would recommend a color that will cover that.
I then laid a box down, place all the lids a few inches apart, and started to spray. Be sure to get the sides too.
If they need to, give them a second coat.
Place the lids back on once they are dry, and start adding the candy (or whatever you want to put in them).
I also did the same labels with a piece of paper that said Rachel's Baby Shower, looped the ribbon around the baby bottles (which I purchased off amazon.) Just glue the ribbon to the sign and drape it over the bottle.
The finished product at the party. The baby bottles are in clear bags with other candy items.
Happy Goody Bag Making,
Sarah
Labels:
baby,
baby bottle,
baby jar,
baby shower,
candy,
classic storybook theme,
favors,
goody bag,
goody jars,
party,
ribbon,
spray paint
Subscribe to:
Posts (Atom)