When I had our first son, I would receive these very thin, very light weight burp cloths as gifts. I personally was looking at them thinking, "these would be great for the bath, but I doubt they will catch any spit up". So, then I did a little research online, and found a few different ideas. One was to take a cloth diaper by Gerber and add cute fabric to it, and then you use that. Well, its cute, but if you actually look at the Gerber cloth diapers, it only has batting in the center. So, your child better have awesome aim! Okay, so that was cute, but not practical enough for me.
On to another idea.
Saw one that was a square with flannel on each side, and it was okay size, looked like it might work. However, when you put something square on your shoulder, it has a tendency to fall off, it just doesn't sit well. I also later found out (when I had my son) flannel does not catch much. I had spit up running OFF the flannel.
So, that was a no go.
Then I saw this blog, where she made curved burp cloths, and it had TERRY CLOTH on one side!! Brilliant! Towels absorb heat, wetness, they clean up spills, and we use them in everyday life! Okay so I had to try this burp cloth.
The design was simple:
 |
| Pattern, that I designed from something I saw online. |
I just modified the design I saw, by making it wider in the round area, and slightly longer in the center. This helped catch more, and also sit better on my shoulder. Now if you make this kind of burp cloth I suggest make a few different patterns, some long, some short, etc. Or you can even measure your shoulder and where you would want the most coverage.
 |
| The burp cloth on my shoulder, sitting perfectly in place! |
 |
| They work well under the little ones while playing! |
 |
| Also great for bottle fed babies! Tucks right under the chin! |
Now, with my first like I said, I made a few, tried a few, and when he came along we were digging through the dryer everyday for the handful of burp cloths I had made with the terry cloth! We loved them! So, then I spent a full 2 nights, after our little guy was asleep; making a ton! I think in all I made somewhere between 30-40 burp cloths! Our first son was formula fed, and for some reason loved to spit up. We were constantly catching spit up multiple times a day, and we were using about 6-10 burp cloths a day. With 30-40 burps cloths we were doing laundry at least twice a week, just for the burp cloths! We had back up ones, that we could careless for, but they were our "crap we need to do laundry" ones!
 |
| I believe this was a 1/3 of the burp cloths we had! |
I love the ones I made SO much, I began making them for gifts. Then I started getting requests from other people to make them! So, here my collection of burp cloths over the past few months and years!
 |
| Made these for my first son, have about 3 times this amount now! |
I then made a few as gifts:
 |
| I up-cycled old receiving blankets that never got used, and made them into neutral burp cloths. |
 |
| These were for a lovely little boy! |
 |
| And these were for a very adorable baby girl! |
I then had several requests from people in the area; however, only one person fell through and I got to make some seriously fun boy themed burp cloths:
 |
| Thomas the Train and Air Force fabric! |
 |
| This was 16 burp cloths total! |
|
 |
| Applique on burp cloths, polka dot green. |
 |
| Turtle and flannel yellow. |
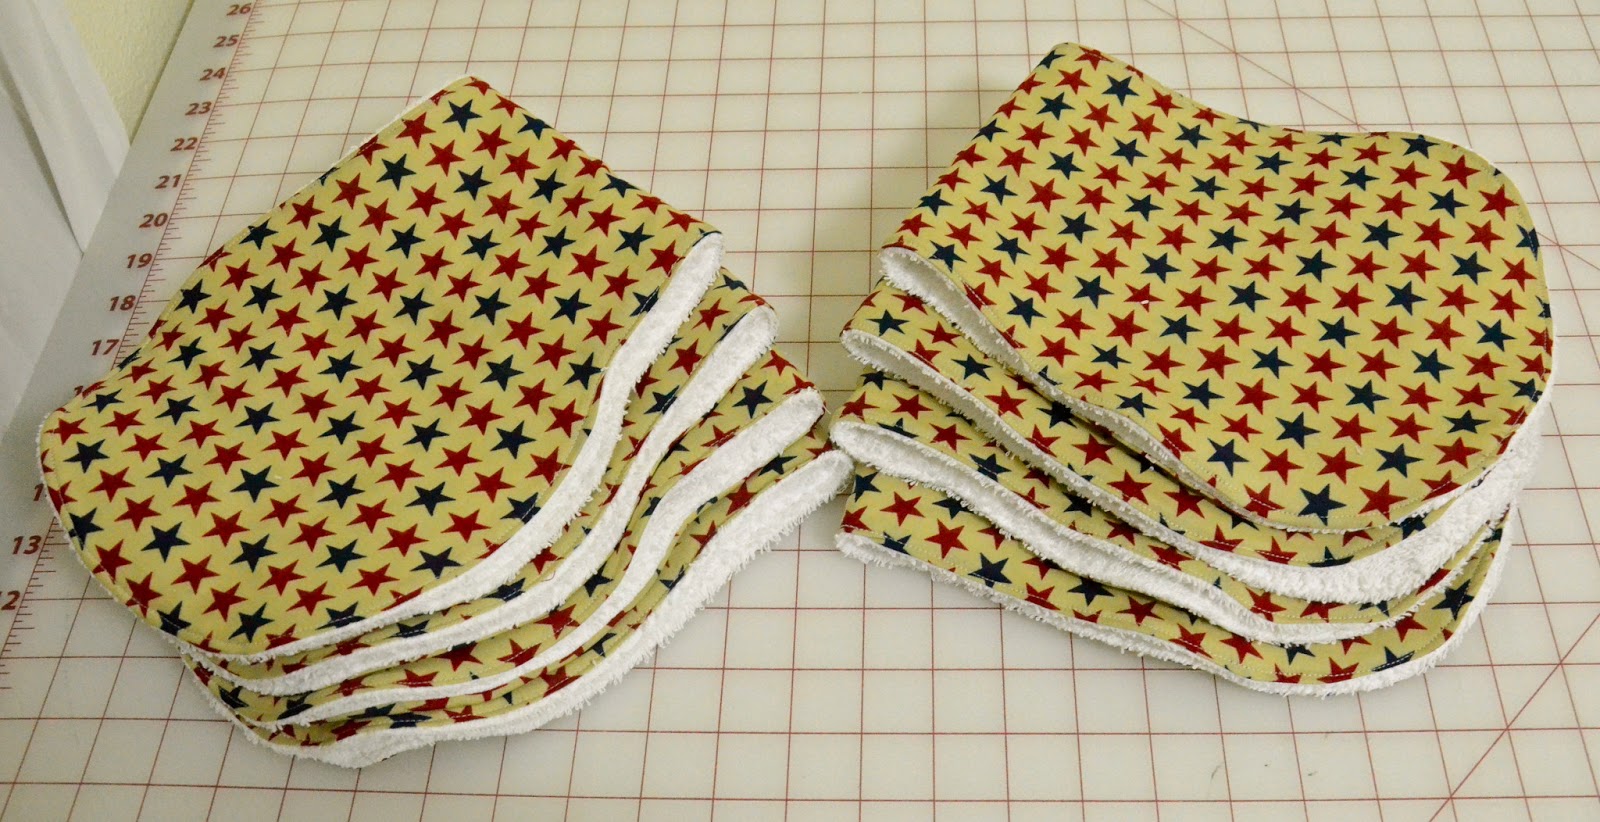 |
| Red and blue stars. |
I love making burp cloths and the ones I make vs. the ones others make, I have found, mine absorb better! Now, the tutorial on this is super easy. Make sure to make your pattern (like I did), and then you can do it two different ways. You can fold the fabric at the center of the pattern or lay it flat. I am going to do the tutorial with it flat, as I am already making multiples in this tutorial. Heres the tutorial.
Place your pattern on the WRONG side of the fabric, and trace it with a washable fabric marker.
Then cut, with scissors (unless your a pro with a rotary cutter) along the edge of the marker.
Now you have your main fabric cut out as the pattern... now continue with each layer!
Next, trace the pattern onto you terry cloth.
As you can see I was making several, and my terry cloth is folded so I was cutting two layers at a time.
Cut out your terry cloth pattern.
Continue again, tracing your pattern on to a batting. Now, I use a thin, cotton based batting. I prefer an organic, cotton batting as its thin, but still tends to absorb a lot. You DO NOT have to add batting to your burp cloth as I have a few (from those trial runs), that do not have batting and they work just fine! Terry cloth is very absorbent!
Again, I'm cutting several out, so here are several of the pattern traced onto my batting (again folded, so I can cut two at a time).
Here is the batting all cut out in the pattern.
Now your going to layer the 3 fabrics/batting. First lay your cotton (or patterned) fabric down with the RIGHT side of the fabric facing UP! Then place the terry cloth RIGHT side down (so now the two right sides are facing each other). NOTE: my terry cloth doesn't have a right side, however; some cheaper kinds do! So, make sure you know which side you want to use. Lastly place the batting on top on the terry cloth.
Go around the edge of the three layers of fabric and PIN then together.
I have a serger, so I continue off to the serger, and serge the entire edge of the burp cloth, leaving about a one and a half inch to a two inch hole open. NOTE: if you do NOT have a serger don't worry you can do a straight stitch about 1/4 inch in from the edge, leaving a 1 1/2 - 2 inch hole. Then switch over to your zig-zag stitch and stitch on the right side of the straight stitch that you just did. The zig-zag stitch will help hold all three pieces of fabric together when you flip them inside out.
Notice my serged edge and my hole that I am leaving.
Here is my hole that I have left. This hole is closer to 1 1/2 inches.
Now, flip the fabrics inside out. This is where you need to pay attention. When you flip the fabric, flip between the cotton/designed fabric and the terry cloth. The terry cloth and batting should flip together, pushing the batting to the inside and placing the cotton/design fabric and terry cloth to the outside of your pattern!
TA-DA!!! Now you have your burp cloth inside-out! Head over to the ironing board, as you might see its kind of wrinkled and needs a nice press. I now iron the burp cloth, pushing those seams out and making a nice crisp curved edge.
Now your going to need to push the cotton and terry cloth fabric to the inside of the burp cloth to make a nice flat edge. Just make sure that the terry cloth and cotton/design fabric line up with each other as well as the rest of the burp cloth around the edge. Try not to get any folding in the fabric. Once you have it tucked, I run my iron over the tucked fabric to help hold it in place.
Grab 3 or 4 pins, and pin the hole closed.
Head over to your regular sewing machine and now we are going to top stitch around the entire top of the burp cloth. NOTE: in the above photo, I am starting about a 1/2 inch from the hole. I begin with a lock in stitch, and then carefully top stitch over the hole, and make sure your catching both the terry cloth and cotton/design fabric to seal that hole shut! I typically top stitch about 1/8 of an inch from the edge of my burp cloth.
When I am about to complete my top stitch I overlap where I started slightly (about an inch) and then do another lock stitch to seal the top stitch off.
Heres what your edge should look like.
This is what your finished product should look like! You have done it! Great job, now you have an awesome burp cloth to use, or give as an easy baby gift!
Heres the folded up burp cloth, so dang cute.
Now you can make 3 or 4 or more, tie them up with ribbon and give them as baby shower gifts. If you have enough energy, you can always make bibs (
from this tutorial) to add to your baby shower gift or for your personal use! You could always buy matching vinyl and add a splat mat as well, heres my informational sewing run down on how to make one (
over here)!
I hope this tutorial is helpful, and feel free to comment or ask questions so I can edit it if need be!
Have fun burp cloth making,
Sarah


