Pages

Showing posts with label party. Show all posts

Saturday, August 30, 2014

Nautical Door Hanger and Photo Banner

I always love seeing those door hangers that welcome you to the party in style. Its my new obsession for any party. I made a mickey mouse wreath for my sons 2nd birthday party, and a 4th of July door hanger for the summer; so for me it was only fitting I made one for my sons nautical themed birthday party.

To make the door hanger, I wanted it to be an anchor as the main focus; so I purchased craft foam in orange and navy blue. I also grabbed foam letters in white to add a description on the door hanger.

I then printed the anchor at about 300% more than the original, cut it out, and traced it onto the foam. I then wanted to add a little more to it, so I cut out an orange foam sail boat and a wheel; which were about 175% larger than their original. I then used tacky glue to glue everything together. Lastly, I added the foam letters to say, "Jareds's 1st Birthday".

I added the twine to tie it onto the door.
It was so cute, and I hope everyone felt welcomed!
This door hanger can be made in any theme, any color, and for any kind of party. The craft foam they sell these days is in such an array of colors, you can pretty much get anything and everything.

A 1st birthday is one of those days I sit back and try to remember what my little guy looked like, how he has grown, what he has learned, and so on. One of the things I love to do is take a monthly photo and post each one at the party. Its a walk down memory lane for my guests but also for myself.

To make these photo frames I used a white card stock paper, and cut out a rectangle. I then cut out the center of it so I have a perfect frame with no cuts or piecing, its all one continues rectangle. I then use that white card stock as a template and trace it onto the scrapbook paper I got. I then cut those out and attach the printed photos to the back. I use simple photo mounting squares to attach everything together.

I then lay out how I want the banner of photos to look, and once I have it how I like it I grab my hot glue and twine. I use the same twine I have been using for the entire time, and carefully hot glue the twine to the back of each photo top and the decorative items on the end. I left a little extra twine on each end to hang them up.


Once the banner was up on the wall I was so happy with the end result. Everyone said how cute it was and a great way to see him in his stages of his first year of life. I am so happy with how everything turned out for this nautical themed birthday party, but the best part was my little guys smile!

I can't thank everyone who helped, came to the party, and gave Jared a special gift. Thank you everyone so much, it was such a special day.

Time to Party,
Sarah

Thursday, August 28, 2014

Goody Buckets for Nautical Birthday

This is the second half of the goody buckets. I put baggies of goldfish and cookies in the goody buckets but I also added a few other items. Here are the other small items I added to the buckets and how I made them.

I used word document and made a cover page for the coloring book. I printed 10, as I had 10 buckets to fill.


I also used the same twine I purchased for the banners and used a hole puncher to tie the twine through all the pages.


I then used image search engine online and looked up free coloring pages. I then printed them and again made 10 copies of each.

page 1

page 2

page 3

My husband and I found these water guns at Party City (during summer) and they were like $7 for 12. Which is a great deal.


I printed small labels, again using word document, and just cut them out. I used matching orange and navy blue paper and cut out slightly larger pieces to go behind the labels.


I then used regular glue and glued one white label to one blue or orange piece of paper.


I punched a hole in the corner of the labels, added the twine, and then tied them onto the bucket handles.


The buckets I got at Walmart, again during the summer, and they were less then a $1 each.


I added a few lifesavers to the buckets as well.
The total run down of the buckets were as follows:
Bags (100 count, 3 x 4): 2.99 Micheals gives military discount, so they were cheaper for me.)
Water guns: 7.00
Goldfish: 11.00 (for 3 - 1 pound bags, I only used 1 bag)
Mints: 10.00 (walmart)
Color pages: free
Buckets: .80 (walmart)
Cookies: free, I had all the supplies on hand

Total: 10 buckets for under $35! I call that a deal. My mother in law was shopping at Target and found washable markers on clearance for less then $2. She purchased about 10 packages, so the kids could color and we didn't have to worry about it, as we could just wash it right off.

The buckets were a great hit, and we only had 3 left at the end of the day. It worked out well, as I had 2 for my kids and one for our neighbors daughter.

Splish Splash,
Sarah

Tuesday, August 19, 2014

Nautical Themed Banners

For Jared's 1st Birthday this past June, we decided on a nautical theme. However, I didn't want to do a bunch of blue, white and red. I mean, we are in the military and we are always seeing blue, white and red. Instead I wanted to do something with more color; so we went with navy blue, white and orange. I know, its not far from blue, white, and red, but I liked how much it went with our monthly photo stickers, and the other ideas, and fabric I had.

With all that being said, I needed to start working on the decorations and banners in order to find a real theme to the party and something to give me a better guide lines. I headed out to Micheals one day, spent about 30 minutes going up and down and up and down the scrapbook paper. I was looking for the perfect paper to use for the banners. I found a few and was so excited when they all started to really pull together. Once I purchased the scrapbook paper, I then needed templates to cut out my themed items.

I just did a simple google search for the anchor, sail boat and wheel. I then printed, and enlarged them into the sizes I wanted and was going to use. I also made extra copies, just in case one of the kids got a hold of one, or if I accidentally cut one... you know, back ups; JUST IN CASE!!!

I then took all the paper, a pencil and my trusty busy bee scissors and got to work. I first cut out my template and then spend, however many hours, tracing them onto the paper. Then I spend an extra, however many hours, cutting those out.

First set cut out.

First set of each color cut out.

Different sizes for different banners.
Once I had a few hundred of these, I then began cutting the triangles out for the triangle "Happy Birthday" banner.

Heres all those super cute scrapbooking paper I got.
I have a stencil for the letters, and I just trace them onto white paper, and again cut them out, using my busy bees. Yes, I do all this by hand, no I do NOT have a cricut. Anyone want to get me one for Christmas?

I then purchased twine; the ugly, rough, cheap kind you find at the home depot or lowes kind of store; and used that with a lot of hot glue and ta-da:


The end result looked great. Excuse the painters tape, we were on a small budget.

I also wanted a fun high chair banner for when Jared smashed his cake. Just something simple and nothing crazy.

I used the same blue, orange and white paper to cut out circles (as this banner needed to be small, to fit on the front of a high chair.) I used my stencils to cut out the letters, and just used bowls to make the circles. I then cut, and glued them all together.


I again used the cheap twine and a little hot glue to put the banner together.

Again, ignore the painters tape.

The sign was so perfect.

His feet loved it... see?

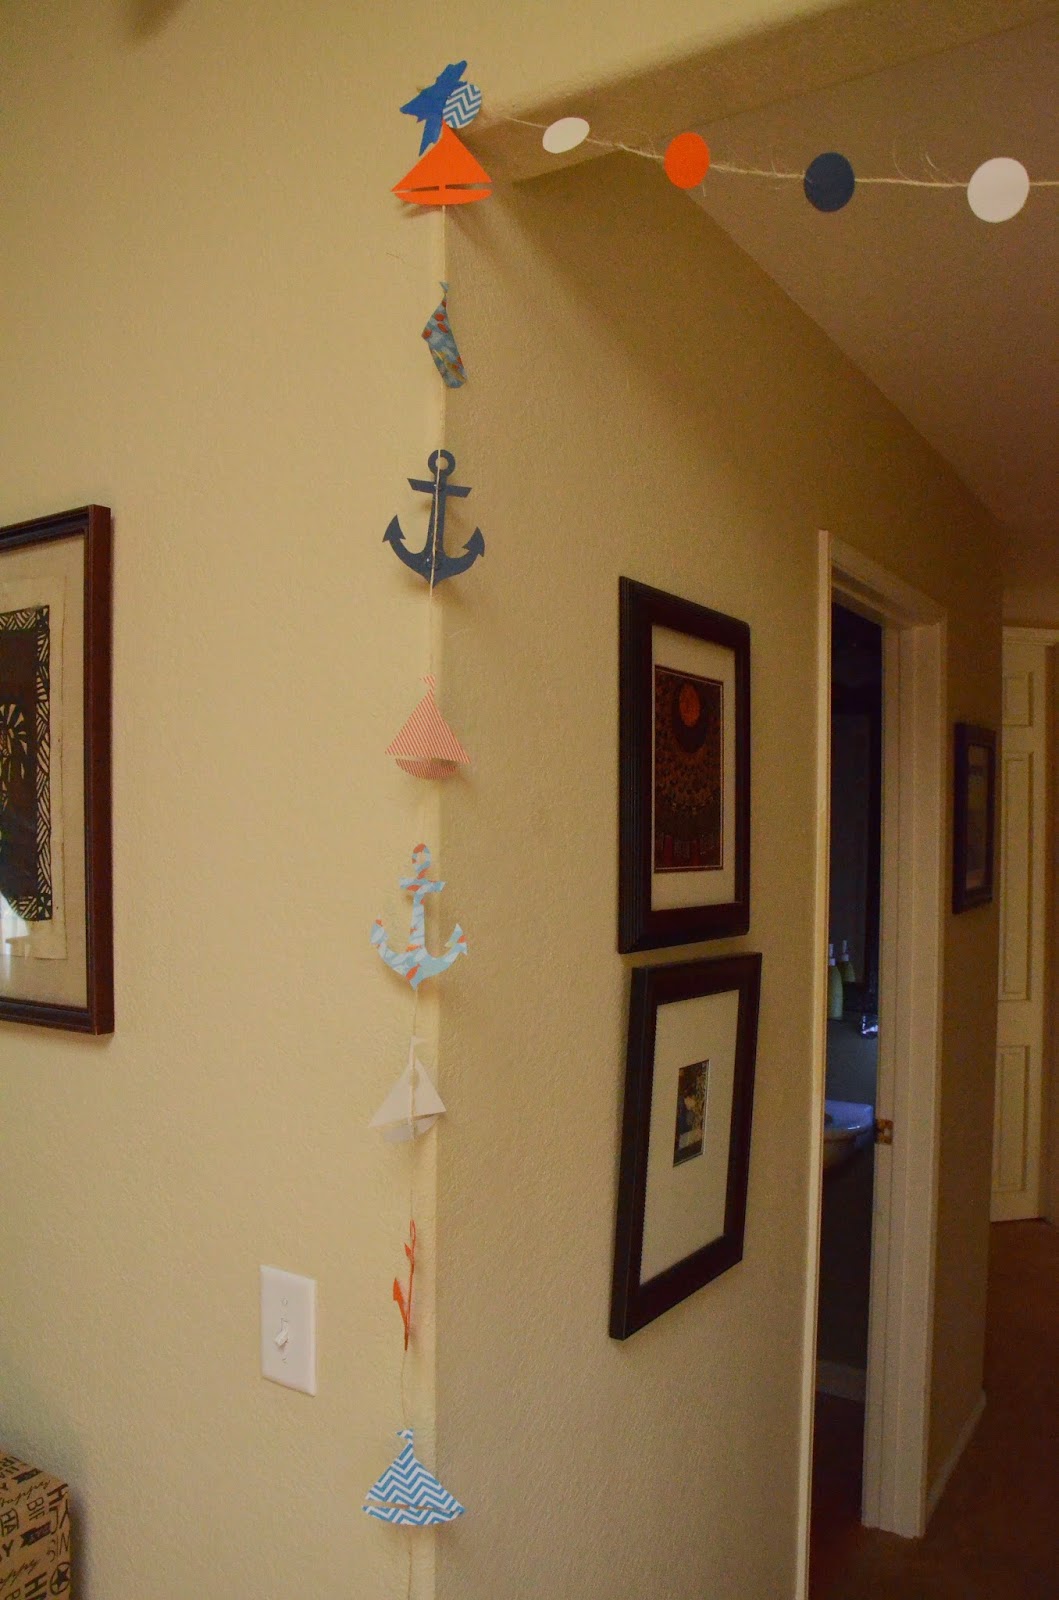
Lastly, I used ever inch of scrap paper to cut out circles and smaller anchors, wheels and sail boats. I then hot glued them to the twine and used them as "streamers" around the house. I also used the left over anchors, wheels, and sail boats to make individual dangling banners. I used those to hang from lights and areas outside. They blew in the wind, and looked great.

Notice the strand of circles and the anchor and boats in the background.

These are the circles cut out from the scrap paper, and hot glued on to the twine.

You could do a ton of these and hang them in a door way, or use them to block off a room or stairs. So cute, and it looked great.

This was a great addition to the inside decorations. Made the arch ways fun.

The decorations were a great hit, and everyone kept asking where I got the banners. I always love that feeling of fulfillment when I know I made something extra special on my son's big day.

Thanks for checking out the nautical themed birthday party, be sure to pin this, and share with your friends and family.


Now Sail-Away,
Sarah

Sunday, August 17, 2014

Jared's 1st Birthday Party

In June, we had a small week vacation down to southern California, to celebrate our little guys 1st birthday. I seriously can not believe this year went by so fast. Why do they have to grow up?

It was an exhausting trip, and I was struggling with: doing everything or just let some stuff go. So, I did what the new me would do, I let some stuff go. The end result was a wonderful party, and I enjoyed every second of it, and I hope everyone else did too!

Heres a few pictures from the party, and don't worry the tutorials and more photos will follow this post later this month! Keep an eye out for some tutorials and fun ideas.


I made a front door "wreath" and loved how it turned out!


up close
 While I spent a lot of time cutting out these pieces of paper, I really feel like they made the decorations come together.


Of course I have to do his photos through out the year...


His Birthday Boy chair!


The cake and goody table... yum!!


Heres where I decided to let it go. I made the decorations, but bought the cake. I just was so exhausted and did not want to be up all night making a cake; thanks to my mother in law we had a wonderful store bought cake, with my pre-made decorations!! (I also made the candle... well decorated it to match).


The individual large cupcake was for his "smash cake".

Mints (or life savers, to go with the theme), sugar cookies with royal frosting and chocolate stars which were all made by me!


Cookies!!!

I will more then likely post a tutorial on how I made these fun buckets, so keep an eye out for them. Total I believe I spent about 15 bucks for everything inside!!


I made the traditional Happy Birthday banner.


Heres those hand cut out anchors, sail boats and ship wheels:


 Of course we had to do cake time:

Such a happy birthday boy!

Blowing out the candle!


Getting his hands dirty.


Family photos, we had small kids pools set up; so excuse the wet 2 year old.


After a costume change, we got to the presents.

Which Jared LOVED opening.


Of course no birthday is complete without mommy dealing with two kids and their complete meltdown at the same time!


Best gift ever... I had something very similar when I was a kid, and thanks to Grandma Leonard, Jared now has one too.


Lastly, here is Jared in his shirt and shorts that I made. The outfit worked great with the theme, and all the colors worked so well together. Thank you to my mom, Grandma Leonard, who purchased all the wonderful balloons and helped me out so much.


 In the end, the day was perfect. Not super big, not super small, but just right. We literally had enough cake for everyone, and had tons of cookies and candy left over. It was a great party and I really have to thank everyone who helped, came to the party, and shared in on our celebration for Jared's 1st Birthday!

Thank you to my Mother and Father in law, who let us use their house and made all the wonderful food and had all the drinks and alcohol to share. Thank you to my entire family for helping me pull this off from afar, and purchasing items here and there for us. Thank you to my wonderful husband who helped watched the kids from time to time, to let me get stuff done for this party. Thank you for agreeing with your mother that I should just enjoy the day instead of bake all day! It was a great idea, and I seriously enjoyed myself, and I know Jared LOVED every second of it.

Another Successful Birthday,
 Sarah