Pages

Showing posts with label banner. Show all posts

Tuesday, August 19, 2014

Nautical Themed Banners

For Jared's 1st Birthday this past June, we decided on a nautical theme. However, I didn't want to do a bunch of blue, white and red. I mean, we are in the military and we are always seeing blue, white and red. Instead I wanted to do something with more color; so we went with navy blue, white and orange. I know, its not far from blue, white, and red, but I liked how much it went with our monthly photo stickers, and the other ideas, and fabric I had.

With all that being said, I needed to start working on the decorations and banners in order to find a real theme to the party and something to give me a better guide lines. I headed out to Micheals one day, spent about 30 minutes going up and down and up and down the scrapbook paper. I was looking for the perfect paper to use for the banners. I found a few and was so excited when they all started to really pull together. Once I purchased the scrapbook paper, I then needed templates to cut out my themed items.

I just did a simple google search for the anchor, sail boat and wheel. I then printed, and enlarged them into the sizes I wanted and was going to use. I also made extra copies, just in case one of the kids got a hold of one, or if I accidentally cut one... you know, back ups; JUST IN CASE!!!

I then took all the paper, a pencil and my trusty busy bee scissors and got to work. I first cut out my template and then spend, however many hours, tracing them onto the paper. Then I spend an extra, however many hours, cutting those out.

First set cut out.

First set of each color cut out.

Different sizes for different banners.
Once I had a few hundred of these, I then began cutting the triangles out for the triangle "Happy Birthday" banner.

Heres all those super cute scrapbooking paper I got.
I have a stencil for the letters, and I just trace them onto white paper, and again cut them out, using my busy bees. Yes, I do all this by hand, no I do NOT have a cricut. Anyone want to get me one for Christmas?

I then purchased twine; the ugly, rough, cheap kind you find at the home depot or lowes kind of store; and used that with a lot of hot glue and ta-da:


The end result looked great. Excuse the painters tape, we were on a small budget.

I also wanted a fun high chair banner for when Jared smashed his cake. Just something simple and nothing crazy.

I used the same blue, orange and white paper to cut out circles (as this banner needed to be small, to fit on the front of a high chair.) I used my stencils to cut out the letters, and just used bowls to make the circles. I then cut, and glued them all together.


I again used the cheap twine and a little hot glue to put the banner together.

Again, ignore the painters tape.

The sign was so perfect.

His feet loved it... see?

Lastly, I used ever inch of scrap paper to cut out circles and smaller anchors, wheels and sail boats. I then hot glued them to the twine and used them as "streamers" around the house. I also used the left over anchors, wheels, and sail boats to make individual dangling banners. I used those to hang from lights and areas outside. They blew in the wind, and looked great.

Notice the strand of circles and the anchor and boats in the background.

These are the circles cut out from the scrap paper, and hot glued on to the twine.

You could do a ton of these and hang them in a door way, or use them to block off a room or stairs. So cute, and it looked great.

This was a great addition to the inside decorations. Made the arch ways fun.

The decorations were a great hit, and everyone kept asking where I got the banners. I always love that feeling of fulfillment when I know I made something extra special on my son's big day.

Thanks for checking out the nautical themed birthday party, be sure to pin this, and share with your friends and family.


Now Sail-Away,
Sarah

Sunday, May 11, 2014

May Give Thanks, Week 1

May 1:
     Thankful for all the "new" things my little guy has done today. He clapped for the first time, took several steps in a row on his own, and even walked from the couch to the coffee table on his own. He is just picking up on everything these days. Even when we say something to him, like "Say, Hi Dada" he will mimic it so well! Its the best feeling ever.

May 2:
     Thankful that I was able to sit down and prep all the blocks for the next section of the Halloween quilt. The prepping on the freezer paper takes a lot of time (probably because I am OCD), but I finished all of it for the next section! Its nice to have that time where absolutely no little hands are grabbing at everything you are doing. Happy dance!

May 3:
     My oldest son tried his hand at painting for the first time today. I am thankful that he enjoyed it a ton (even threw a fit when he had to stop for dinner), thankful he didn't eat any of the paint, and lastly I am thankful for such beautiful artwork now hanging on my fridge! Best way to keep a kid busy for an hour.

May 4:
     For awhile, after the holidays, my mother and I kind of got into a routine of calling each other whenever we could find the time, and just take a moment to catch up. She often called on her way home once a week, and if I missed her call I would try calling sometimes on the weekend while I had a hubby to help keep the kids out of my hair. Today, I called my mother and we were able to chat for some time, so thankful for such a wonderful mother, and as I get older I realize how much it calms me to have someone to chit chat about life with. Its a beautiful thing, that as we age we grow closer to those we often pushed away while we were kids. Love you Mother Elizabeth!

May 5:
     Working on little projects here and there for my sons 1st birthday next month. Thankful today I was able to finish up cutting some of the pages for the banner. I am excited to see this party come together, but at the same time its too soon.


May 6:
     Thankful for an hour or two, during the boys nap, to put one coat of orange paint on the boys stove/oven unit. I can't wait to finish it up.


May 7:
     Today is a hard day to find something to be thankful for, but after a long day in an ER for my oldest son, I am thankful for all the family and friends who have supported us.


Give Thanks,
Sarah

Thursday, March 27, 2014

Baby Shower Banner #2

I showed you the first banner I made for my sisters baby shower and how simple it was. I then made a REAL storybook themed banner from a Mother Goose book. I loved reading the Mother Goose rhymes when I was a kid, and still love to read them to my kids now. This banner take a little more time, but can still be done in a day or two.

First you will need to grab the following items:
-glue
-scissors
-pencil/pen
 -old book to cut up
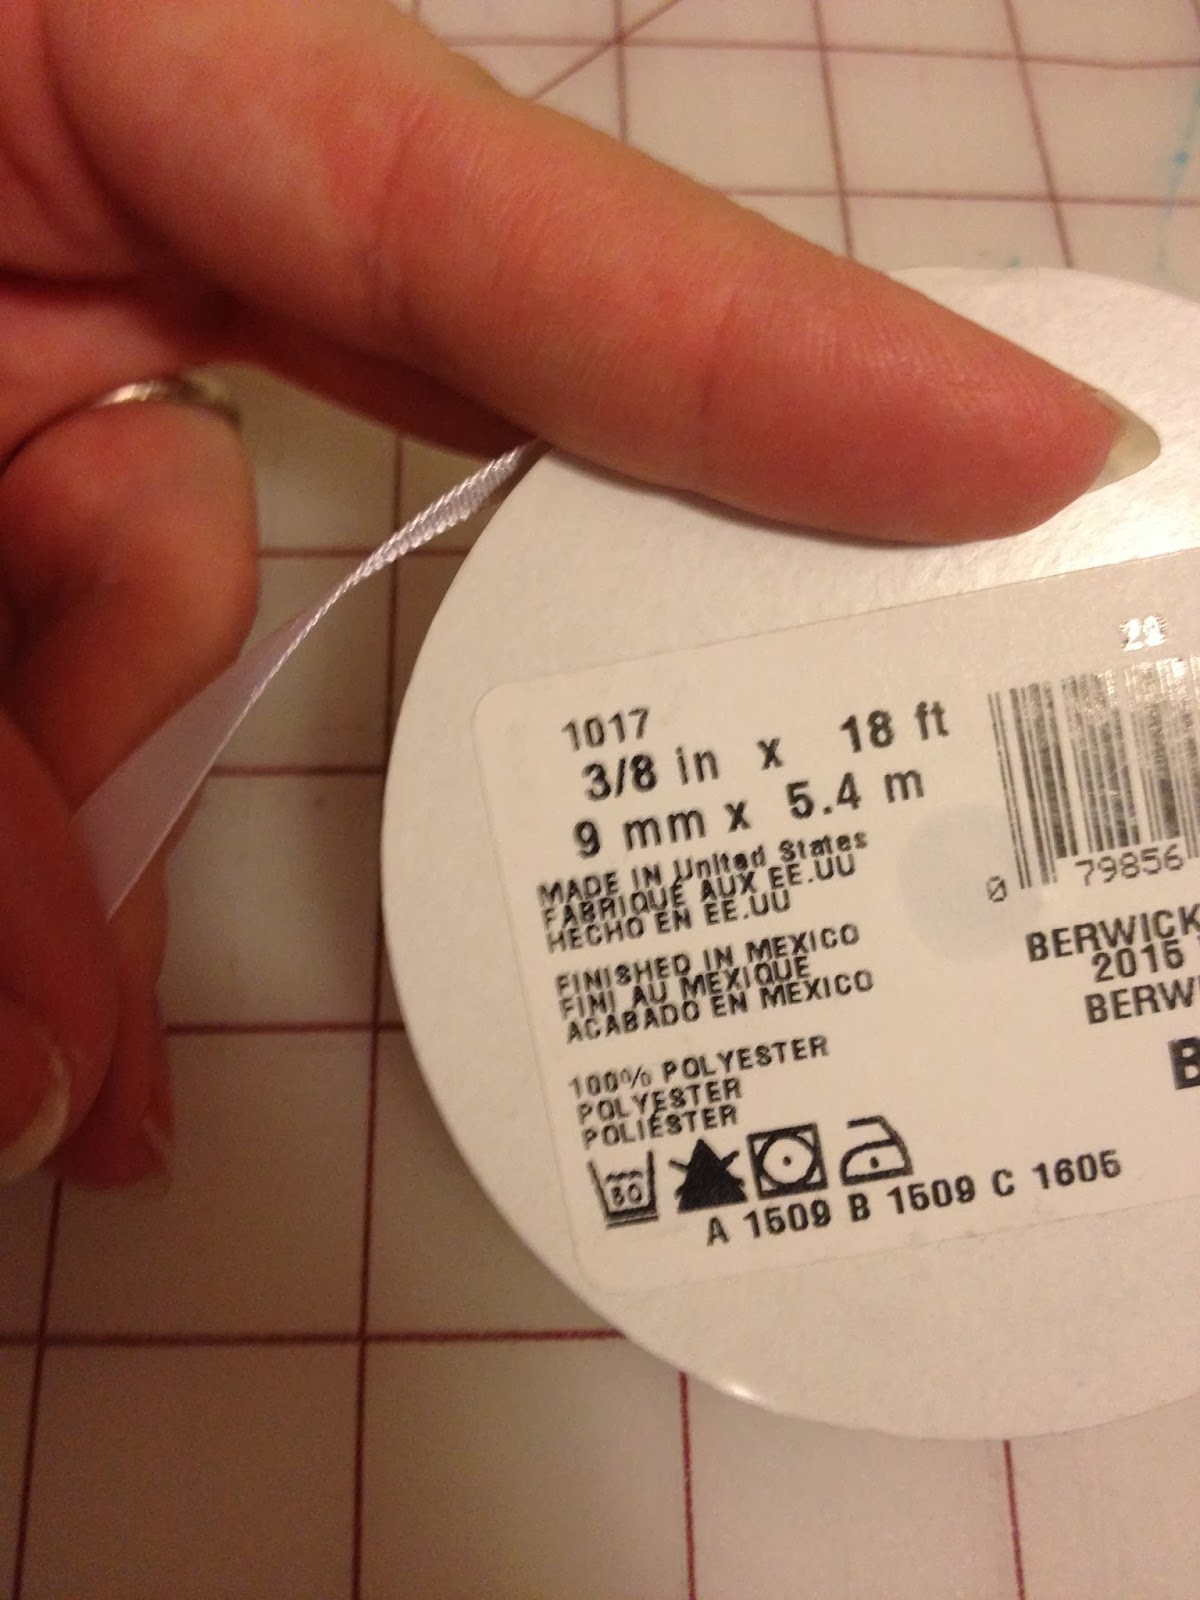
-ribbon (white, 3 inches)
-a Mother Goose book or other book you enjoy for the theme
-colored scrapbook paper (needs to be 12 inches or larger)
-a banner template (the triangle shape), a large one and one just ever so slightly smaller.


1. Color copy the nursery rhymes from the Mother Goose book that you want to use. Make sure you copy enough for the amount of letters and spaces you need in the banner.

2. Cut out, using the template, the large triangle/banner pieces from the colored paper.

3. Cut out, using the smaller template, the triangle/banner pieces from the colored copy pages from the book

4. Lastly cut out of the old book paper the letters you need. You can do this free hand, with a stencil, or a machine.

5. Glue the letters to the colored pages from your themed book. Then glue those triangles to the colored triangles.

6. You now should have something that looks a lot like this:


7. Now you want to get a ribbon large enough to sew or glue the banner onto. I purchased a 3 inch sized white ribbon. I then folded it in half and placed the top of each triangle piece inside the fold. I then stitched along the bottom part of the ribbon, where the paper was.


8. I placed one triangles corner right next to the next triangles corner, barely leaving any gap.


9. Once done your banner should look something like this:


and at the party:


Now Get Started,
Sarah

Tuesday, March 25, 2014

Baby Shower Banner #1

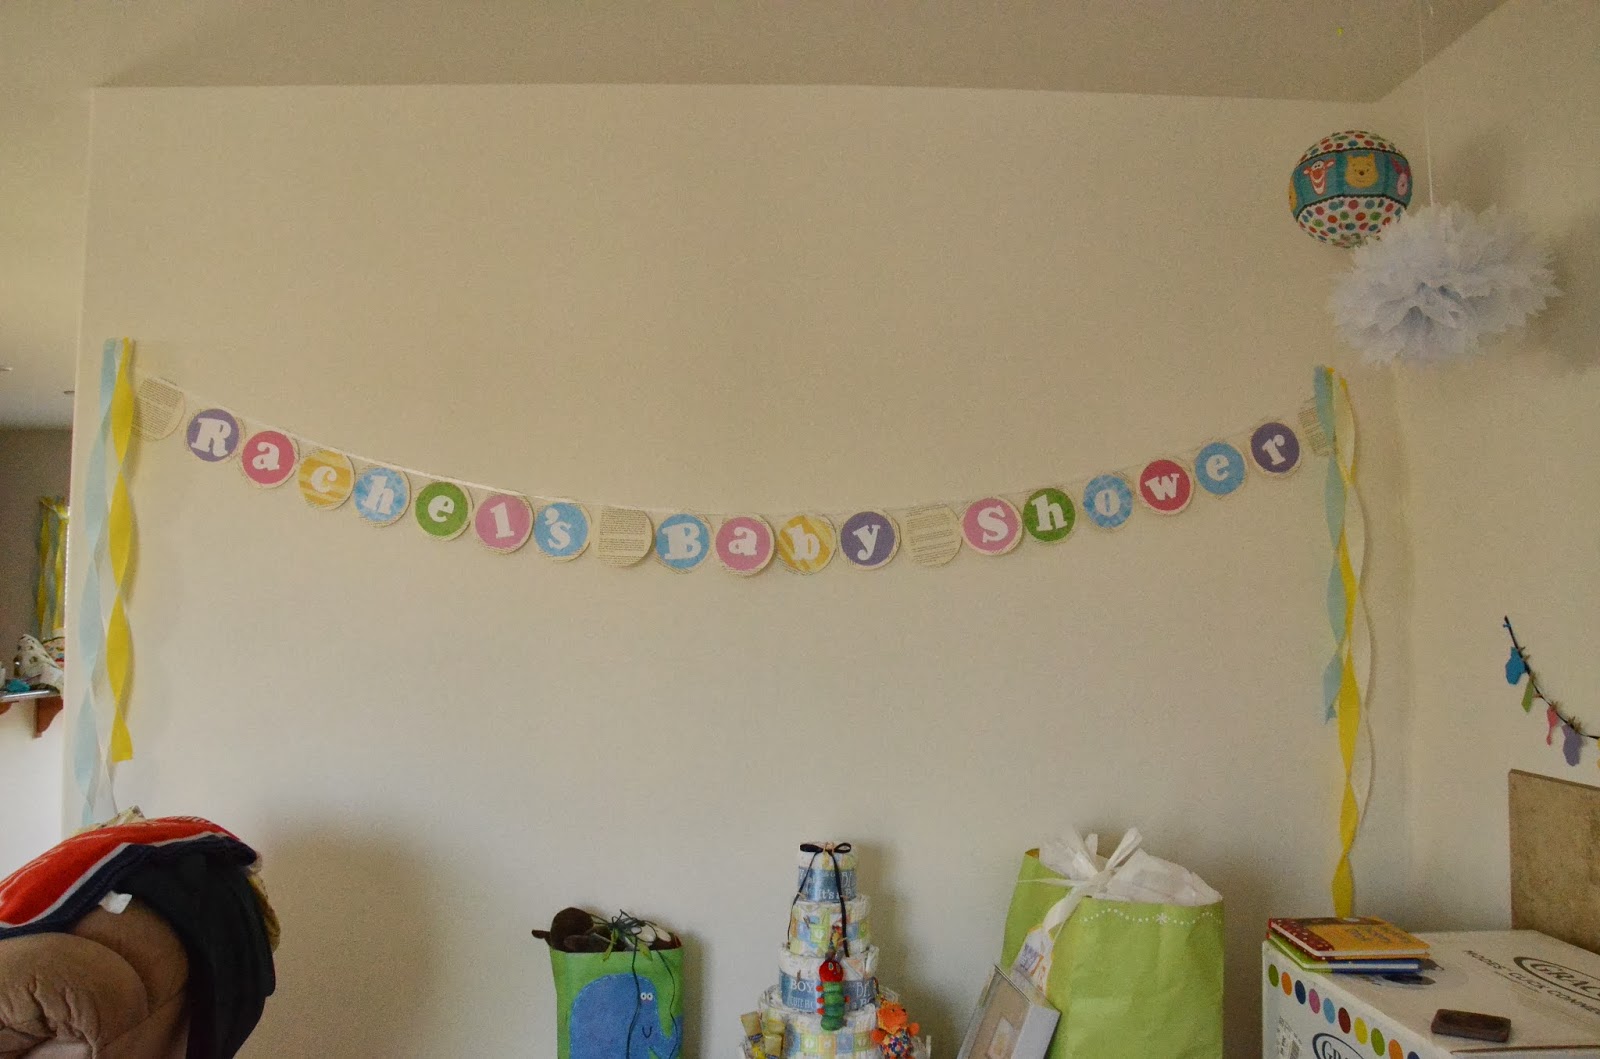
For my sisters baby shower, way back in February this year; I made almost all the decorations. The theme was Classic Storybook. I wanted to make a few banners, as I knew her house has multiple walls to cover. I wanted the banner to be colorful, and pop. However, I stayed within the color scheme, and kept it super simple. You can do the same, just change the colors, and match it to your theme. (An example would be: for a nautical party get nautical scrapbook paper, cut the large circles from that, solid colors like orange, blue, and white for the small circles and a navy dark blue for the letters.)

To do this small project you will need colored paper (I used scrapbook paper I had on hand), paper from an old book that you don't mind ripping up, scissors, glue, ribbon, and a letter cutter/stencil/or you can free hand them.

1. Cut out a small circle from all the colored paper. Then cut a circle out of the book paper, making it slightly larger then the colored circle. I used two bowls from a collection, so the bowls were perfect in sizes. Cut those all out. If you have a machine that can do this, even better!


2. Find a ribbon you like and get enough for your banner size. I used one roll and some.


3. Glue all the colored circles to the book circles and then glue the letters on top of the colored circles.

4. You can either glue the ribbon onto the circles, or do as I did, and sew it on for a stronger hold. I just used a straight stitch and placed the ribbon on the circle, stitched, and continued to the next circle.


5. Your finished product should look a lot like this:


and at the party with the other decorations:


I enjoyed the small light pop of colors, but the beautiful personalized banner that I knew would fit PERFECTLY into the theme. Its just that simple.

Have Fun,
Sarah

Monday, March 3, 2014

DIY Mickey Mouse Birthday Banner

For my sons 2nd birthday, the theme was Mickey Mouse Clubhouse, which you can see HERE. I wanted to make a banner, for the party, heres my DIY tutorial on how you can make your own.

 I have seen several Mickey Mouse banners all over the internet and shops, only thing is they are extremely expensive. I just didn't want to spend the money. So instead I grabbed some cheap construction paper ($10, at joanns). I had a Mickey Mouse cookie cutter, and I grabbed a bowl that was big enough to put the Mickey Mouse on. Once I had all of those I grabbed a marker and started tracing away.

 This is the bowl and my cookie cutter. If you don't have a cookie cutter, just find some cups or something that you can make a mickey head with, and use that as a template.


I cut out red and black Mickey Mouse heads.


I cut out white, red and black circles. You can change the colors up as you please.


Grabbed my tacky glue, and glued the Mickey Mouse heads to the circles. Now I wrote out what I wanted to put on the banner (Happy 2nd Birthday Brian), then I made sure none of my mickey heads or circles ended up being the same colors. So, make sure you plan ahead before you do any cutting or gluing!


I found some Disney font online, printed it, made it the size I needed, and traced them onto the gold/yellow paper. I have a flash light app on my ipad, and used that to place the letters behind the yellow/gold paper, then traced it onto the yellow. You can do the same with a window and sunlight. It was night time, so I found a different way!


Glue down the letters where they need to go, on the Mickey heads. I then used a hole puncher to punch two holes, about an inch apart, onto the top of the circles.


I then purchased black ribbon (you can use gold, red, or any other color). I purchased a very LONG roll, as I needed to cover about 8 feet of space. I taped one end of the ribbon (to make it easier to slide through the holes). I pull the ribbon up through the LAST circle of the banner, through the right hole.


Then push the ribbon through the left hole, towards the back of the circle.


Continue from the LAST circle to the FIRST circle. Once done you should have something like this.


Once I started decorating for the party, I evenly spaced out the letters, and hung the banner in place.


The finished look is just as nice as the super expensive ones.


Now Its Banner Time,
Sarah

Friday, July 19, 2013

Brians 1st Birthday Party!

My first born, Brian, turned one in February 2013. I know I am way behind on posting this but I figured a lot of people love to see what others do for birthday parties to help get ideas. I decided I would post a few photos and explanations of what we did for his Big First Birthday!!

Like all birthdays you have to start with a theme! We chose MONSTERS!! Brian was a very cranky baby when he was a newborn, and so his nickname; monster, kind of stuck! Once we had the theme, I needed fabric and banners/printables to start picking colors and monsters from. I found this fabric:


over at fabric.com. I love the bright colors and the fact it has a dark background! Heres the printables we chose, sorry its a little hard to see, but the colors in the fabric and on the printables are all very similar!


Now that I had the theme and colors, I started working on the onesies for him, his crown, his bib, and pants. I found a tutorial on pinterest on how to make pants, and went from there. The tutorial used a pair of jeans from her son, traced them and then made the "pattern" just slightly larger then that. I loved how detailed her tutorial was. You can find it over at Growing Home, and while your over there check out all her other posts! I also made a bib and appliqued onto the bib. I have a tutorial that I made on how to make a bib, you can check it out over here at Bibs for Babies! I also appliqued onto two onesies, and made a banner out of fabric. The crown I made, I just drew out a crown that I liked, and then cut out 2 pieces of fabric, sewed them together (right sides together), then flipped it inside out and put a binding on the open side (the bottom), and then attached the monster, embroidered the ones on and finished it off with some cute stitching.

Brian wearing the crown and bib.

Heres one of the onesies I made.

Heres the other onesie I made. (Note: the monster was purchased).

The bib I made. (Note: the monster was purchased.)
This is the banner I made. (Note: The monster were purchased.)

The crown I made. (Note: The monster was purchased.)

Back of the pants, pockets on the back and on the side.

Front of the pants.
Now that I had all the clothing made, I needed to make goody bags and goody bag items. I purchased a few candies and coloring books to go in the bags, but I wanted the bags to be something the kids could have and keep. I made the bags from two rectangles, and then sewed the corners, so the bag had a flat bottom. The handles were just strips of fabric. I also made a few different monsters from felt.

The goody bags at the party and the monsters at the party!
The goody bags in progress.
Monsters in progress.
I loved the idea of showing pictures from the past year (of my birthday boy). The idea of seeing him in photos growing up was such a cute idea, and so I made frames from some scrapbooking paper I had on hand. I simply measured out a frame for a 4 x 6 picture and then used one as a stencil and cut a few out. I stuck to the same colors and used scrapbooking paper that didn't have a ton of detailed pattern on it.

The photos all framed up with the scrapbooking paper.
This is the photo chain, with the photos at the top starting at birth and the ones at the bottom being more recent.
For the entire house, we used streamers, a few balloons, and a few curled up ribbon to help give the tables some pop.

A friend and my sister-in-law helped make this wall!

A three headed monster to take pictures in!!

The gift table with balloons in the background.

The dessert table. (Check out the fabric banner I made hanging above)!
I have been making cakes for many years now, so of course I was super excited to make my sons birthday cake. Now, I was at my in-laws house and using some of their stuff and I brought a few of my tools with me, but its always difficult to bake and decorate in someone elses kitchen! It was a hot week too, in California, and the house wasn't too cool, and because of that I was struggling to get the icing just right. Anyways, I did a trial run of this cake at home (as seen in the first photo below), but hated everything about it. So, then when I arrived at the in-laws I decided to change almost everything about the cake. I also enjoyed making the cupcakes as they were simple but made a cute display!

Trial run cake- did not like this at all!

The table all set up!

The cake and cupcakes.

The cake up close.

Again.

The adorable monster cupcakes.

Just too cute, all the monster cupcakes are looking at me!
In the end I loved the cupcakes, and the cake! The top tier of the cake (the orange monster) ended up being the smash cake. The top tier was removed, and we gave it to our son as we sang happy birthday! He wasn't too sure what to do with it at first, but once he got a taste he was a happy little guy!

Singing Happy Birthday and waiting to blow out the candle!

Eating the cake!
He enoyed ripping the paper off the presents as well, and also enjoyed taking down all the decorations and playing with the balloons. I tell you the best toys are always the cheapest stuff!

Opening gifts!
Playing with the balloons!

Helping us take down the decorations!

Overall, the party was a huge success, and we had a blast planning and throwing it. We have to thank my father-in-law and mother-in-law for letting us use their house and for supplying the awesome food! We are very lucky to have such awesome friends and family members who came and showered Brian with such love and too many gifts to count! It was a great party and I am so thankful the entire thing went off without any issues!

Now time to plan Brians 2nd birthday party and our newest addition, Jareds 1st birthday! YIKES!!

Happy Planning,
Sarah