Pages

Showing posts with label classic storybook theme. Show all posts

Thursday, April 3, 2014

Baby Shower Goody Bags/Jars


For a Baby Shower party, what else is cuter and fits in perfect for favors as baby jars with candy! Yes, its that simple. Find baby food jars, ask your mommy friends, or collect them yourself. I have a 9 month old and I use about 2-3 baby food jars a day; so it was easy for me to collect a few jars. I rinsed them, pulled the labels off, then used Goo-Gone to pull the sticky goo off, then lastly I ran them through the dishwasher (lids too). Once they were dry and clean I was able to start the process of putting the labels on them.

I printed out Thank You in different colors, and cut them up. I also took colored paper to match the baby shower colors and cut those just slightly larger then the Thank You squares. I then trimmed it all up.


Next I take the jar and find my front and back. Some of the jars had random black ink marks on them, so I used this chance to place it in the back or put my ribbon over it if I could.


I used a thin ribbon, and just a basic white. Make sure you have enough ribbon!


Take a hot glue gun and glue on side of the ribbon down in the FRONT of your jar.


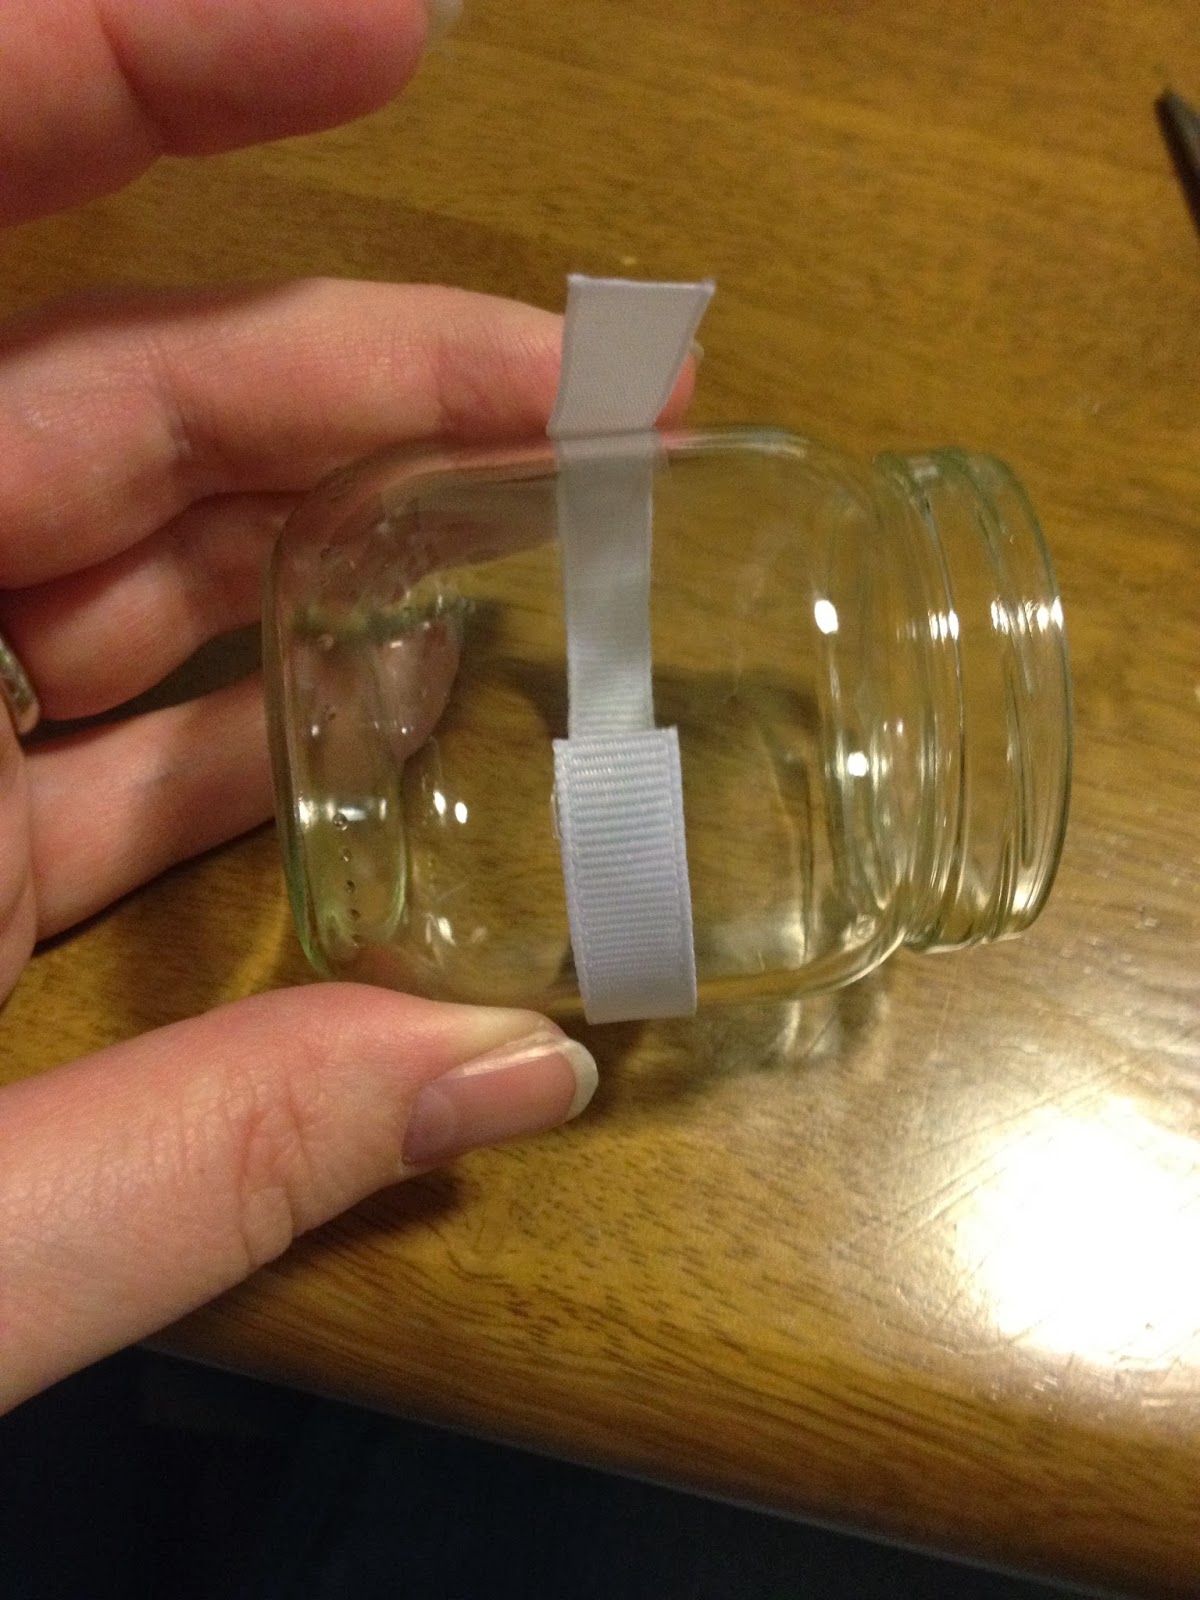
Wrap the ribbon around and glue it in place next to the other end.


Now turn the jar around so the seam is facing away from you. Set it right next to you.


Grab your colored paper with the Thank You glued on to it, and place it facing down.


Place hot glue on it.


Press the ribbon seam side into the paper (do NOT use your fingers as the glue will be too hot and you might burn yourself). Press the jar into the paper, and roll it from side to side.


Then turn it around and press with your finger to make sure its secure.


Set them aside, and continue on... and finish the rest of your jars.


Grab all the lids off all the jars, and a can of colored spray paint. I used white, but after I sprayed the lids with several coats the expiration date was still noticeable. I would recommend a color that will cover that.

I then laid a box down, place all the lids a few inches apart, and started to spray. Be sure to get the sides too.


If they need to, give them a second coat.


Place the lids back on once they are dry, and start adding the candy (or whatever you want to put in them).


I also did the same labels with a piece of paper that said Rachel's Baby Shower, looped the ribbon around the baby bottles (which I purchased off amazon.) Just glue the ribbon to the sign and drape it over the bottle.


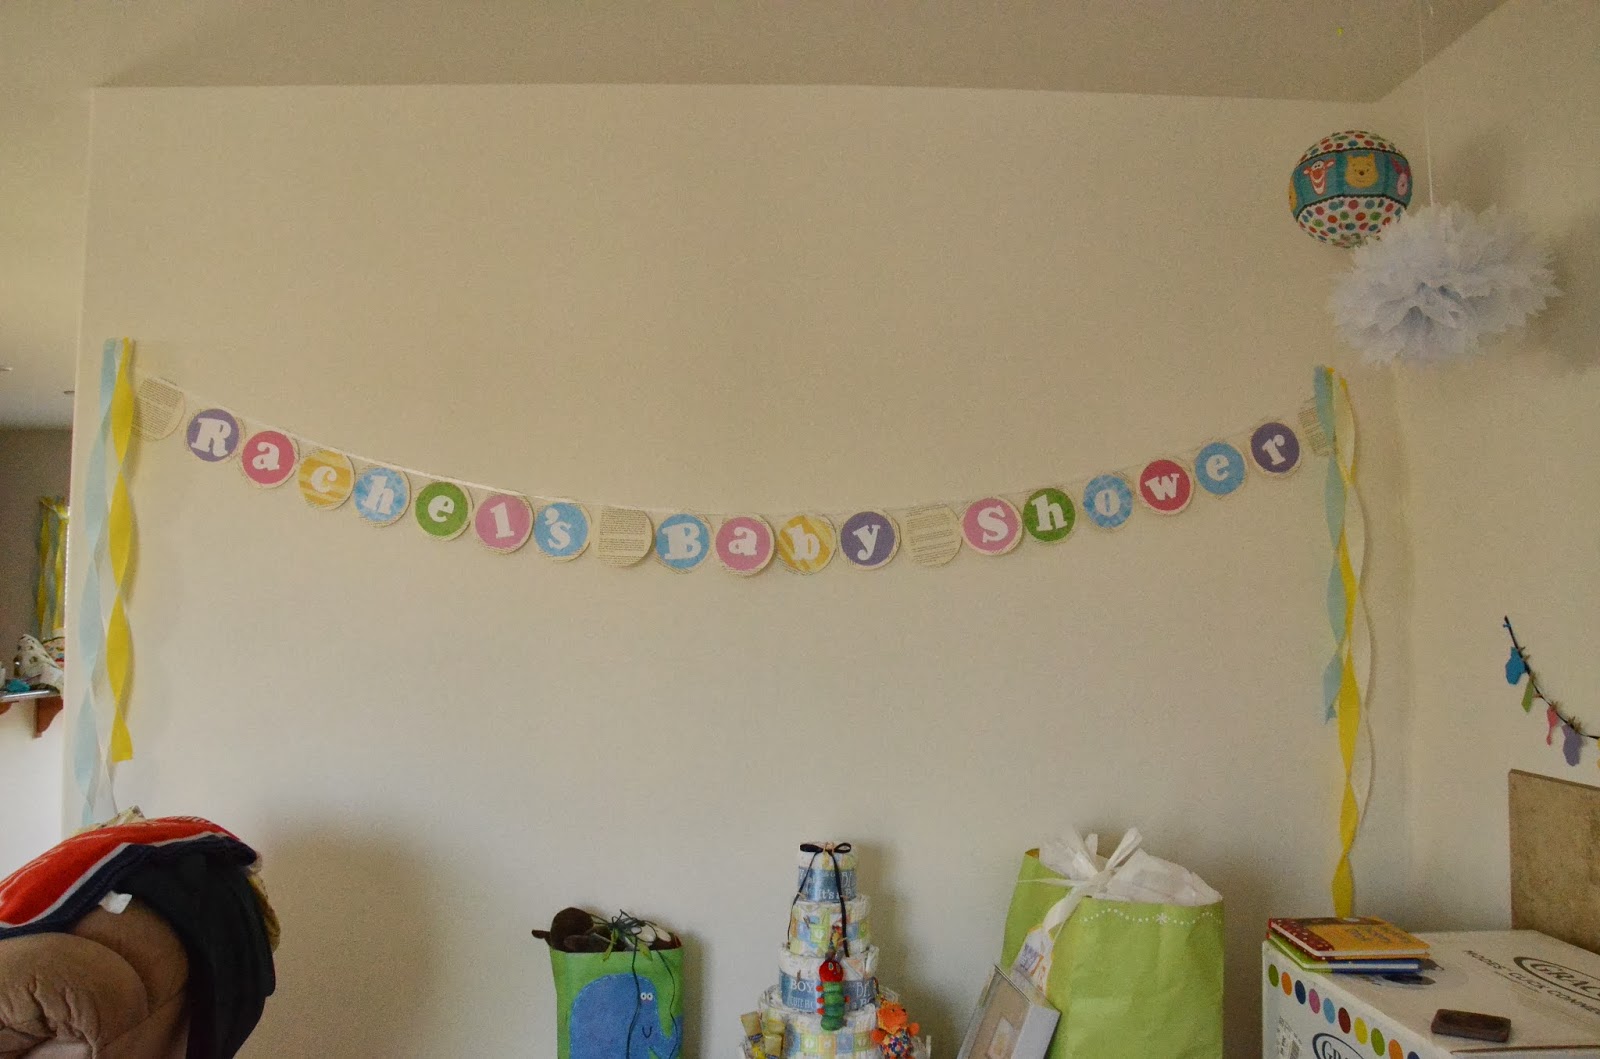
The finished product at the party. The baby bottles are in clear bags with other candy items.


Happy Goody Bag Making,
Sarah

Tuesday, March 25, 2014

Baby Shower Banner #1

For my sisters baby shower, way back in February this year; I made almost all the decorations. The theme was Classic Storybook. I wanted to make a few banners, as I knew her house has multiple walls to cover. I wanted the banner to be colorful, and pop. However, I stayed within the color scheme, and kept it super simple. You can do the same, just change the colors, and match it to your theme. (An example would be: for a nautical party get nautical scrapbook paper, cut the large circles from that, solid colors like orange, blue, and white for the small circles and a navy dark blue for the letters.)

To do this small project you will need colored paper (I used scrapbook paper I had on hand), paper from an old book that you don't mind ripping up, scissors, glue, ribbon, and a letter cutter/stencil/or you can free hand them.

1. Cut out a small circle from all the colored paper. Then cut a circle out of the book paper, making it slightly larger then the colored circle. I used two bowls from a collection, so the bowls were perfect in sizes. Cut those all out. If you have a machine that can do this, even better!


2. Find a ribbon you like and get enough for your banner size. I used one roll and some.


3. Glue all the colored circles to the book circles and then glue the letters on top of the colored circles.

4. You can either glue the ribbon onto the circles, or do as I did, and sew it on for a stronger hold. I just used a straight stitch and placed the ribbon on the circle, stitched, and continued to the next circle.


5. Your finished product should look a lot like this:


and at the party with the other decorations:


I enjoyed the small light pop of colors, but the beautiful personalized banner that I knew would fit PERFECTLY into the theme. Its just that simple.

Have Fun,
Sarah

Wednesday, March 12, 2014

Storybook Table Decoration

I searched for tons of great ideas for a long skinny buffet table decorations. I wanted something long that could sit behind the food at the party, but still scream Classic Storybook Themed Baby Shower. I eventually came up with the idea of color printing a few book covers, cutting them out, and placing them on some scrapbooking paper. Bind them together and place it on the table. Little did I know this project would be a little harder then just copy, cut, glue, and bind! Don't worry though, I have a tutorial with photos, so you can follow along and make your very own! You could use this design for any party. Use photos, and place them on both sides for a center piece on a table. Or use animals, characters, or designs that are part of your party and place this decoration on a counter, party table, food table, dessert table, or even a presents table! This decoration can be made and used for almost any event!

What you will need for this project:

Take a few books that you want to use, color copy the fronts, and shrink them (or enlarge them) to the size you desire. Cut them out.


Next grab a few scrapbook paper that you like, or will match you theme or colors. I chose a few boy themed light colored scrapbook paper. I them cut them to a desired size. Which I think was something like 8 x 10 inches.


I then laid the pages out and placed the book covers on each page. I did this and changed them up and moved them around, etc. Once I decided on what I liked, I then took a photo to remember.


I then measured about a half inch on all sides, to get the book in just the right spot/center. You would have to do some measuring with your book covers and scrapbooking pages to figure out where your center is. I used a PENCIL and put a mark where I measured each corner to be. Thats a helpful guide for the next step.


I then used Tacky Glue (which you can get at any craft store), and place a drop of glue in each corner and center of the book covers and glued them in to place. Use your pencil mark guides to help you place the cover back into the correct spot.


Once all your covers are glued down and dry, you will now need a needle (large enough to place Embroidery Floss through), a safety pin, Embroidery Floss in your desired color, a pencil, and ruler.


Start by measuring out a pattern of how you want or where you want your floss to go. I wanted mine to look like Xs so I made sure I worked in groups of 4. I then placed pencil marks, using my ruler, about a half inch from the edge of the paper, and a half inch from the dot before.

Notice the small pencil dots, those are my thread holes.

I then knot one end of my floss, thread it through the needle, and push through from the back of on page at the bottom, and move upward. Skipping one hole on each side.


I then continue back down, making all the Xs as I work. I then go back and pull all the loose floss and make the Xs tight.


I then pull the floss through the last hole, and knot it onto the first floss hole I went through, as you can see below. I knotted it 3 times.


Your back should now look all pretty.


The front should look something like this, or maybe you added an extra 2 holes... which I didn't have room for.


Now move on to the next pages. I linked the two left pages together, then the two right and then placed them together with the center, that way I wasn't working with 3 or 4 pages all at once.


I made it easier on myself, and I created a template to help guide me in placing the holes in the exact same place every time.


I line up my guide with the two pages, and then push my pencil through the holes to leave a small pencil mark on the scrapbook paper.


I then push my safety pin through the holes, from front to back, this will keep the paper from ripping, or pushing upward and leaving white around the hole.


Using your floss, I would cut about 10-12 inches of thread for each.


Start from the back, pushing up through the bottom to the front. Don't forget to knot the end of your floss.


Move to the hole directly next to it, and push down to the back.


Move diagonally and push your floss up through the next hole on the right.


Jump over and up one hole or at a diagonal.  Push your floss through to the back.


Again, go diagonally to the next hole, or over and up one.


Continue this pattern up and back down.


Start pulling the thread tight.


Until you have this:


Finish it up with your knots.


Now carefully fold the pages so they don't stick out.


Then stand it up and check out your amazing work!


Use it at the party for a table decoration or anywhere else!


Get To Work,
Sarah