Pages

Showing posts with label theme. Show all posts

Tuesday, August 19, 2014

Nautical Themed Banners

For Jared's 1st Birthday this past June, we decided on a nautical theme. However, I didn't want to do a bunch of blue, white and red. I mean, we are in the military and we are always seeing blue, white and red. Instead I wanted to do something with more color; so we went with navy blue, white and orange. I know, its not far from blue, white, and red, but I liked how much it went with our monthly photo stickers, and the other ideas, and fabric I had.

With all that being said, I needed to start working on the decorations and banners in order to find a real theme to the party and something to give me a better guide lines. I headed out to Micheals one day, spent about 30 minutes going up and down and up and down the scrapbook paper. I was looking for the perfect paper to use for the banners. I found a few and was so excited when they all started to really pull together. Once I purchased the scrapbook paper, I then needed templates to cut out my themed items.

I just did a simple google search for the anchor, sail boat and wheel. I then printed, and enlarged them into the sizes I wanted and was going to use. I also made extra copies, just in case one of the kids got a hold of one, or if I accidentally cut one... you know, back ups; JUST IN CASE!!!

I then took all the paper, a pencil and my trusty busy bee scissors and got to work. I first cut out my template and then spend, however many hours, tracing them onto the paper. Then I spend an extra, however many hours, cutting those out.

First set cut out.

First set of each color cut out.

Different sizes for different banners.
Once I had a few hundred of these, I then began cutting the triangles out for the triangle "Happy Birthday" banner.

Heres all those super cute scrapbooking paper I got.
I have a stencil for the letters, and I just trace them onto white paper, and again cut them out, using my busy bees. Yes, I do all this by hand, no I do NOT have a cricut. Anyone want to get me one for Christmas?

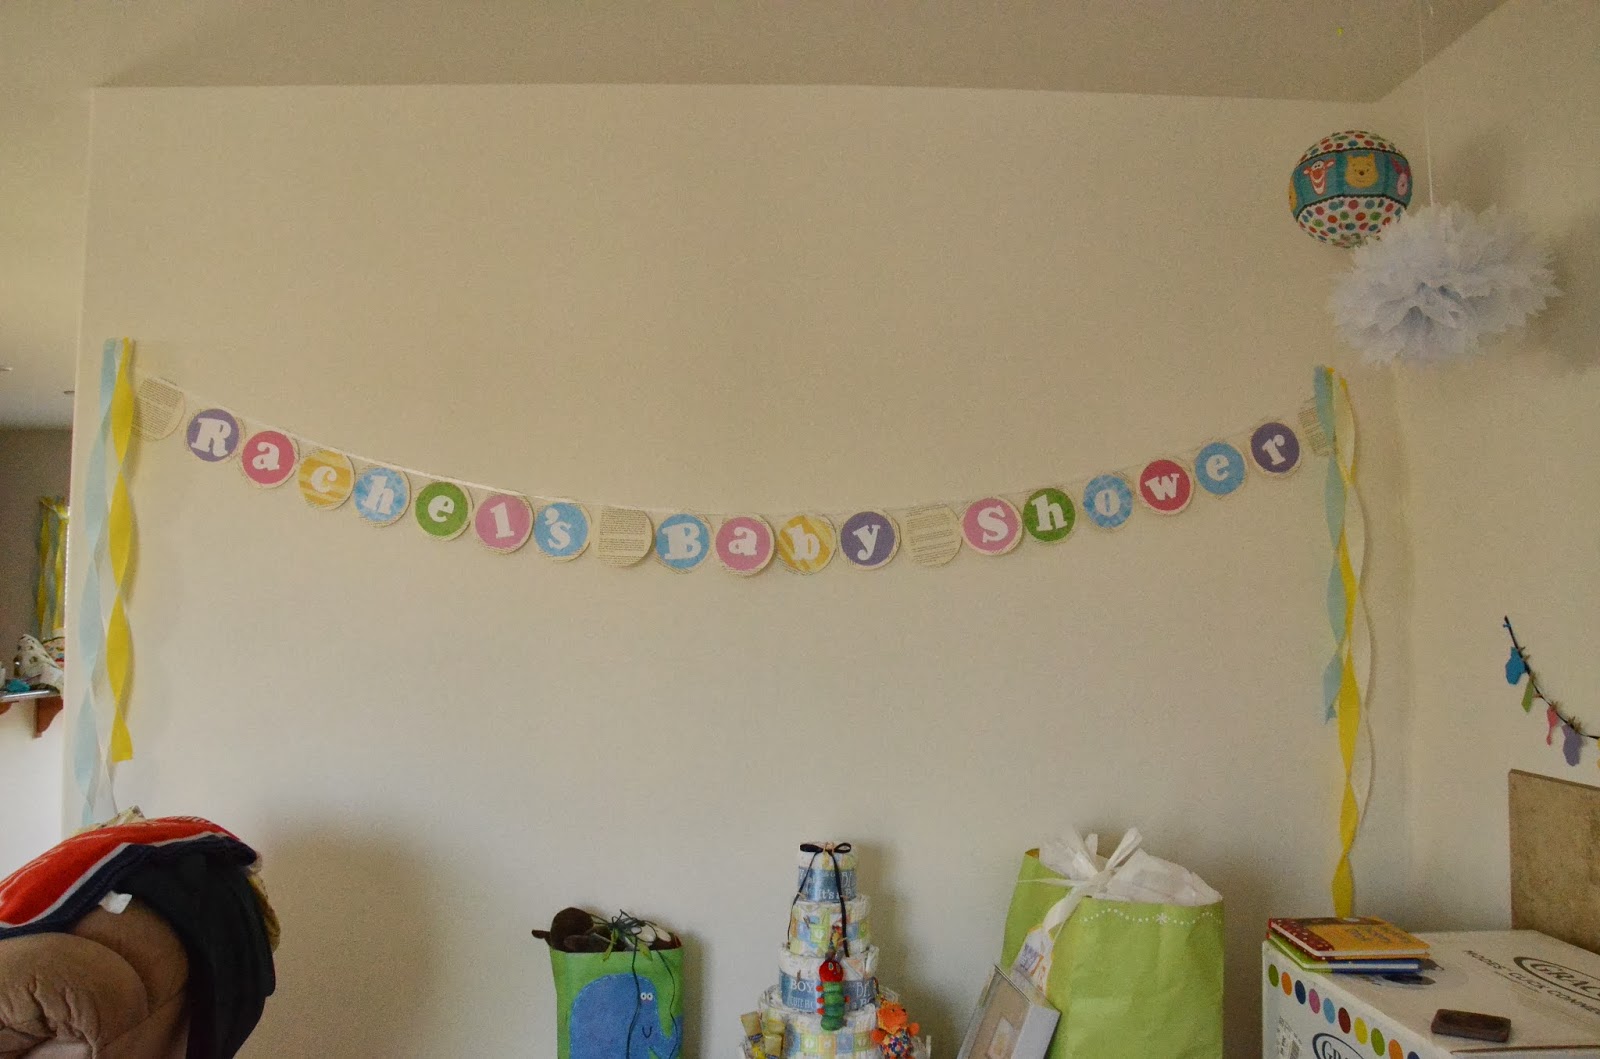
I then purchased twine; the ugly, rough, cheap kind you find at the home depot or lowes kind of store; and used that with a lot of hot glue and ta-da:


The end result looked great. Excuse the painters tape, we were on a small budget.

I also wanted a fun high chair banner for when Jared smashed his cake. Just something simple and nothing crazy.

I used the same blue, orange and white paper to cut out circles (as this banner needed to be small, to fit on the front of a high chair.) I used my stencils to cut out the letters, and just used bowls to make the circles. I then cut, and glued them all together.


I again used the cheap twine and a little hot glue to put the banner together.

Again, ignore the painters tape.

The sign was so perfect.

His feet loved it... see?

Lastly, I used ever inch of scrap paper to cut out circles and smaller anchors, wheels and sail boats. I then hot glued them to the twine and used them as "streamers" around the house. I also used the left over anchors, wheels, and sail boats to make individual dangling banners. I used those to hang from lights and areas outside. They blew in the wind, and looked great.

Notice the strand of circles and the anchor and boats in the background.

These are the circles cut out from the scrap paper, and hot glued on to the twine.

You could do a ton of these and hang them in a door way, or use them to block off a room or stairs. So cute, and it looked great.

This was a great addition to the inside decorations. Made the arch ways fun.

The decorations were a great hit, and everyone kept asking where I got the banners. I always love that feeling of fulfillment when I know I made something extra special on my son's big day.

Thanks for checking out the nautical themed birthday party, be sure to pin this, and share with your friends and family.


Now Sail-Away,
Sarah

Tuesday, August 5, 2014

Fourth of July Door Banner

I felt left out in our community; as everyone had some type of unique door wreath or window treatment for the holiday season. I was so tired of being left out, so I grabbed the 4th of July/Fireworks themed jelly roll that I had on hand and began to assemble a few pieces. Along the way I found a few new techniques that I now love and work great!

I have done a braid before, but for some reason I wanted to make one for this project. Thats where I started, making 1 inch strips of braided America fabric! Once I had a long enough braid, I set that aside to attempt something else.


I wanted to do some blocks around the edging, and found this unique way of doing it. I thought I would give it a try, and I actually found it really easy to keep all the pieces together. I simply start with 1inch squares all cut and ready to go.


Then grab your interface.  I like the lighter weight interface, and this apparel interfacing is pretty thin.


Then lay all your squares out on top of the interface. I did a 5 x 5 inch block of interface, laid all my square right side up, and carefully iron them onto the interface. Once they are ironed in place then you will fold each row and sew.

Heres the first row folded, you can iron it down so you have a strong line.


Sew with 1/4inch seam along the edge.


Once you have it sewn, it should look like this:


Fold the second row and iron it down again to give you a nice fold to follow.


Sew again with 1/4 inch seam.


Continue this until you have sewn rows 3, 4, etc.


Now you need to sew them the other directions.


Doing the same thing you did with the first row, fold it over and iron it down. This might be a little harder as now you will have other stitches to go through.


Carefully sew with 1/4 inch seam.


Now do that again on the 2, 3, 4 etc.


Your square should look something like this:


I made 4 total. I loved the finished look as they were all even and nothing was off set.

Once I finished those, I laid out how I wanted the braid and the squares to look. Kind of did things backwards here, as I liked them on the outside vs the inside. I did some measuring and just used some of the strips to make the center panel. 


I eventually ended up with this:


It seemed plain to me, so I wanted to add some stars. I used my freezer paper, and cut out some stars, ironed them onto the back of the blue fabric, and then cut them out.


I then layered them on to some white fabric, and just did a top stitch. I like the idea that in time the sides will fray!


I cut those out from the white fabric, and used a tight zig zag stitch to applique them onto the front of the panel. I then did a little quilting in the ditch and quilted small stars on top of the squares. To quilt a perfect star, I used my freezer paper star cut out and ironed them on to the squares, then just quilted right around it. No need for it to be perfect either as it was just to add some depth.


While putting the binding on I added small triangles to the top corners, on the backside. I then place a wooden rod inside the two triangles and hang the panel up that way. The wooden rod gives the panel a perfect flat look.


All hung up and giving my door some fun color.


Now I need to find a design to do for August and September. I am thinking a fun summer panel, or a creative sail boat/beach themed design.

Get Creative,
Sarah


Thursday, March 27, 2014

Baby Shower Banner #2

I showed you the first banner I made for my sisters baby shower and how simple it was. I then made a REAL storybook themed banner from a Mother Goose book. I loved reading the Mother Goose rhymes when I was a kid, and still love to read them to my kids now. This banner take a little more time, but can still be done in a day or two.

First you will need to grab the following items:
-glue
-scissors
-pencil/pen
 -old book to cut up
-ribbon (white, 3 inches)
-a Mother Goose book or other book you enjoy for the theme
-colored scrapbook paper (needs to be 12 inches or larger)
-a banner template (the triangle shape), a large one and one just ever so slightly smaller.


1. Color copy the nursery rhymes from the Mother Goose book that you want to use. Make sure you copy enough for the amount of letters and spaces you need in the banner.

2. Cut out, using the template, the large triangle/banner pieces from the colored paper.

3. Cut out, using the smaller template, the triangle/banner pieces from the colored copy pages from the book

4. Lastly cut out of the old book paper the letters you need. You can do this free hand, with a stencil, or a machine.

5. Glue the letters to the colored pages from your themed book. Then glue those triangles to the colored triangles.

6. You now should have something that looks a lot like this:


7. Now you want to get a ribbon large enough to sew or glue the banner onto. I purchased a 3 inch sized white ribbon. I then folded it in half and placed the top of each triangle piece inside the fold. I then stitched along the bottom part of the ribbon, where the paper was.


8. I placed one triangles corner right next to the next triangles corner, barely leaving any gap.


9. Once done your banner should look something like this:


and at the party:


Now Get Started,
Sarah

Tuesday, March 25, 2014

Baby Shower Banner #1

For my sisters baby shower, way back in February this year; I made almost all the decorations. The theme was Classic Storybook. I wanted to make a few banners, as I knew her house has multiple walls to cover. I wanted the banner to be colorful, and pop. However, I stayed within the color scheme, and kept it super simple. You can do the same, just change the colors, and match it to your theme. (An example would be: for a nautical party get nautical scrapbook paper, cut the large circles from that, solid colors like orange, blue, and white for the small circles and a navy dark blue for the letters.)

To do this small project you will need colored paper (I used scrapbook paper I had on hand), paper from an old book that you don't mind ripping up, scissors, glue, ribbon, and a letter cutter/stencil/or you can free hand them.

1. Cut out a small circle from all the colored paper. Then cut a circle out of the book paper, making it slightly larger then the colored circle. I used two bowls from a collection, so the bowls were perfect in sizes. Cut those all out. If you have a machine that can do this, even better!


2. Find a ribbon you like and get enough for your banner size. I used one roll and some.


3. Glue all the colored circles to the book circles and then glue the letters on top of the colored circles.

4. You can either glue the ribbon onto the circles, or do as I did, and sew it on for a stronger hold. I just used a straight stitch and placed the ribbon on the circle, stitched, and continued to the next circle.


5. Your finished product should look a lot like this:


and at the party with the other decorations:


I enjoyed the small light pop of colors, but the beautiful personalized banner that I knew would fit PERFECTLY into the theme. Its just that simple.

Have Fun,
Sarah