Ok, yes I know theres tons of bib tutorials and tons of bib ideas all over the web these days, but I thought I would add my tutorial and a few of the bibs I have done.
Bibs are super easy if you ask me, but sometimes when I look at designs, or ideas on pinterest and other blogs I realize some people make them too complicated, when they really don't need to be!
I love making bibs and also love using snaps instead of velcro. If you have followed a few of my other posts you probably already know that my son has figured out the velcro but not the snaps! So, if you don't have a snap device I HIGHLY recommend them. I purchased mine at Joanns.
Heres the one I bought! You purchase that device and then you purchase the snaps to go with it, and t
hose look like these!
Now if you have velcro and prefer velcro then please feel free to add that where I have added the snaps! Just be sure to purchase sewing velcro and not the sticky kind!
Heres a few of the more recent bibs I have done:
 |
| Neutral themed bib! |
 |
| Boy themed bibs! |
 |
| Girl bib! |
 |
| Girl bib! |
 |
| Turtle Themed with yellow flannel back. |
 |
| Turtle Themed bibs with the Yellow flannel back. |
 |
| Green polka dot with white and yellow flannel back. |
I think bibs are a great gift, especially when you make them by hand! These, with a few burp cloths, maybe a taggy, throw in a outfit or a stuffed animal and you have a cute hand made gift!
Alright, heres the bib tutorial:
 |
| This is the bib pattern. I made it by tracing a bib i bought, and then adding about a 1/2 inch on all sides (except the folded side). |
Note: When your making your pattern you should trace it onto paper and trial run the size. I made a few with scratch fabric I had sitting around and adjusted the size as I went.
Fold your Fabric the width of your pattern. I do this so I can use as much of the available fabric as possible. Note: the fabric is folded with the two RIGHT sides together.
Place your bib pattern on the wrong side of the folded fabric. Place the folded part of the pattern on the folded fabric.
Trace your pattern with a pencil, or washable marker. Then pin the entire area, to ensure it doesn't move while you are cutting it out.
Cut out the marked pattern, using your fabric scissors. If you are better with a rotary cutter then have at it. When I am working with such a curved pattern i prefer to pin, pin, pin, and cut with scissors.
Do the exact same this (fold fabric, place pattern, trace, pin, and cut), with a second fabric for the back of the bib. Now, I like to use flannel when I am making bibs. One side it pretty with a design and the other just a simple flannel. I also prefer the flannel on one side to help absorb some of the drool, food, milk, spit up or whatever else it may catch! If you would prefer to do two cottons and place a thin batting in the middle, you can do that as well!
Now you have your back(s) and your front(s). Here I have made 3 bibs total.
I move over to my ironing board, and lay the flannel fabric, RIGHT side up, and then place the cotton fabric RIGHT side DOWN! So now with both RIGHT sides together, I iron the 2 pieces together, making them stiff and it helps them cling to each other.
I then pin, pin, pin around the entire edge. Now you may pin differently depending on how you plan to seem the bib together. I have a serger so I simply pin the fabrics close to the edge just to keep them from moving. Where as, if you are going to straight stitch and then zig-zag stitch around the edge, you might want to have you pins pinning from outside towards the center of the bib.
I then serge the entire edge, but be sure to leave a small hole, about an inch and a half to two inches wide.
Heres my hole, its about an inch and a half wide.
Again you can see my hole, which you will now use to turn the fabric inside out. Note: I serged my edges, if you do not have a serger again you can straight stitch about 1/4 inch in from the edge and then go back around with a zig-zag stitch and finish the 1/4 inch edge, to give it a little more strength.
Turn your bib inside out by pulling the fabric through the hole you left.
Once its turned inside out, be sure to push all your seams out and get all the curved edges as far out as they can go. See how wrinkly the fabric is, now thats no good! So back over to your ironing board you go!
Folding the two fabrics in, where your hole is, and make a seamless line. (As seen below), then iron the folded fabric at the hole and continue to iron the rest of the bib, so it is nice and flat. Note: I iron the cotton side only! I don't want to burp off all that lovely soft flannel, so i simply stick to the cotton sides.
Note the hole you used to turn the fabric inside out, now is folded inside, and the seams all line up and the bib is smooth.
After ironing it flat, be sure to pin that hole so those two pieces of fabric don't move on you when you go to top stitch the bib!
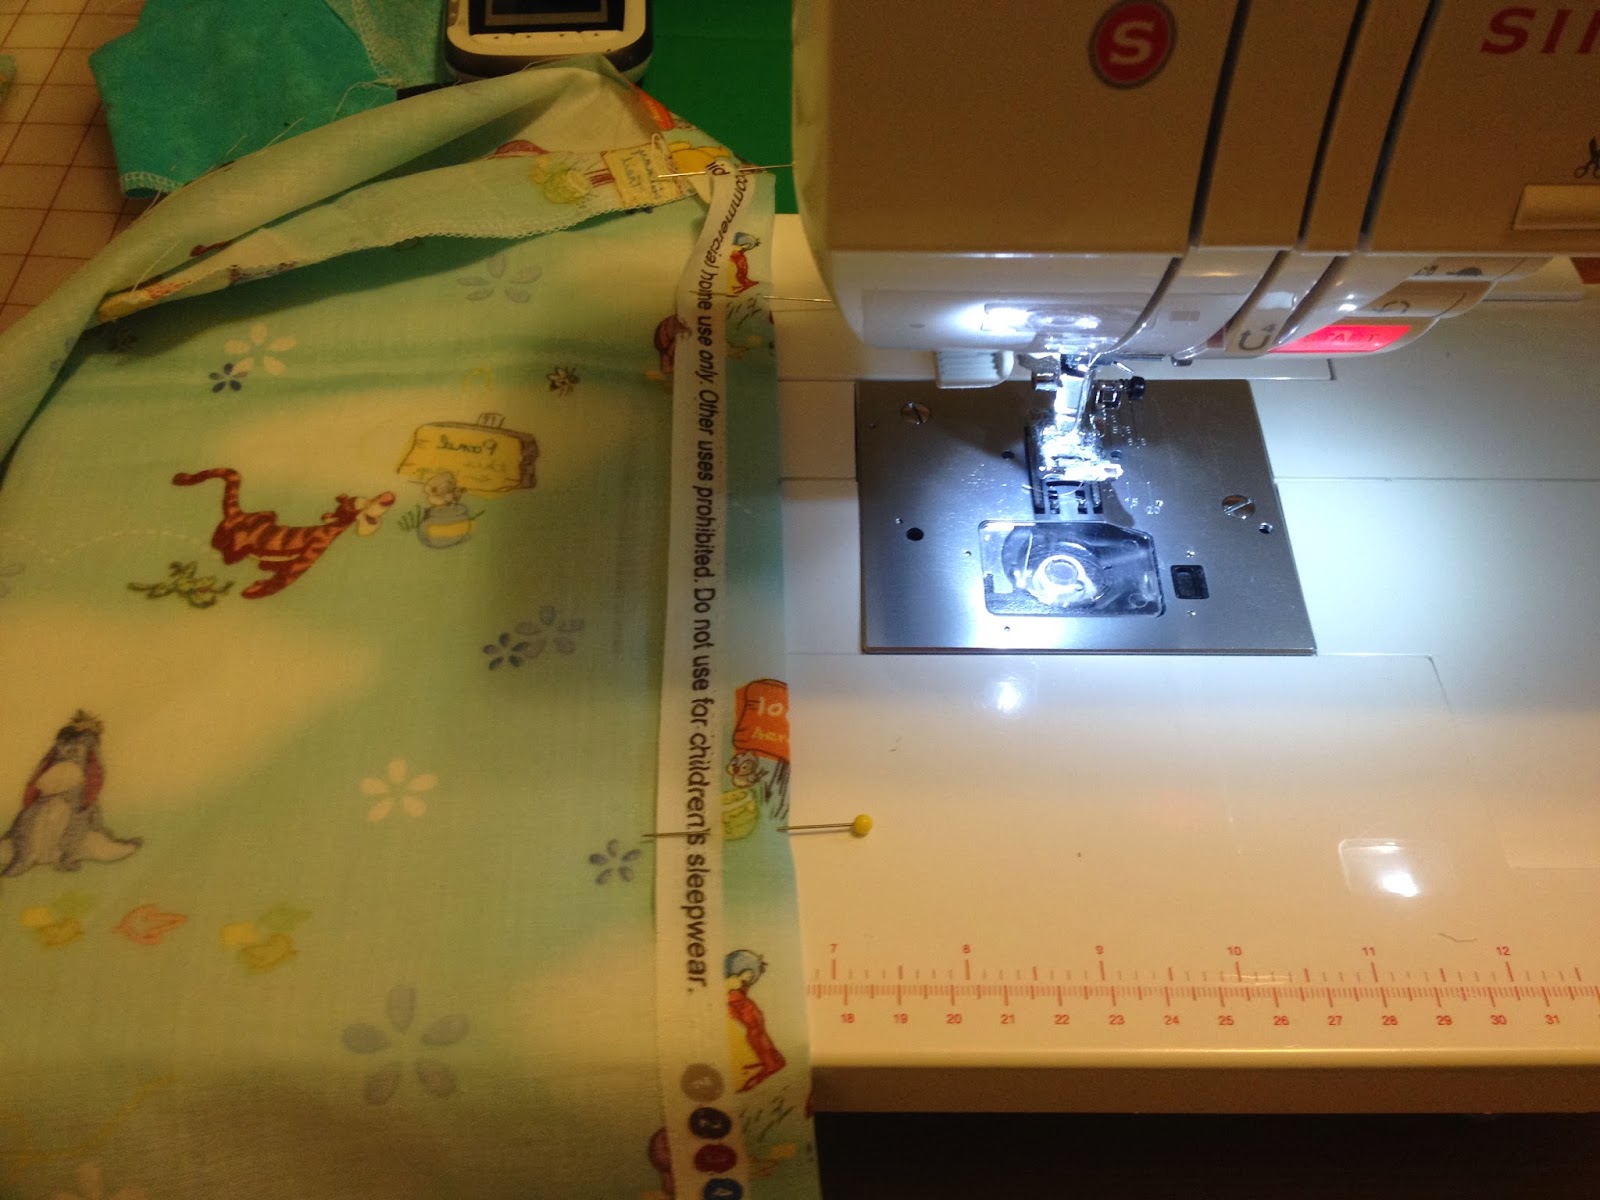
Back over to your regular sewing machine. Now I am just using a simple straight stitch, and my regular sewing foot. Nothing fancy here. If you have trouble straight stitching around corners you can decrease the stitch size and this will help you move smoothly around corners. Note: be sure to practice on a separate scrap fabric when you alter your stitch to make sure your fabric wont scrunch or get stuck, etc.
Now, I like to do a lock stitch before I begin my top stitching. I simply lock stitch, go over the hole we pinned, and then continue all the way around the bib, trying to keep a consistent space from the edge. I do about 1/8 of an inch from the edge. When I come back around to where I started I go about 3-5 stitches over the first few I made, and then end with another lock stitch.
This is my top stitch around the front (polka dot fabric) and also what it looks like on the back (yellow, flannel).
Now on to the snaps. Here is my tools and my snaps. I have colored snaps and just some simple white snaps as well. For this project I am going to use the white snaps.
For one bib you will need 2 backs, and one male and one female snap pieces.
Using the pointy/sharp tool, puncture a hole through the 4 pieces of fabric, where you would place a snap. If you are unsure of where to do that, a great way to see is by simply using a toy, stuffed animal, child, or a baby doll. I have made several so I simply hold up the two ends, place them together as if I was going to snap them together and overlap the two fabric ends. I make sure i have enough room on each side, and slide my puncture tool into the 4 fabrics.
I then place the back and male (cotton side) on one end of the bib, and the back (cotton side) and female on the other end.
You are now done! You have finished your bib! Be sure to always double check your snaps, to make sure you placed them on correctly. If you choose to just sew on some velcro, be sure to place the male velcro on the cotton side on one end and then the female on the flannel side on the other end (male/female can be swapped, just trying to give you an idea of what to do). You can purchase circles, or an entire roll, and just cut some squares out and stitch those down. If you want you can use a blanket stitch, a zig-zag stitch or just a straight stitch. If you use the straight stitch i would recommend you go around the outside edge of the square (or circle), and then continue with an X shape in the center. That way it will be a little stronger!
Heres the bib with the snaps connected!
And heres the 3 bibs all done, one with the backside facing up so you have an idea of what it looks like!
I hope this tutorial was handy, and if you would like any further information be sure to leave a comment and ill try my best to help you out!
Happy Bib Making,
Sarah