First, you will need your typical sewing items.
1. Fabric
2. Heat N Bond (its the kind thats iron on, and double sided.)
3. Scissors, pencil, cutting board, iron, ironing board, pins, etc.
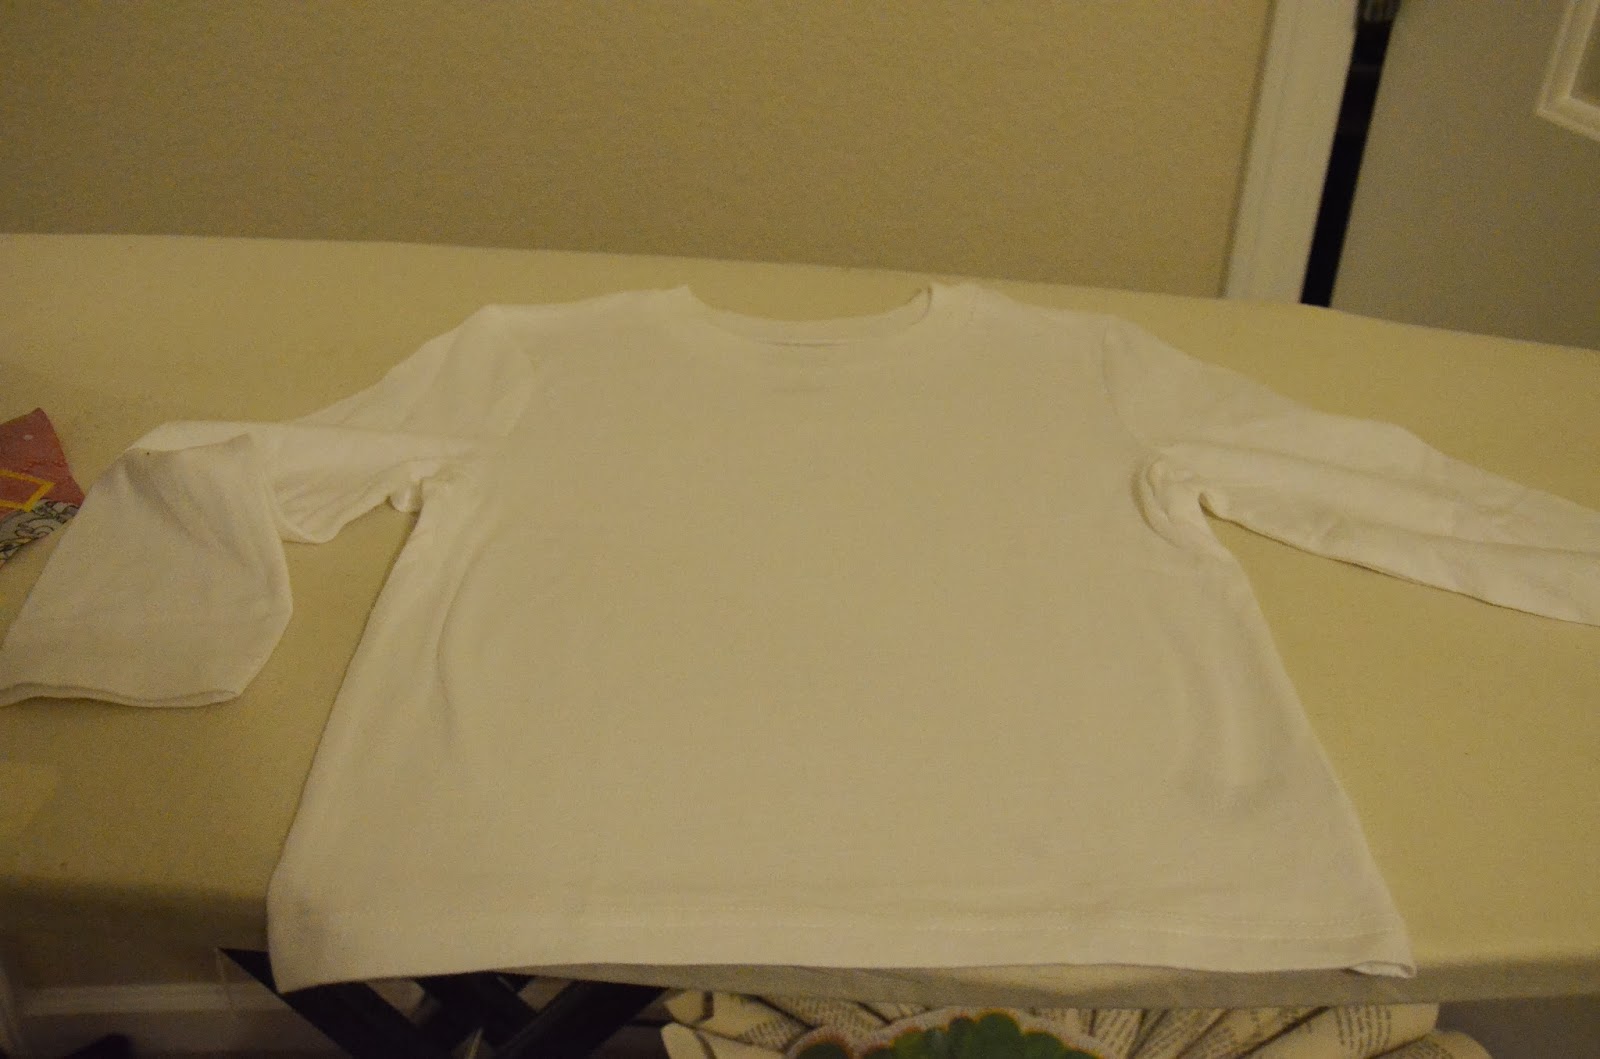
4. A shirt
5. Belt loops, silver D rings (1 Inch)
6. Matching thread.
7. Freezer paper
8. Your sewing machine, and all the usual items to sew.
To start you want to pick out fabric you like. I chose this red old classic like mickey and friends fabric as the tie. I then used the yellow in this fabric to match and purchased a small quarter of fabric. I also had black and white polka dot fabric on hand.

You will need to purchase these rings for the suspender piece, if you are advanced enough. If you are unsure you can sew these in, then skip this step. (in the photo it says 2inches, but I purchased a 1 inch ring).

Now using your freezer paper, cut out a long piece of it to fit where the tie would go. I ironed the shirt first to help get a smooth surface to use.

Start drawing out the tie. I started by tracing the neck line, and working from their. Mark where the middle is and that will help you trace the tie in the center of the shirt. (Use the tag on the back if the shirt to help find the center).

I then fold the freezer paper at the center and cut the tie out on the lines that I liked.

Once cut out, you should have something like this.

Unfold it and place it in the center of the neck.

Double check to make sure it fits, but don't iron it down yet.

Use another freezer paper and trace the bottom of the tie. This freezer paper will give you the idea of how big your number needs to be.

Using that template I traced out this two.

I then double checked it with the tie.

Now I have all my pieces ready for their fabric.

I use the 2 and place it onto my yellow fabric. I then iron it down.

I back it with the heat and bond, iron that down and then cut all the pieces around the 2.

Carefully pull off the freezer paper from the front.

Move to the red fabric and using your freezer paper tie cut out, iron it down onto the red fabric.

Again back it with the heat n bond.

This is what you should now have after you cut it all out.

Pull the freezer paper off, again carefully.

Place the two where you want it and or like it. Take the backing off the 2 (heat n bond backing) and iron it into place.

Place all of it on the shirt, to double check placement, and trim anything that might need some trimming.

Move over to your sewing machine, set the stitch to a zig zag and decrease to width so the stitches are closer together. You will now have an applique stitch. If you have a hard time judging this, use a spare piece of fabric to test the widths and lengths. Once you stitch around the 2 your tie should look like this:

Iron your shirt if needed, I did this before hand and it was already flat.
Take the backing off the tie (heat n bond backing), careful when doing this as you have now stitched the 2 into place. Try not to pull any of those threads. Place the tie into place and iron it down.

Take your shirt over to the machine and again using your zig zag stitch with a smaller width, applique the tie down. Be careful and watch the back of your shirt, you don't want to accidentally sew it to the front. Reminder: Don't forget to change thread and bobbin to match the fabric. I used red for this, and yellow thread for the two.

Ta-da! You now have most of the work done!

Cut out your straps for the suspenders. I cut mine at 2 inches in width.

I then ironed the two sides in a half an inch. This gave the suspenders a clean edge to sew down.

You now need to sew the suspenders and belt rings into place.

I folded my bottom (fabric) pinned that at the hem of the shirt. I then pinned up half way, placed the D ring at that point and pinned the rest of the fabric. I cut the fabric about a half an inch from the top of the shirt. I then folded it down and pinned it into place.

When sewing the suspenders, start at the bottom of the shirt, stitch the bottom and then go up the shirt. Get as close to the D ring as possible. Carefully sew along the bottom of the D ring and then back down the other side of the suspenders. Continue sewing from the D ring and the top part of the suspenders. Make sure you sew both sides.

Do the same thing to the other side. Iron the hem, fold the fabric, pin onto the shirt, add the D ring, pin some more, cut the fabric, fold and pin.

Once you have sewn the second suspenders you should now have an adorable and perfect Birthday Shirt!!!

Now he should be ready for the party!

Now Get your Applique On,
Sarah
No comments:
Post a Comment