Now time to get to that awesome tutorial we promised you... enjoy!
Step 1: Trace out your tula onto a piece of paper. Making sure you mark where the straps come out of.

Step 2: Lay the trace out over one piece of lining and the piece you want on the reverse (so your second choice fabric as this will be reversible). Pin together and cut out leaving enough around room around for the seam and to turn out (what I left seemed perfect)
Step 3: Now do the same for your main fabric and lining but this time you need to add extra for the tabs on the side and bottom where you will apply the Velcro to join the two pieces together. I have folded the tabs over to show the lining so you can see what I mean. I just guessed this bit. Wide enough to put a piece of Velcro and the length of the gaps between where the straps join.

Step 4: Now sew the pieces together. The main piece with its lining, and the reverse side with its lining. Make sure the right sides are together. Then turn them inside out and stitch around the edge to keep in place.
Step 5: Join the top of your pieces together along the top. Make sure you mark where to stop sewing so it isn't joined where the shoulder straps come out. Put the two right sides facing each other to sew.
Check how the size is before adding anything else.
Step 6: Now line the two pieces together to put the Velcro on. Pin in place and check it over the tula and with a child in if you can. This picture shows where the Velcro is in the lining of the reverse fabric and the Velcro goes on the tabs on the good side of your main fabric and folds in to attach.


Here it is finished.

No you can't access the pocket or hood but you could add a hood to go on top. I didn't bother as my toddler never naps.
This covers all parts of the tula except a tiny bit at he buckles on the waist and I also made suck pads, twice the normal length, to cover most of the shoulder straps.
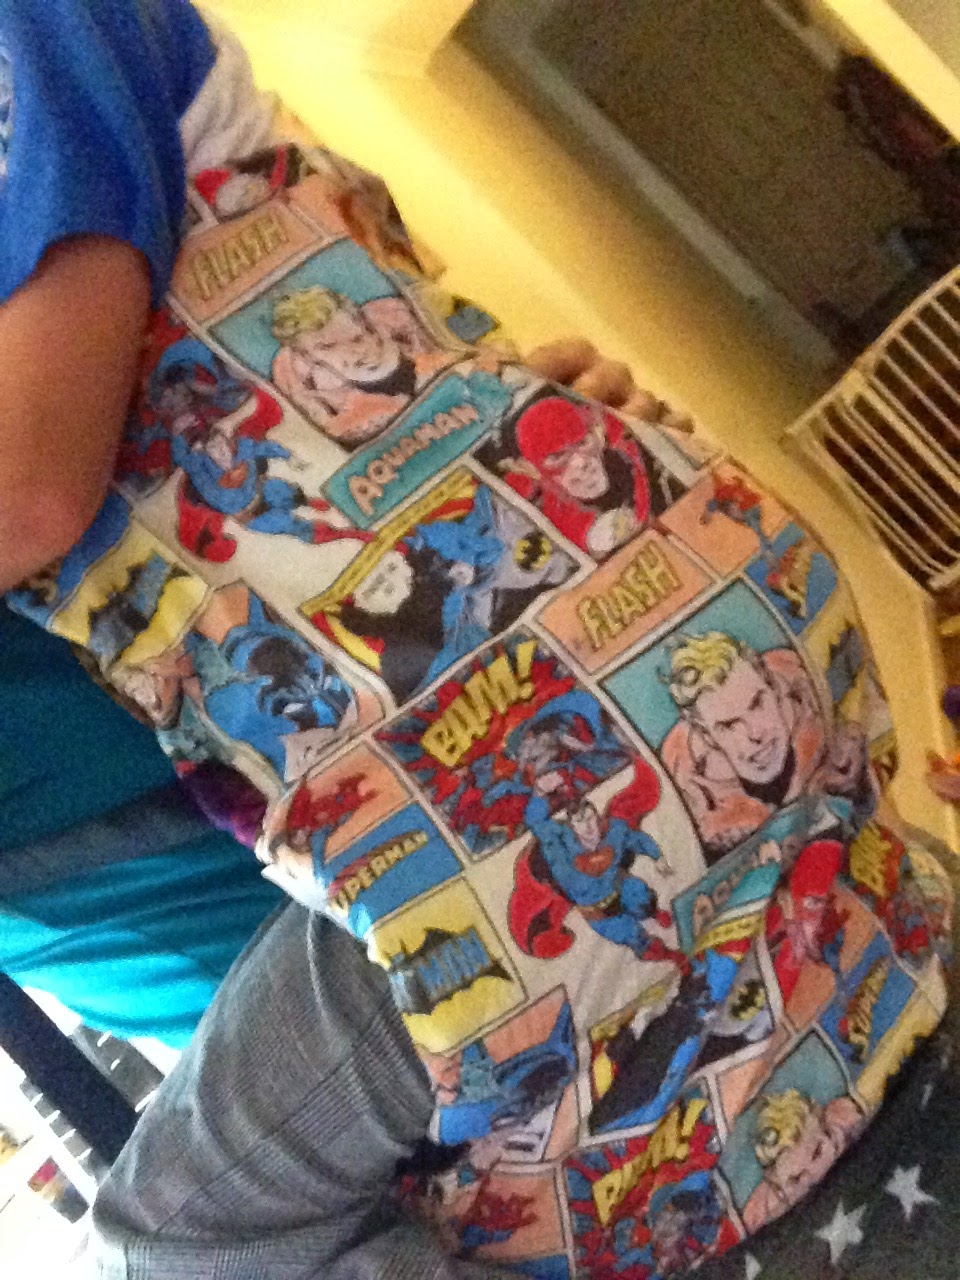

Excuse the 7 year old model. My usual model was out with daddy.
Thank you to Brita for sharing this quick tutorial. I hope all our babywearing mamas love it!
Babywear In Style (or a New Style),
Sarah (and Brita)
2 comments:
Do you think a single yard of each fabric could suffice? I dont have my tula yet, i'm waiting for shipping :)
I don't have the toddler tula to trace. Can anyone help me and either give me dimensions or trace and send to me? Please and thank you in advance :-)
Post a Comment