My first son was very independent and never wanted to be held or picked up much. He was walking at 9 months and hasn't stopped since. So, when I had my second child, I was shocked at how much he loved to sit with me, cuddle with me, and wanted me to hold him. I finally got tired of picking him up and only having one hand to do everything else. It was time to look into some type of carrier.
I research every carrier I could think of, and studied how they looked, were made, the style, and the measurements. I finally decided on how to make one. I told my husband I needed to head out this weekend and look for some large and small buckles for the carrier. He mentioned he had an old military backpack that I could use the buckles, straps, and anything else I wanted off it. I was wondering what he meant, but then he brought it to me and I saw clearly what he was thinking.
I seam ripped the shoulder straps off the back pack, and even removed the waist belt buckle off it as well. I then did the following:
I cut out 2 panels of fabric (large enough to hold my 1 year old and 2 year old), you might need to do some measuring of the kids from shoulder to under their bums. Add a few extra inches to the bottom so the waist buckle can connect to. I simply measured the waist buckle and added that many inches onto my two fabric panels.
I then place both shoulder straps inside the two fabric panels. Both fabric panels were right sides together. I then serged the shoulder straps and the top of the fabric panels together. I then had something like this:
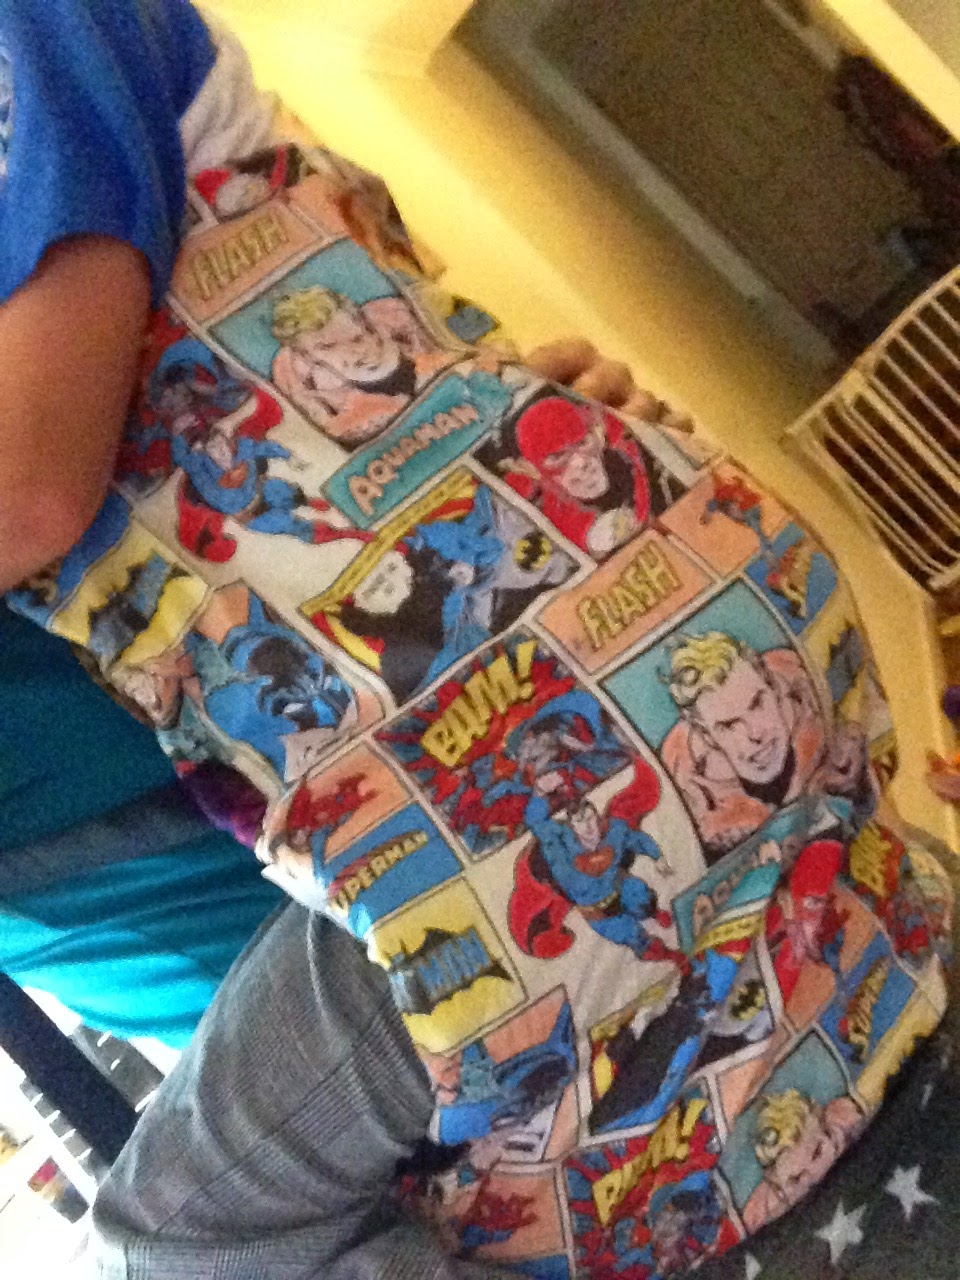
I then serged around the lower half on both sides (again right sides together) and the bottom. Leaving two holes on the sides where your shoulder straps will attach (under your arm pit).
I then took the waist buckle (which, once it was removed was actually two pieces), I needed to sew the waist pieces together. I used a zig zag stitch back and forth a few times, to piece the waist buckle together. I tested it out by pulling on both ends with my own strength. It held, so I continued on.
This is a close up view:
Of course, no one wants to see that hot mess; so I took some left over military fabric and covered it up.
I then placed it on the outside of the carrier and pinned it to the fabric panels.
Again using zig zag stitches I attached the waist buckle to the carriers main fabric panels. I again went over the waist buckle SEVERAL times with my zig zag stitch. I did enough passes to break a needle!
I then tried it on, and pinned the shoulder straps under my arms where I wanted them to rest.
I then zig zag stitched them inside the open holes I had on each side. I folded the fabric inside to leave a nice clean edge.
I then had the carrier! Almost done!!
After I tried it on and put the kids in it, I grabbed a small buckle off the backpack (which had about 100 buckles), and attached them on the shoulder straps (along my chest area). The shoulder straps already had hooks for the buckle pieces to loop through, you might have to make some or simply loop them around the shoulder straps and sew them on.
I also re-enforced the connection where the shoulder straps meet with the top of the two fabric panels. I only serged the inside, so I went along the edge and added more zig zag stitches to help keep the kiddos safe.
It even worked as a front carrier when little man needed extra snuggles.
Yes I went hiking with it!
He passed out!
At a party, and he needed a nap! (NOTE the zig zags on the shoulder straps where they are inserted into the two fabric panels... re-enforced).
My two year old after being crazy upset and cranky in target, I strapped him in and he fell asleep instantly!
In the end I spent $3 total to make this carrier. I used the straps and buckles from the old backpack, I used an old military blouse (from my husband) to make the military panel, I had the mink on hand from a previous project, and the $3 was spent on buying matching THREAD!!! Yep, I could have easily skipped that purchase but felt it would make the carrier just that much more professional looking!
I have been stopped several times while out wearing it, and have been asked where I purchased the carrier. Once I informed them that I simply made it, most of them said I needed to sell them. I am instead, posting the tutorial. Hopefully then, someone will be able to spend less then $5 on a carrier.
Good Luck and Share Your DIY Carriers,
Sarah