Pages

Wednesday, August 6, 2014

DIY Baby/Toddler Carrier

My first son was very independent and never wanted to be held or picked up much. He was walking at 9 months and hasn't stopped since. So, when I had my second child, I was shocked at how much he loved to sit with me, cuddle with me, and wanted me to hold him. I finally got tired of picking him up and only having one hand to do everything else. It was time to look into some type of carrier.

I research every carrier I could think of, and studied how they looked, were made, the style, and the measurements. I finally decided on how to make one. I told my husband I needed to head out this weekend and look for some large and small buckles for the carrier. He mentioned he had an old military backpack that I could use the buckles, straps, and anything else I wanted off it. I was wondering what he meant, but then he brought it to me and I saw clearly what he was thinking.

I seam ripped the shoulder straps off the back pack, and even removed the waist belt buckle off it as well. I then did the following:


I cut out 2 panels of fabric (large enough to hold my 1 year old and 2 year old), you might need to do some measuring of the kids from shoulder to under their bums. Add a few extra inches to the bottom so the waist buckle can connect to. I simply measured the waist buckle and added that many inches onto my two fabric panels.

I then place both shoulder straps inside the two fabric panels. Both fabric panels were right sides together. I then serged the shoulder straps and the top of the fabric panels together. I then had something like this:


I then serged around the lower half on both sides (again right sides together) and the bottom. Leaving two holes on the sides where your shoulder straps will attach (under your arm pit).

I then took the waist buckle (which, once it was removed was actually two pieces), I needed to sew the waist pieces together. I used a zig zag stitch back and forth a few times, to piece the waist buckle together. I tested it out by pulling on both ends with my own strength. It held, so I continued on.


This is a close up view:


Of course, no one wants to see that hot mess; so I took some left over military fabric and covered it up.


I then placed it on the outside of the carrier and pinned it to the fabric panels.


Again using zig zag stitches I attached the waist buckle to the carriers main fabric panels. I again went over the waist buckle SEVERAL times with my zig zag stitch. I did enough passes to break a needle!


I then tried it on, and pinned the shoulder straps under my arms where I wanted them to rest.

I then zig zag stitched them inside the open holes I had on each side. I folded the fabric inside to leave a nice clean edge.


I then had the carrier! Almost done!!


After I tried it on and put the kids in it, I grabbed a small buckle off the backpack (which had about 100 buckles), and attached them on the shoulder straps (along my chest area). The shoulder straps already had hooks for the buckle pieces to loop through, you might have to make some or simply loop them around the shoulder straps and sew them on.

I also re-enforced the connection where the shoulder straps meet with the top of the two fabric panels. I only serged the inside, so I went along the edge and added more zig zag stitches to help keep the kiddos safe.


It even worked as a front carrier when little man needed extra snuggles.


Yes I went hiking with it!


He passed out!


At a party, and he needed a nap! (NOTE the zig zags on the shoulder straps where they are inserted into the two fabric panels... re-enforced).


My two year old after being crazy upset and cranky in target, I strapped him in and he fell asleep instantly!


In the end I spent $3 total to make this carrier. I used the straps and buckles from the old backpack, I used an old military blouse (from my husband) to make the military panel, I had the mink on hand from a previous project, and the $3 was spent on buying matching THREAD!!! Yep, I could have easily skipped that purchase but felt it would make the carrier just that much more professional looking!

I have been stopped several times while out wearing it, and have been asked where I purchased the carrier. Once I informed them that I simply made it, most of them said I needed to sell them. I am instead, posting the tutorial. Hopefully then, someone will be able to spend less then $5 on a carrier.

Good Luck and Share Your DIY Carriers,
Sarah

Tuesday, August 5, 2014

Fourth of July Door Banner

I felt left out in our community; as everyone had some type of unique door wreath or window treatment for the holiday season. I was so tired of being left out, so I grabbed the 4th of July/Fireworks themed jelly roll that I had on hand and began to assemble a few pieces. Along the way I found a few new techniques that I now love and work great!

I have done a braid before, but for some reason I wanted to make one for this project. Thats where I started, making 1 inch strips of braided America fabric! Once I had a long enough braid, I set that aside to attempt something else.


I wanted to do some blocks around the edging, and found this unique way of doing it. I thought I would give it a try, and I actually found it really easy to keep all the pieces together. I simply start with 1inch squares all cut and ready to go.


Then grab your interface.  I like the lighter weight interface, and this apparel interfacing is pretty thin.


Then lay all your squares out on top of the interface. I did a 5 x 5 inch block of interface, laid all my square right side up, and carefully iron them onto the interface. Once they are ironed in place then you will fold each row and sew.

Heres the first row folded, you can iron it down so you have a strong line.


Sew with 1/4inch seam along the edge.


Once you have it sewn, it should look like this:


Fold the second row and iron it down again to give you a nice fold to follow.


Sew again with 1/4 inch seam.


Continue this until you have sewn rows 3, 4, etc.


Now you need to sew them the other directions.


Doing the same thing you did with the first row, fold it over and iron it down. This might be a little harder as now you will have other stitches to go through.


Carefully sew with 1/4 inch seam.


Now do that again on the 2, 3, 4 etc.


Your square should look something like this:


I made 4 total. I loved the finished look as they were all even and nothing was off set.

Once I finished those, I laid out how I wanted the braid and the squares to look. Kind of did things backwards here, as I liked them on the outside vs the inside. I did some measuring and just used some of the strips to make the center panel. 


I eventually ended up with this:


It seemed plain to me, so I wanted to add some stars. I used my freezer paper, and cut out some stars, ironed them onto the back of the blue fabric, and then cut them out.


I then layered them on to some white fabric, and just did a top stitch. I like the idea that in time the sides will fray!


I cut those out from the white fabric, and used a tight zig zag stitch to applique them onto the front of the panel. I then did a little quilting in the ditch and quilted small stars on top of the squares. To quilt a perfect star, I used my freezer paper star cut out and ironed them on to the squares, then just quilted right around it. No need for it to be perfect either as it was just to add some depth.


While putting the binding on I added small triangles to the top corners, on the backside. I then place a wooden rod inside the two triangles and hang the panel up that way. The wooden rod gives the panel a perfect flat look.


All hung up and giving my door some fun color.


Now I need to find a design to do for August and September. I am thinking a fun summer panel, or a creative sail boat/beach themed design.

Get Creative,
Sarah


Sunday, August 3, 2014

Easter 2014

I know, I am soooo behind on this post, but what better time then now.... I can't wait until next year, right? Alright, so with that lets see if I can bring back some of these memories from Easter (I know it was only a few months ago, but I do have two kids).

The community center on base was offering some fun free activities, and for us military; free is our life! We headed over early in the day, and began by making some picture frames with the kids.


This was his finished picture frame.
 They even had a bunny on hand, to take photos with; or in our case, traumatize our oldest son some more.


Once we calmed him down, we let him run crazy and do his first Easter egg hunt. He loved that!!!


They even had some giveaways, so the kids played while we waited to see if we won anything... uh, nope!


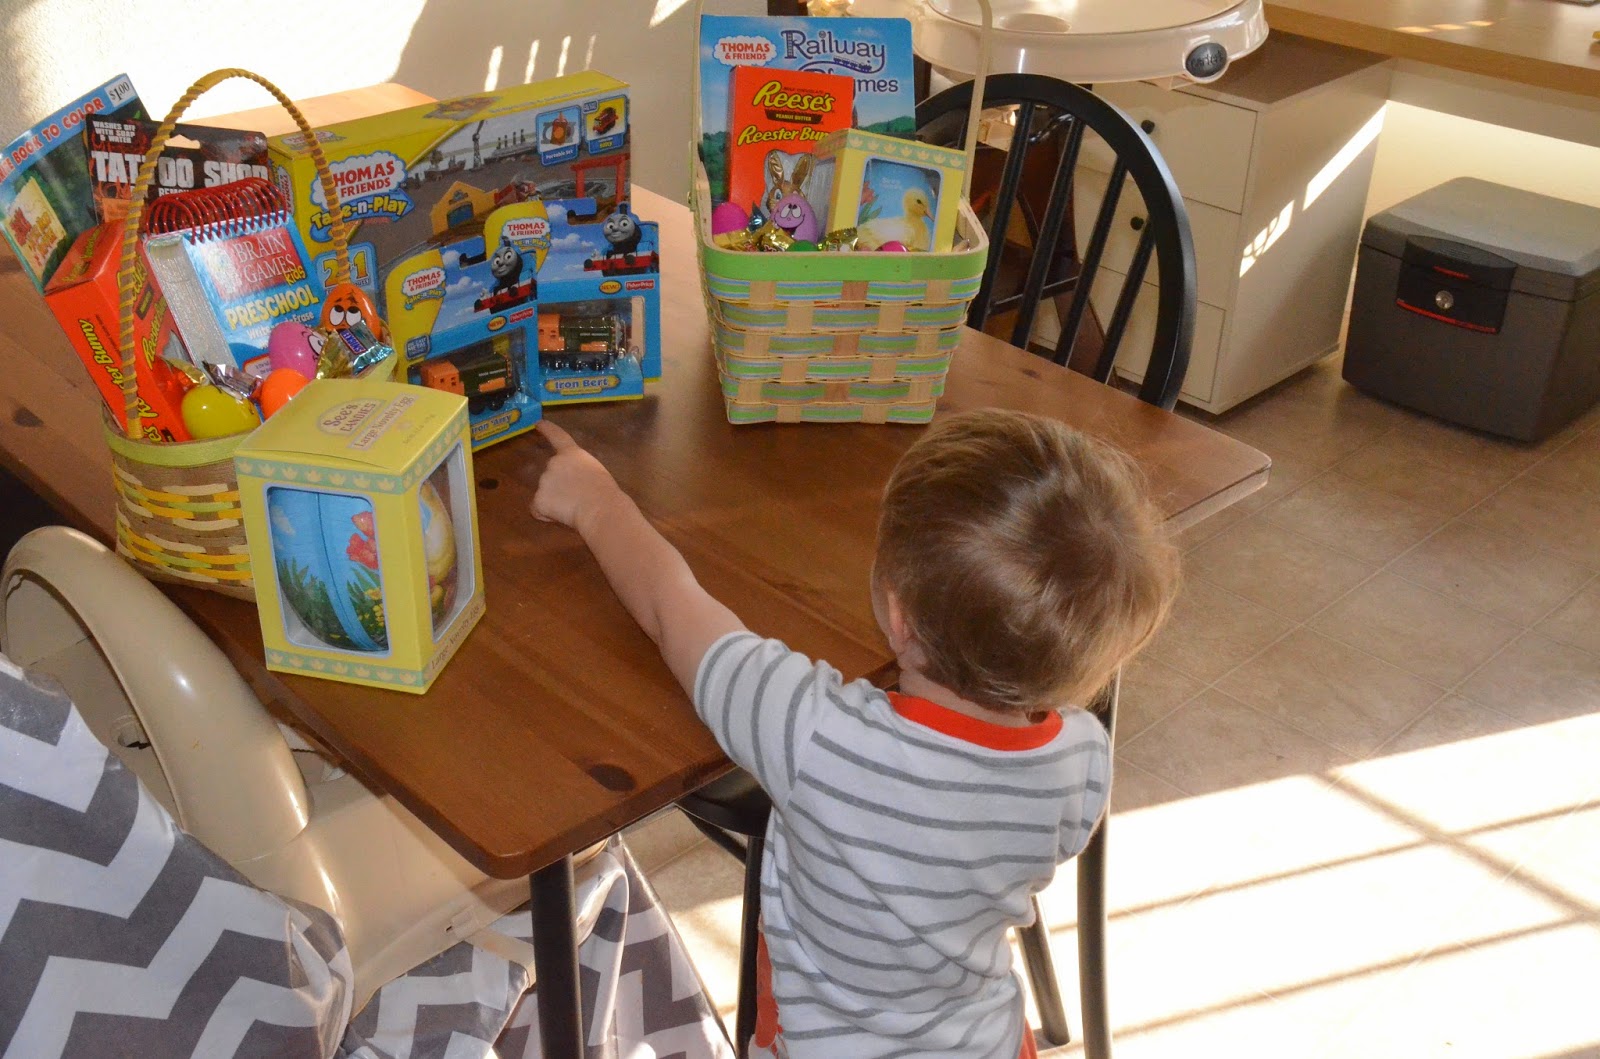
We had baskets ready for the kids to open the next morning, and boy did they love them. I always think that you should go all out for each holiday, but I find that they really don't NEED more toys, or more candy. So, instead we did very little candy and one gift. In the end I am glad we did, because our family ended up sending them stuff as well.


When the kids finally were awake, they couldn't believe their eyes, which made us happy to see them so excited.


Our oldest loved the Easter egg hunt, that we thought we should let him run around our yard and gather some more. Boy did he go crazy!!


Taking a moment to enjoy his goodies.
 It was a great Easter this year, and it was an amazing 1st Easter for our youngest. I hope each year is just as amazing, fun, and full of excitement. 

Happy Late Easter,
Sarah


Friday, August 1, 2014

July Give Thanks, Week 5

July 29:
     Today we celebrate my little brothers birthday!!! Happy Birthday David. Thankful that you are my brother and that you have taught me so much about life, family, and friendships. I love you!

July 30:
     The twenty or so minutes that my wonderful neighbor chatted with me, outside our houses (after the kids went to bed), and let me vent and discuss whatever; thank you so much. I am so thankful for those moments of adult conversation and interaction. They may be few and far in between, but they are well needed and deserved.

July 31:
     Thankful for nap time, where my wonderful kids nap together for a few hours while I sew and finish up projects. Yes, yes, yes!

Give Thanks,
Sarah