As we all know, I am a huge DIY mom! If I can use something I have on hand, add a little elbow grease and a little bit of crafty paint, I will make it happen.With that being said, I was in love with all those cute kid stoves. Lets be honest though, I am not about to pay $100-$300 for some piece of plastic to just get beat up and have the stickers fall off. No thank you! I started doing some research, and clicked away for weeks. I finally decided I would use our old microwave stand and convert that into a mini stove/oven/refrigerator unit for our boys!
Heres the original stand:
It had doors on the front and a shelf in the middle, but my husband removed those as he was going to create a half door and more shelving units.
This is the unit with the hardware (purchased at ikea) and the new doors and hinges. My husband used piano/cabinet hinges that were pretty cheap. We used the old hardware for the "refrigerator" door (on the right), and used the old doors closing hardware (the black looking thing) to keep the "oven" door closed.
Step 1: If you have a unit that has a silky smooth fake varnish like feel then you will want to sand that sucker down. Get it rough and pull as much smooth surface off. Once thats done prime the entire thing. I used a primer that was for laminated furniture. It worked out perfect! Its pretty sticky so make sure you get extra rollers and brushes, as this was a prime and toss the brushes kind of primer.
Step two: Start painting the unit the way you want it to be! I did some 2nd priming in certain areas that needed it, so be sure to let your unit sit over night before you try to paint. I wanted the top left unit to be the oven. I used a flat black paint (purchased at a local craft store) and painted the inside and door, as well as a small window on the front (later on).
I then used painters tape to tape off the unwanted areas, and painted certain pieces of the unit in one color. I then let that dry over night and did a second coat. If you are going to paint the entire thing in one color then don't worry about the painters tape!
I then used the second color (orange) and painted the rest of the unit. I again waited over night and did some touch up spots to give it a nice thick layer of paint.
This is after the 2nd orange paint, and the black window for the oven.
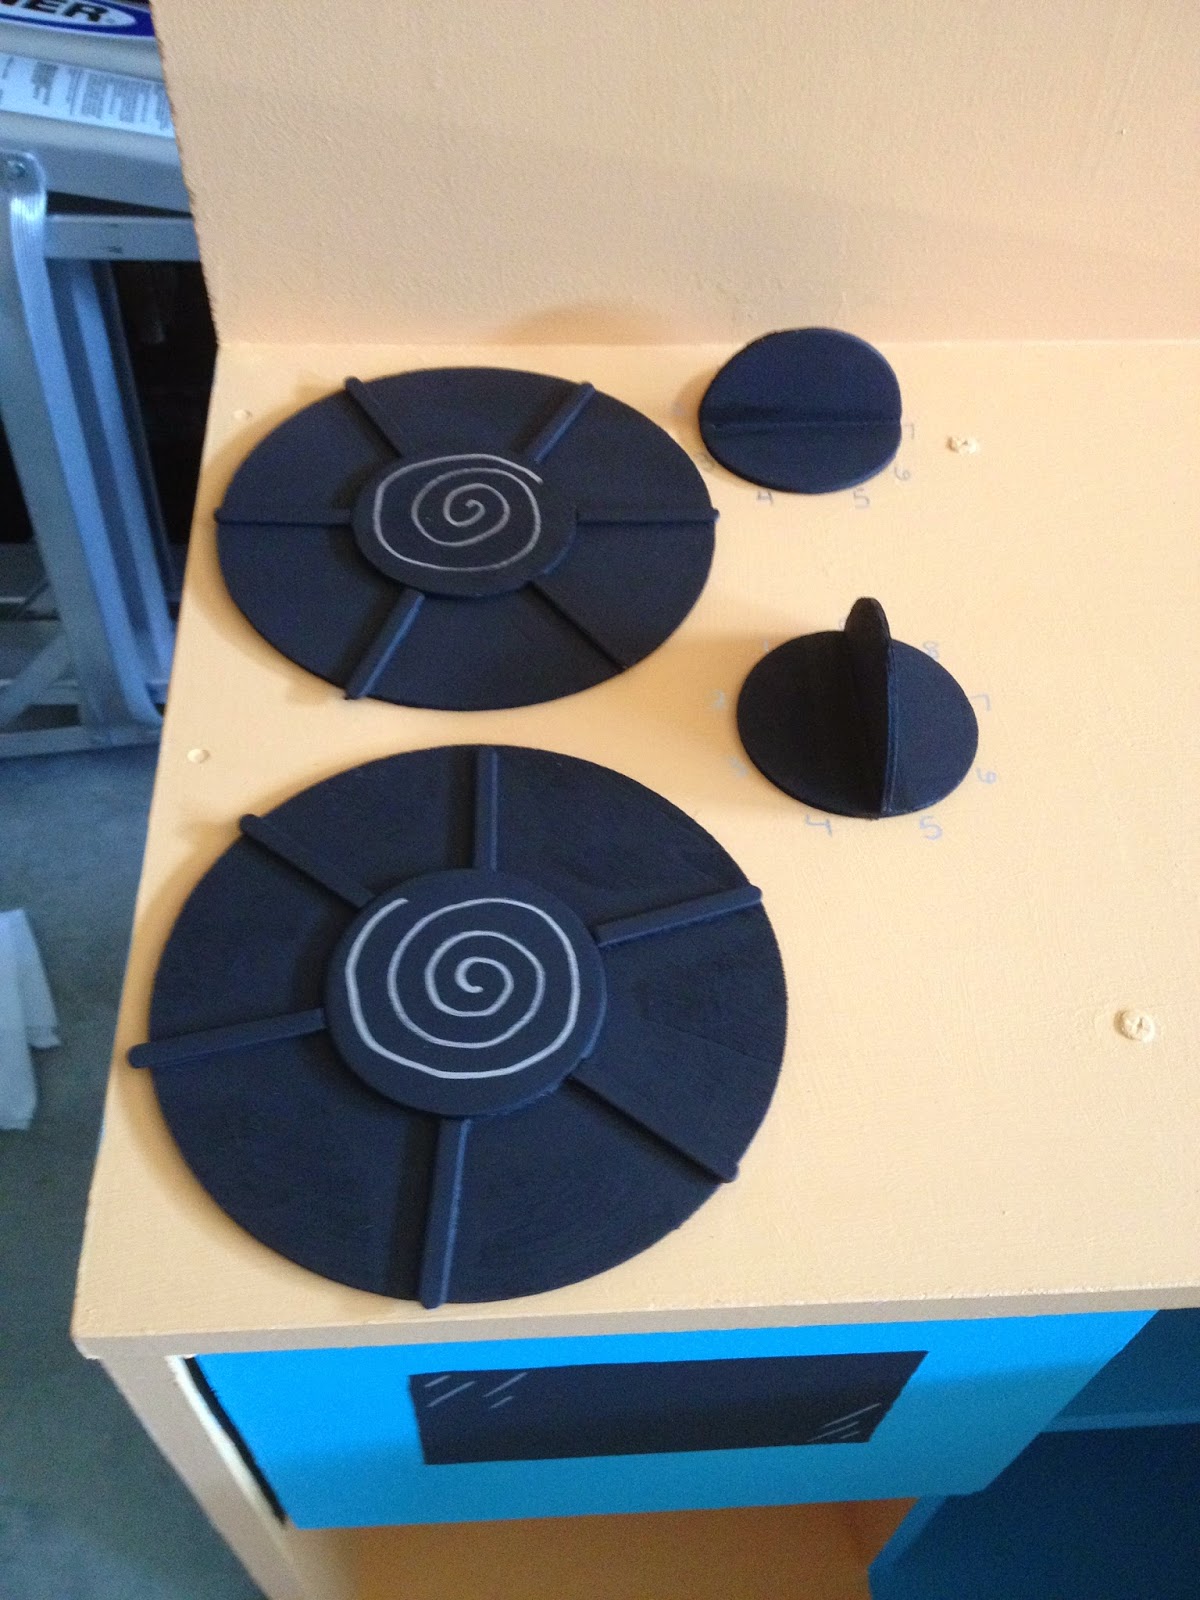
For the hardware I used just small wood circles and Popsicle sticks that you can purchase at your local craft shop. I cut the Popsicle sticks to fit a small circle on the big circle (for the stove pieces). I then took one of the smaller circles and cut it in half for the dials (for the oven).
I then painted everything black. Waited a few hours, used wood glue and glued everything together.
 |
| Stove top. Small circle, glued onto a large circle, with Popsicle sticks as the burners. |
 |
| These are the oven knobs. Small circle, with half a small circle glued on top. |
I added some silver paint pen to the window and burners, as well as put the numbers on the oven knobs.
I then had my husband help me place the hardware (again purchased at ikea) and screw those in place. Super easy and simple. Its now done!!! I will more then likely add new things as I go, but for now they can play away!
I have not put a sealant on the paint, but plan to when I add the rest of the small projects to it. If I ever get around to it. With two kids, who knows when that will be.
In the end we bought the hardware, paint and primer, a few brushes and tape. I believe the grand total was under $50!!! I had the black paint, I had the a few brushes and the unit. It was a nice week long project that turned into a month long project because I slacked a little, but hey it got done and its now being used daily!!!
A Win For This DIY MOM,
Sarah