Pages

Friday, August 23, 2013

Travel Changing Pad

Almost all diaper bags come with changing pads and if they don't you can always purchase them for about $10 and up. The one that came with my diaper bag has finally started to fall apart, but I loved how it had the clear vinyl on it. The vinyl was super thick and made for easy cleaning. I am not fond of the all fabric ones as your washing them all the time. Not to mention if you have a little one who pees and poops with perfect timing, like right after you pull the diaper away, then your stuck with a fabric changing pad that needs to be washed. What if you need to run a few more errands?

My solution was to make one just like the pad I had but I wanted to add pockets. The pockets would be for diapers and wipes of course. I didn't want it to have any ties or snaps for closing, I just wanted it to fold up and be easy to use.

To start I needed two fabrics, the vinyl and some batting for the pad. I purchase two yards of each fabric, and only needed a piece of vinyl and batting about 22in by 16in.

Fabric for front and back, as well as pockets.
 I then scratched out real quick what I wanted the travel pad to look like.


Once I had my design I cut the fabric I needed. For the pad (16in x 22in) I needed the back fabric, the front fabric, the batting and the vinyl. For the base piece (12in x28in) I needed just the back and front fabric. The pockets (6 1/2in x 9 1/2in) I needed two fronts and two backs.


Once the fabric is all cut out, I started putting the pockets together. I took the front and back of both pockets and ironed them together. Make sure the right sides are together (one of my fabrics is just a solid color so it really doesn't have a right side).


Once the pieces were together, I pinned them and serged the edges. Leave a small hole on one side to flip the pocket.


Once you have the edges serged you will need to flip the pockets inside out through the hole.


Then iron the pockets flat, and fold the holes so all the seams line up. Pin the holes so you know where you will need to stitch.


Once the pockets are pinned you will need to top stitch around the edges. I start near the hole, place a lock in stitch and continue around the entire pocket. I use 1/8in spacing for my stitch from the edge.

Once the pockets are done move on to the large piece that the pockets will be attached to. The 28in x 12in pieces. Again, I ironed the two piece right sides together. I pinned the pieces together leaving a 16in hole at the top. (NOTE: if you have fabric like mine that has a direction make sure you are cutting and placing the holes where your fabric will be going the right direction.)

right sides together

16 inch gap marked by the pins (leave this open/do not sew).
On to the serger again, stitch around the entire edges, leaving that 16in hole.


Once the sides are sewn, flip the fabric inside out, just like you did with the pockets. Iron the sides flat.


Now fold the pieces along the hole inside, just like you did with the pockets. Iron the fold down, make sure the two pieces of fabric meet at the same point.


Now place your pockets on the front side of the large piece (make sure you don't get anywhere near the 16in hole you left).


Pin the pockets, and stitch them in place. Start on one of the sides then down to the bottom, along the bottom, and back up the side. Remember its a pocket so leave the top open. I also back stitch along the top two sides.


test it to make sure its big enough.
Now onto the pad. You will need to layer the pieces and again you will serge the edges, so pin this real well.

Layer with the batting on the bottom, then one of your fabrics, then the vinyl and then the other fabric on top.
Now serge the two long edges and one short edge. Leaving one of the short edges open. (NOTE: I left one of the LONG sides open and definitely recommend you do NOT do that.)


Now flip the fabric inside out. You will need to flip between the vinyl and your back fabric.

Because I flipped between the LONG side I had to fold the sides in and top stitch around the entire edge. Now if you flipped on one of the short sides, you wont need to fold the fabric inside and top stitch all the way around. You can just top stitch on the 3 sides and leave the 4th side unstitched.

I had to fold the fabric in because I flipped on a long side.
Pin the hole real well, then top stitch.

Once I was done this is what it would look like.
If you are doing the 3 sides stitched and the one short side open you will have something a little different then the photo above. Don't worry that open side will disappear soon.

NOTE: When sewing with vinyl it will stick to the plastic sewing machine, so take painters tape and tape the base of the sewing machine and the underside of the presser foot.


Now you will slide the short side that you left open into the top of the 16in hole you left open on the large piece.


Pin the pieces together as best you can. Then top stitch along the two pieces and continue all around the large piece of fabric (28in x 12in).


Now go back over in a zig-zag stitch where the two pieces connect.


Now fold the pieces up and you are done!
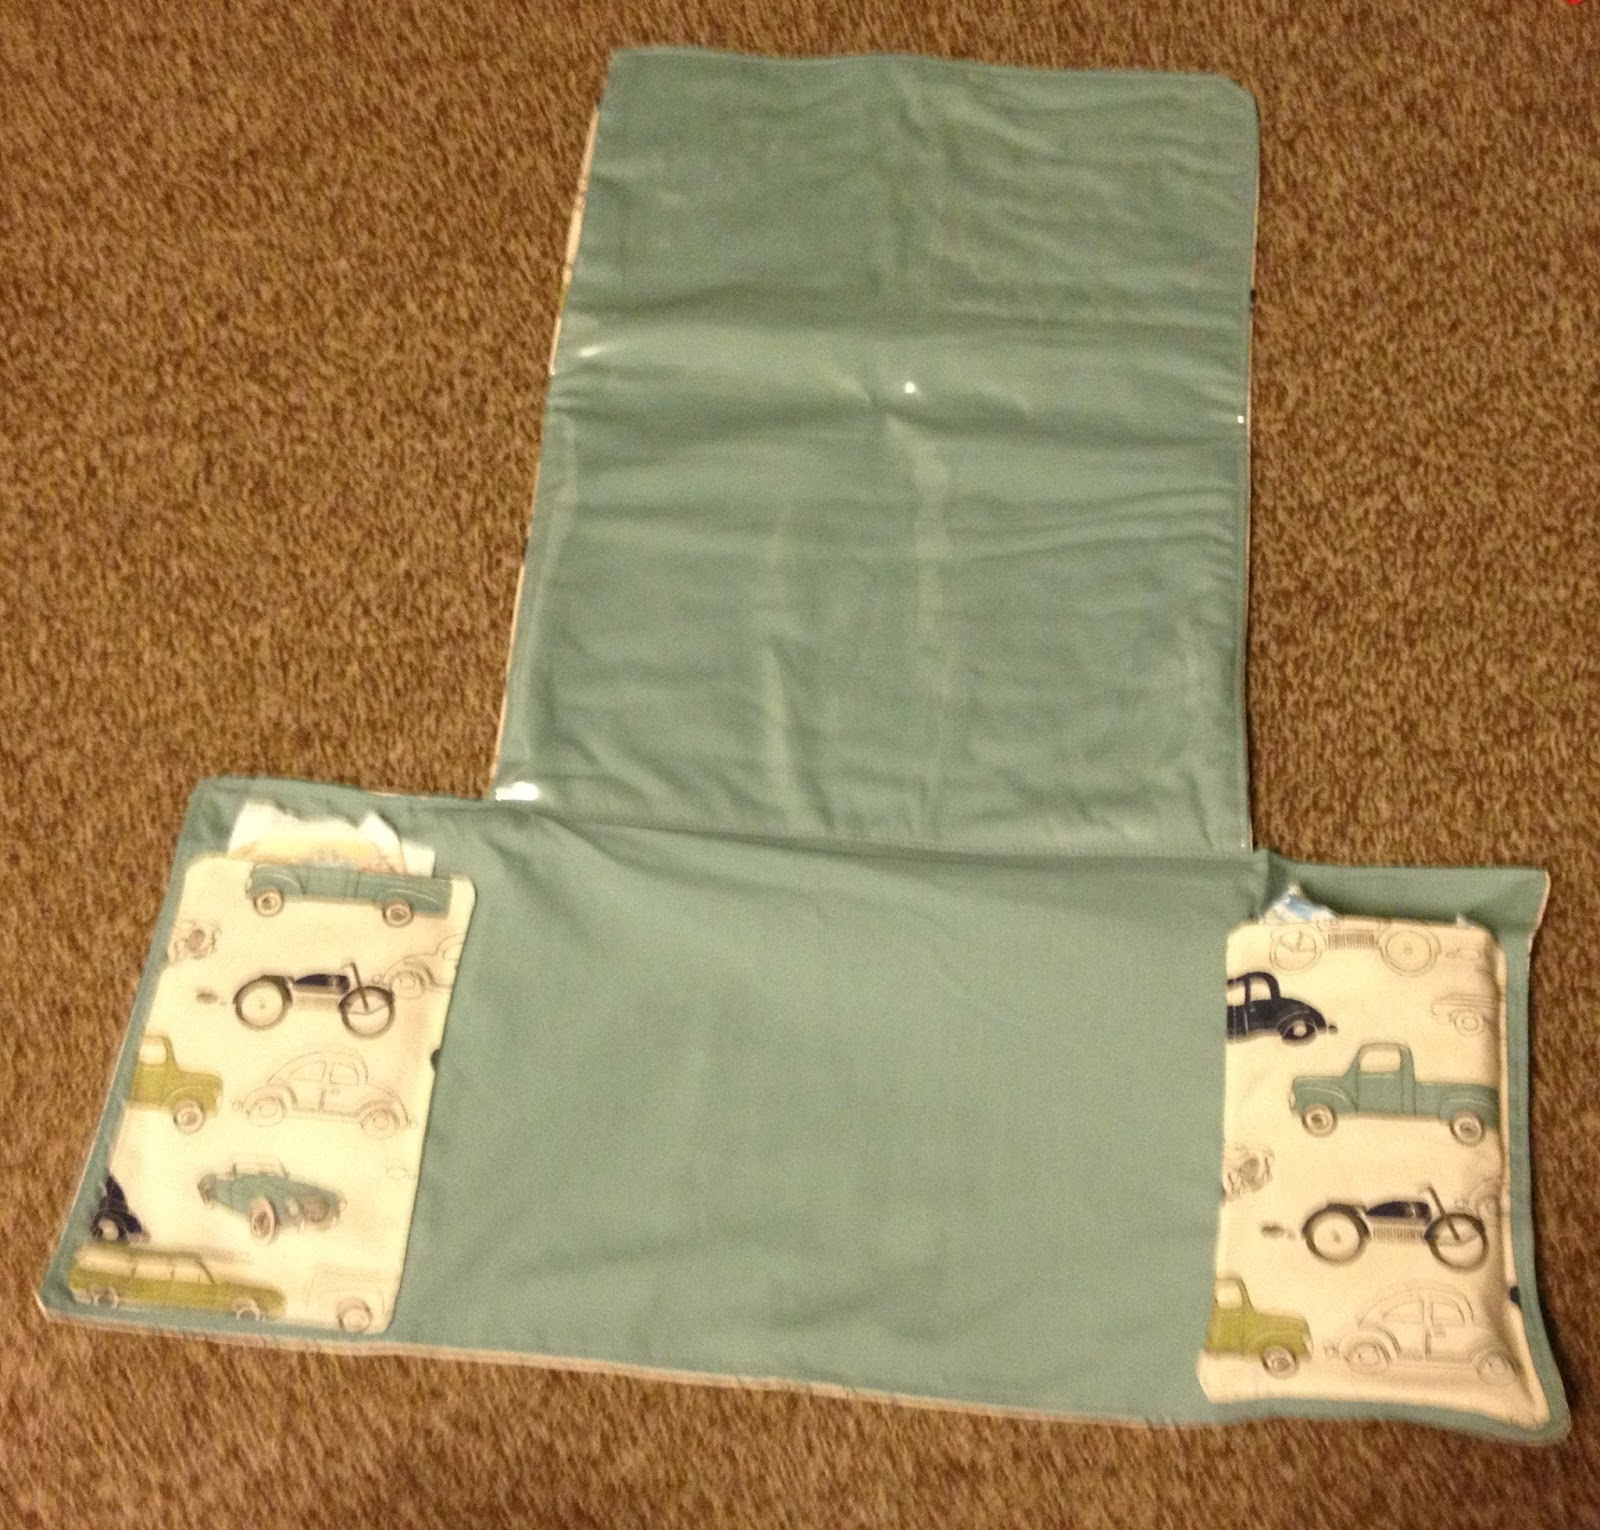
How to fold it up.

Fold the sides with the pockets in.

Then fold the bottom up into the pad area.

Fold the top of the pad down on top of the pockets.

Then fold the entire thing in half (from left to right).
Now you have a travel changing pad! Its going to last you forever, and its super cute in the fabric you want! I have two boys so the car fabric is just perfect, plus its in beautiful blues and teals which is pretty for me too!

Now you are ready to change a few diapers,
Sarah

Monday, August 19, 2013

Carlsbad Caverns, New Mexico

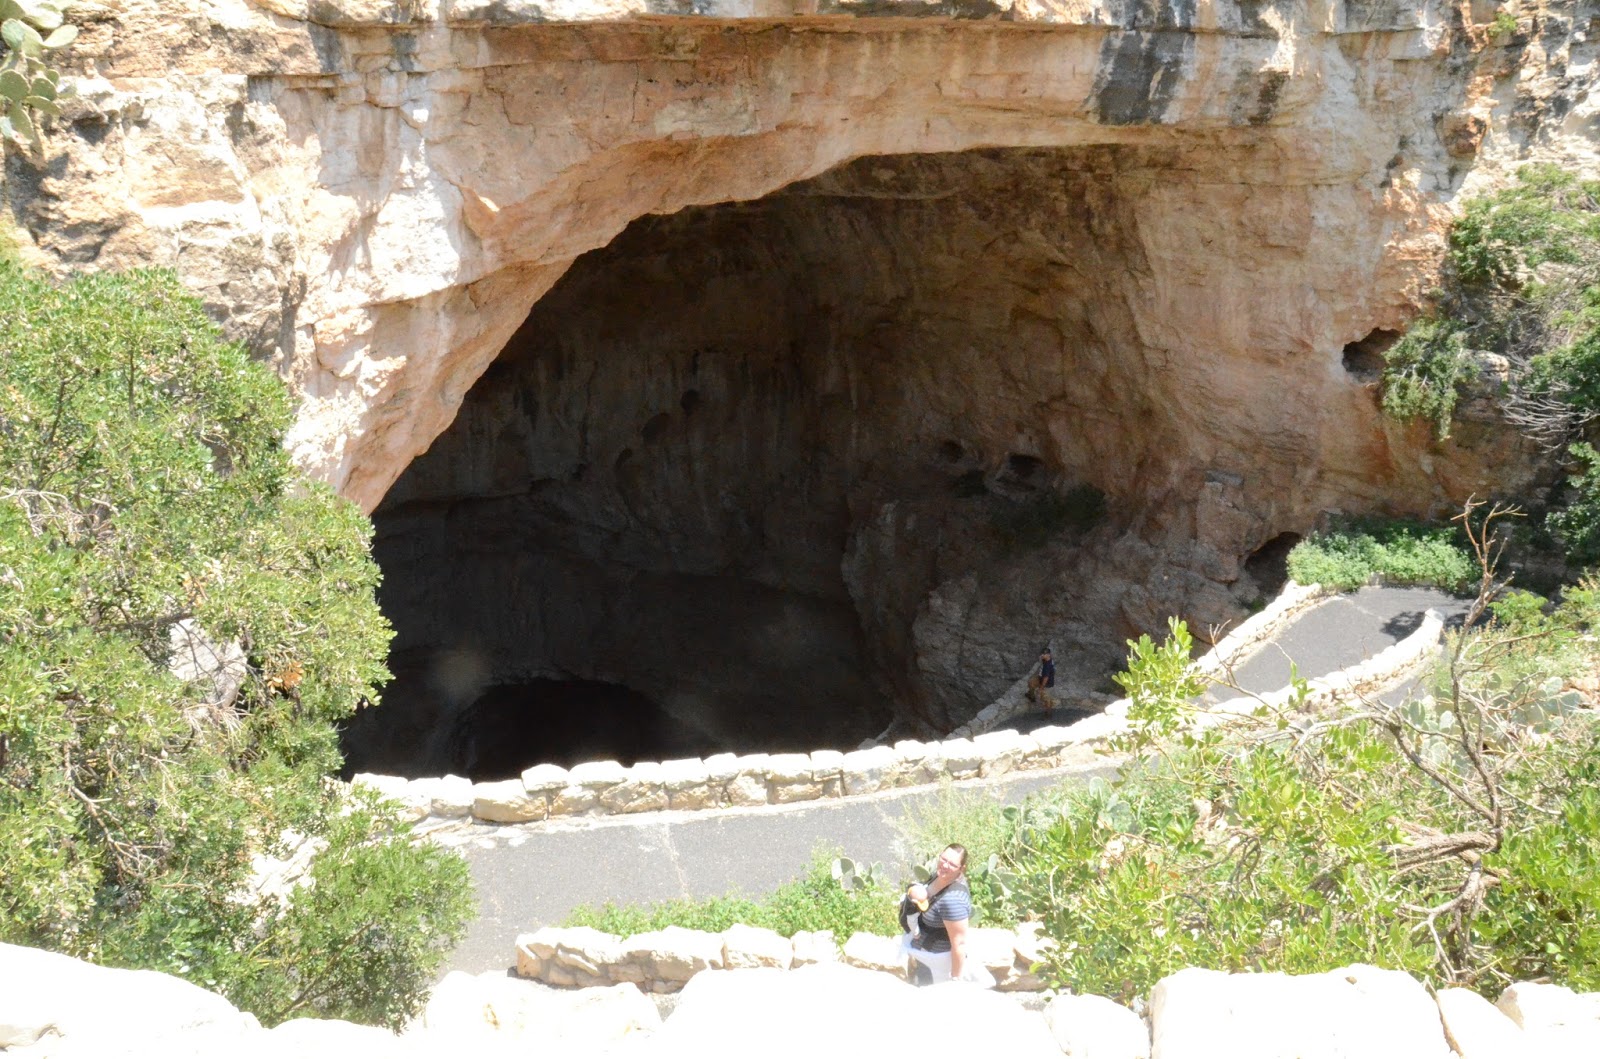
While we have been in New Mexico we have had a horrible time getting out and sight seeing. The reasoning is because I have been pregnant most of the time we have been here. Now that I am healed from giving birth and our boys are finally big enough, we decided to travel out of town for the day. Where to? Well the Carlsbad Caverns in southern New Mexico. We drove 2 hours south through Roswell, which was an awesome visit, but we didn't get to stop and shop (might have to do that before we leave), then we traveled two more hours to the Caverns. It wasn't that bad of a drive!

When we got to Roswell we were able to grab some starbucks, which is like a luxury for those of us living in Clovis, because we don't have one! Then as we started back on the road, our oldest son got sick. Poor guy has been fighting a cold, as I have too, and it finally got to him and he just made a mess of his outfit and carseat. Thats always fun! After a wardrobe change and some medicine we were finally back on the road to the caverns.


The national park entrance was a fun drive! Its curvy and the speed limit is 40, so it makes it fun to drive. Once at the top, at the center, we were able to unload, go to the restroom, and grab our tickets to the park entrance. We checked out the gift shop and got a few items for our collections. I love to collect shot glasses from each place I go, so of course I had to get one! We also got a small shirt for Brian, which in a year or so Jared will wear too. Once the shopping was done, we were off to the actual caverns.

The caverns entrance is extremely steep. Both myself and my husband had a child strapped on us, I had the youngest and my husband had the oldest. It was a workout for both of us. They have an elevator entrance for those who use wheelchairs or walking assistance but if you take the elevator you drop right down into the bottom of the caverns. Its great if you need the assistance, but I highly recommend making the walk. Half of the exhibits and unique rock formations are along the path. They also have seats and benches along the walking path so if you need to rest; or for us feed the little ones, then theres plenty of areas to do so!


Once you get to the bottom you can walk around several different paths. Some say it should take an hour to walk, but for us most of them only took about 30 minutes. I believe the time is based off walking with the audio; meaning you would stop and listen and then walk, stop and listen, etc. We walked along slowly but like I said, we made it through most of the areas in about 30 minutes.


 Also at the bottom is a very small selection of food and drinks. The water bottles were small and $5 each, so be sure to pack a hydro pack or a couple bottles of water. The food selection was also small, but we had snacks so I didn't even bother looking at any of it, especially after seeing that the water was $5 each. They also had sweaters and a few other souvenirs for purchase, the sweaters were $40 and hard helmets with lights were $5 each. The caverns are cold, around 50 degrees so be sure to pack a sweater, or in our case we had kids keeping us warm! 


The sign at the top of the facility said that the elevators could be an hour wait, but when we got in line it was a little after 4pm. When we got on the elevator it was only a little after 4:30pm. It really moved fast as they had two elevators running. The elevators go up several feet and it goes fast so if you have kids I would recommend a pacifier, bottle, feeding them or giving them something to chew because your ears will pop. The elevator was worth it at the end, as all our legs were killing us.


It was a fun day trip, and totally worth it. I would love to do it again, but I think it would have been a lot more enjoyable if the kids were bigger. Our drive home was an easy one, and we made sure to grab some starbucks on the way home.

I would highly recommend the Carlsbad Caverns to any family or couple,
Sarah

Friday, August 16, 2013

Smock for My Son

When I was a little girl I remember my mom had these really cute aprons that were almost like tank top dresses, but in the style of an apron. It was a fabric material, with old 70s fabric that tied in the back, and one on the side (if I remember correctly). I use to love putting them on, because it made me feel like I was a chef or a baker! I believe they were called smocks, not aprons.

My son is a very messy eater. He loves a lot of fruits, and veggies but usually enjoys wearing them as well. I got tired of undressing him and dressing him before and after EVERY meal or snack. I finally thought, those cute smocks when I was young would be a great idea for my son to wear while he eats. That way I don't have to keep undressing him and dressing him, and he can just eat in the smock. Then I could just wipe it down, and he will be clean (or cleaner then without it). 

I looked at my local craft store for a pattern, even checked online and at walmart. In the end I was not willing to spend $15 bucks for a pattern. I thought about it and decided I would just use a t-shirt out of my sons closet and use that as a pattern. I grabbed some paper, a shirt that is a little large on my son, and started tracing.

Now, I wanted the back to be where the snaps go. I also wanted to make it expand over time so when he starts getting bigger I wont have to keep making a new one. So, the design will have the front as a solid panel, and the back would be two separate panels where the snaps will go. I used the front of the shirt and traced slightly larger then the shirt (to allow for seam allowances). I then flipped the shirt over and traced the back of the shirt to the center of it for the two back panels. I made one of the panels a little larger then the other (adding about an extra inch to the center of the shirt). The extra inch of fabric down the center will be where the extra snaps will go for the expansion for later on when he gets bigger.

Once I have the pattern made, I cut them out and trace them onto the wrong side of the fabric. Remember that you traced the pattern with the shirt facing towards you, but you now have the fabric facing down and away from you, so you will have to flip the pattern so the "right" sides are all facing the same way. Once you have your pattern traced onto your fabric, cut it out.

Now, I used vinyl as its easier to clean up, but a pain in the butt to sew! I found/read a trick online that when your sewing vinyl you just need to place painters tap on your machine and bottom of the foot. This way the vinyl will slip through your foot and the bottom of your machine, instead of sticking like its glue.

Once you have the pieces all cut you can begin to sew. I sewed the shoulder piece first. After those are attached I pinned the sides together, then sewed those together.

Now you can add binding like I did or you can fold the fabric in a 1/4 of an inch or 1/2 inch and sew that down. I made binding and then attached that. I would say if your a seasoned sewer you could do the binding, if your not then you might want to stick to just folding all the exposed edges (and sewing those with a straight stitch).

This is the final product:

This is the front, note the entire front is one piece of fabric.


Heres the back. One side has the extra inch in the center where the snaps are. The other side stops at the center (of the shirt I traced for the pattern).


These are the snaps I added. The one on the left is the female snap, the three on the right are all male snaps. This way when you put it on you can choose the size you need, and snap into which ever one is closes.

I put it on my son and he was in love with it! Sorry the pictures are kind of blurry, he was running and dancing in it.


Also, you can use these for painting, or any "dirty" crafts you may want to do!

 He was being a super hero!

In action, enjoying a snack!

So now go get dirty or get crafty with your little ones,
Sarah