When I was a little girl I remember my mom had these really cute aprons that were almost like tank top dresses, but in the style of an apron. It was a fabric material, with old 70s fabric that tied in the back, and one on the side (if I remember correctly). I use to love putting them on, because it made me feel like I was a chef or a baker! I believe they were called smocks, not aprons.
My son is a very messy eater. He loves a lot of fruits, and veggies but usually enjoys wearing them as well. I got tired of undressing him and dressing him before and after EVERY meal or snack. I finally thought, those cute smocks when I was young would be a great idea for my son to wear while he eats. That way I don't have to keep undressing him and dressing him, and he can just eat in the smock. Then I could just wipe it down, and he will be clean (or cleaner then without it).
I looked at my local craft store for a pattern, even checked online and at walmart. In the end I was not willing to spend $15 bucks for a pattern. I thought about it and decided I would just use a t-shirt out of my sons closet and use that as a pattern. I grabbed some paper, a shirt that is a little large on my son, and started tracing.
Now, I wanted the back to be where the snaps go. I also wanted to make it expand over time so when he starts getting bigger I wont have to keep making a new one. So, the design will have the front as a solid panel, and the back would be two separate panels where the snaps will go. I used the front of the shirt and traced slightly larger then the shirt (to allow for seam allowances). I then flipped the shirt over and traced the back of the shirt to the center of it for the two back panels. I made one of the panels a little larger then the other (adding about an extra inch to the center of the shirt). The extra inch of fabric down the center will be where the extra snaps will go for the expansion for later on when he gets bigger.
Once I have the pattern made, I cut them out and trace them onto the wrong side of the fabric. Remember that you traced the pattern with the shirt facing towards you, but you now have the fabric facing down and away from you, so you will have to flip the pattern so the "right" sides are all facing the same way. Once you have your pattern traced onto your fabric, cut it out.
Now, I used vinyl as its easier to clean up, but a pain in the butt to sew! I found/read a trick online that when your sewing vinyl you just need to place painters tap on your machine and bottom of the foot. This way the vinyl will slip through your foot and the bottom of your machine, instead of sticking like its glue.
Once you have the pieces all cut you can begin to sew. I sewed the shoulder piece first. After those are attached I pinned the sides together, then sewed those together.
Now you can add binding like I did or you can fold the fabric in a 1/4 of an inch or 1/2 inch and sew that down. I made binding and then attached that. I would say if your a seasoned sewer you could do the binding, if your not then you might want to stick to just folding all the exposed edges (and sewing those with a straight stitch).
This is the final product:
This is the front, note the entire front is one piece of fabric.
Heres the back. One side has the extra inch in the center where the snaps are. The other side stops at the center (of the shirt I traced for the pattern).
These are the snaps I added. The one on the left is the female snap, the three on the right are all male snaps. This way when you put it on you can choose the size you need, and snap into which ever one is closes.
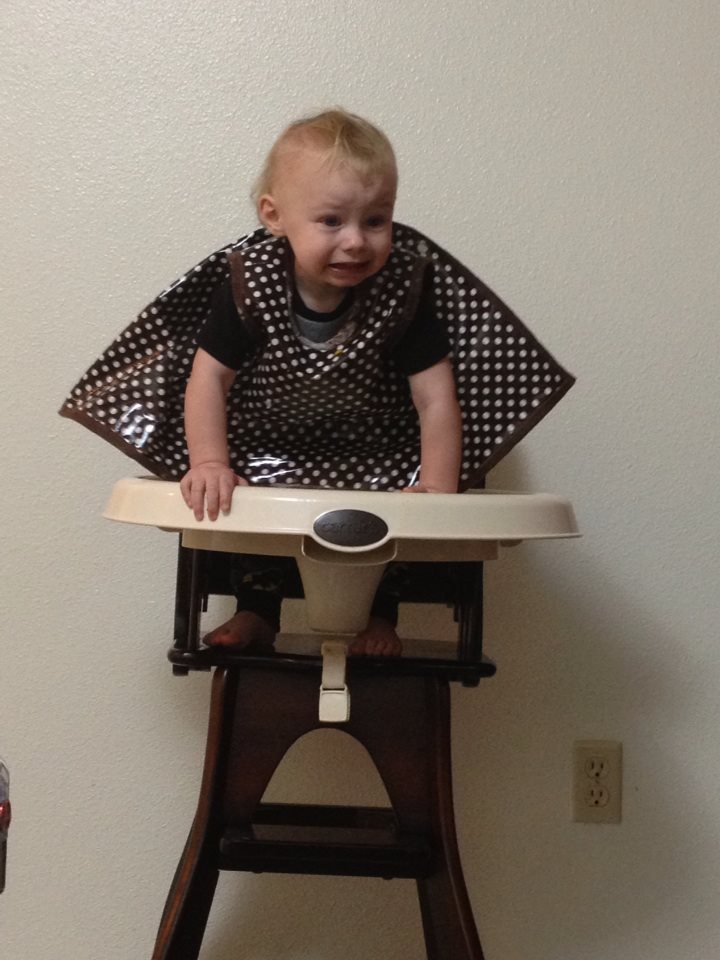
I put it on my son and he was in love with it! Sorry the pictures are kind of blurry, he was running and dancing in it.
Also, you can use these for painting, or any "dirty" crafts you may want to do!
He was being a super hero!
In action, enjoying a snack!
So now go get dirty or get crafty with your little ones,
Sarah