September 29:
Thankful for all the amazing, fun, crazy, hilarious memories my big family and I have made. Its always fun to remember the olden days.
September 30:
Thankful that my books and school work items arrived today! I can finally get my hands into this reading and work on the lessons. Yay!
Give Thanks,
Sarah
Showing posts with label book. Show all posts
Showing posts with label book. Show all posts
Wednesday, October 1, 2014

Saturday, March 29, 2014
March Giving Thanks, Week 4
March 22:
Thankful for new chairs. We really needed them! Its sometimes the small things.

March 23:
Peace and quiet, alone time; that's what I am VERY grateful and thankful for today. A break from the world to think and be happy inside and out.
March 24:
Thankful for my husband finally being able to get his wisdom teeth out. The pain is a bummer, and a hate seeing him feel so miserable but hopefully in a week or two when he is back to normal he can smile and know he wont have anymore tooth pain because of those dang teeth!
March 25:
My little baby is getting so big so fast. We purchased his big boy seat today. I am thankful for his big boy seat, and the feeling of him being safe, but its all very emotional for me as well. He sure does love to look out the window though!
March 26:
Thankful for a special night with my oldest son and husband as we watched Frozen for the first time. Wonderful way to end the day.

March 27:
I am so proud and excited and overly thankful for my oldest son eating ALL of his lunch! Its an awesome feeling when we all sit down for lunch and all I hear him say is; "Yum! Mmmmm. So good Mama." When he finished the last bite I was so excited for him, and we high-fived and I made a HUGE deal out of it! Lets just say he has never once cleared his plate.
March 28:
I have sewed, I have done some spring cleaning, I have enjoyed a movie night, and I have finished the book I was reading (and started another). I am so thankful for all these small moments of personal achievements or personal time, etc. It has been a great week and I can only look forward to this weekend!
Give Thanks,
Sarah
Thankful for new chairs. We really needed them! Its sometimes the small things.
March 23:
Peace and quiet, alone time; that's what I am VERY grateful and thankful for today. A break from the world to think and be happy inside and out.
March 24:
Thankful for my husband finally being able to get his wisdom teeth out. The pain is a bummer, and a hate seeing him feel so miserable but hopefully in a week or two when he is back to normal he can smile and know he wont have anymore tooth pain because of those dang teeth!
March 25:
My little baby is getting so big so fast. We purchased his big boy seat today. I am thankful for his big boy seat, and the feeling of him being safe, but its all very emotional for me as well. He sure does love to look out the window though!
March 26:
Thankful for a special night with my oldest son and husband as we watched Frozen for the first time. Wonderful way to end the day.
March 27:
I am so proud and excited and overly thankful for my oldest son eating ALL of his lunch! Its an awesome feeling when we all sit down for lunch and all I hear him say is; "Yum! Mmmmm. So good Mama." When he finished the last bite I was so excited for him, and we high-fived and I made a HUGE deal out of it! Lets just say he has never once cleared his plate.
March 28:
I have sewed, I have done some spring cleaning, I have enjoyed a movie night, and I have finished the book I was reading (and started another). I am so thankful for all these small moments of personal achievements or personal time, etc. It has been a great week and I can only look forward to this weekend!
Give Thanks,
Sarah
Thursday, March 27, 2014
Baby Shower Banner #2
I showed you the first banner I made for my sisters baby shower and how simple it was. I then made a REAL storybook themed banner from a Mother Goose book. I loved reading the Mother Goose rhymes when I was a kid, and still love to read them to my kids now. This banner take a little more time, but can still be done in a day or two.
First you will need to grab the following items:
-glue
-scissors
-pencil/pen
-old book to cut up
-ribbon (white, 3 inches)
-a Mother Goose book or other book you enjoy for the theme
-colored scrapbook paper (needs to be 12 inches or larger)
-a banner template (the triangle shape), a large one and one just ever so slightly smaller.

1. Color copy the nursery rhymes from the Mother Goose book that you want to use. Make sure you copy enough for the amount of letters and spaces you need in the banner.
2. Cut out, using the template, the large triangle/banner pieces from the colored paper.
3. Cut out, using the smaller template, the triangle/banner pieces from the colored copy pages from the book
4. Lastly cut out of the old book paper the letters you need. You can do this free hand, with a stencil, or a machine.
5. Glue the letters to the colored pages from your themed book. Then glue those triangles to the colored triangles.
6. You now should have something that looks a lot like this:

7. Now you want to get a ribbon large enough to sew or glue the banner onto. I purchased a 3 inch sized white ribbon. I then folded it in half and placed the top of each triangle piece inside the fold. I then stitched along the bottom part of the ribbon, where the paper was.

8. I placed one triangles corner right next to the next triangles corner, barely leaving any gap.

9. Once done your banner should look something like this:


and at the party:

Now Get Started,
Sarah
First you will need to grab the following items:
-glue
-scissors
-pencil/pen
-old book to cut up
-ribbon (white, 3 inches)
-a Mother Goose book or other book you enjoy for the theme
-colored scrapbook paper (needs to be 12 inches or larger)
-a banner template (the triangle shape), a large one and one just ever so slightly smaller.
1. Color copy the nursery rhymes from the Mother Goose book that you want to use. Make sure you copy enough for the amount of letters and spaces you need in the banner.
2. Cut out, using the template, the large triangle/banner pieces from the colored paper.
3. Cut out, using the smaller template, the triangle/banner pieces from the colored copy pages from the book
4. Lastly cut out of the old book paper the letters you need. You can do this free hand, with a stencil, or a machine.
5. Glue the letters to the colored pages from your themed book. Then glue those triangles to the colored triangles.
6. You now should have something that looks a lot like this:
7. Now you want to get a ribbon large enough to sew or glue the banner onto. I purchased a 3 inch sized white ribbon. I then folded it in half and placed the top of each triangle piece inside the fold. I then stitched along the bottom part of the ribbon, where the paper was.
8. I placed one triangles corner right next to the next triangles corner, barely leaving any gap.
9. Once done your banner should look something like this:
and at the party:
Now Get Started,
Sarah
Tuesday, March 25, 2014
Baby Shower Banner #1
To do this small project you will need colored paper (I used scrapbook paper I had on hand), paper from an old book that you don't mind ripping up, scissors, glue, ribbon, and a letter cutter/stencil/or you can free hand them.
1. Cut out a small circle from all the colored paper. Then cut a circle out of the book paper, making it slightly larger then the colored circle. I used two bowls from a collection, so the bowls were perfect in sizes. Cut those all out. If you have a machine that can do this, even better!

2. Find a ribbon you like and get enough for your banner size. I used one roll and some.
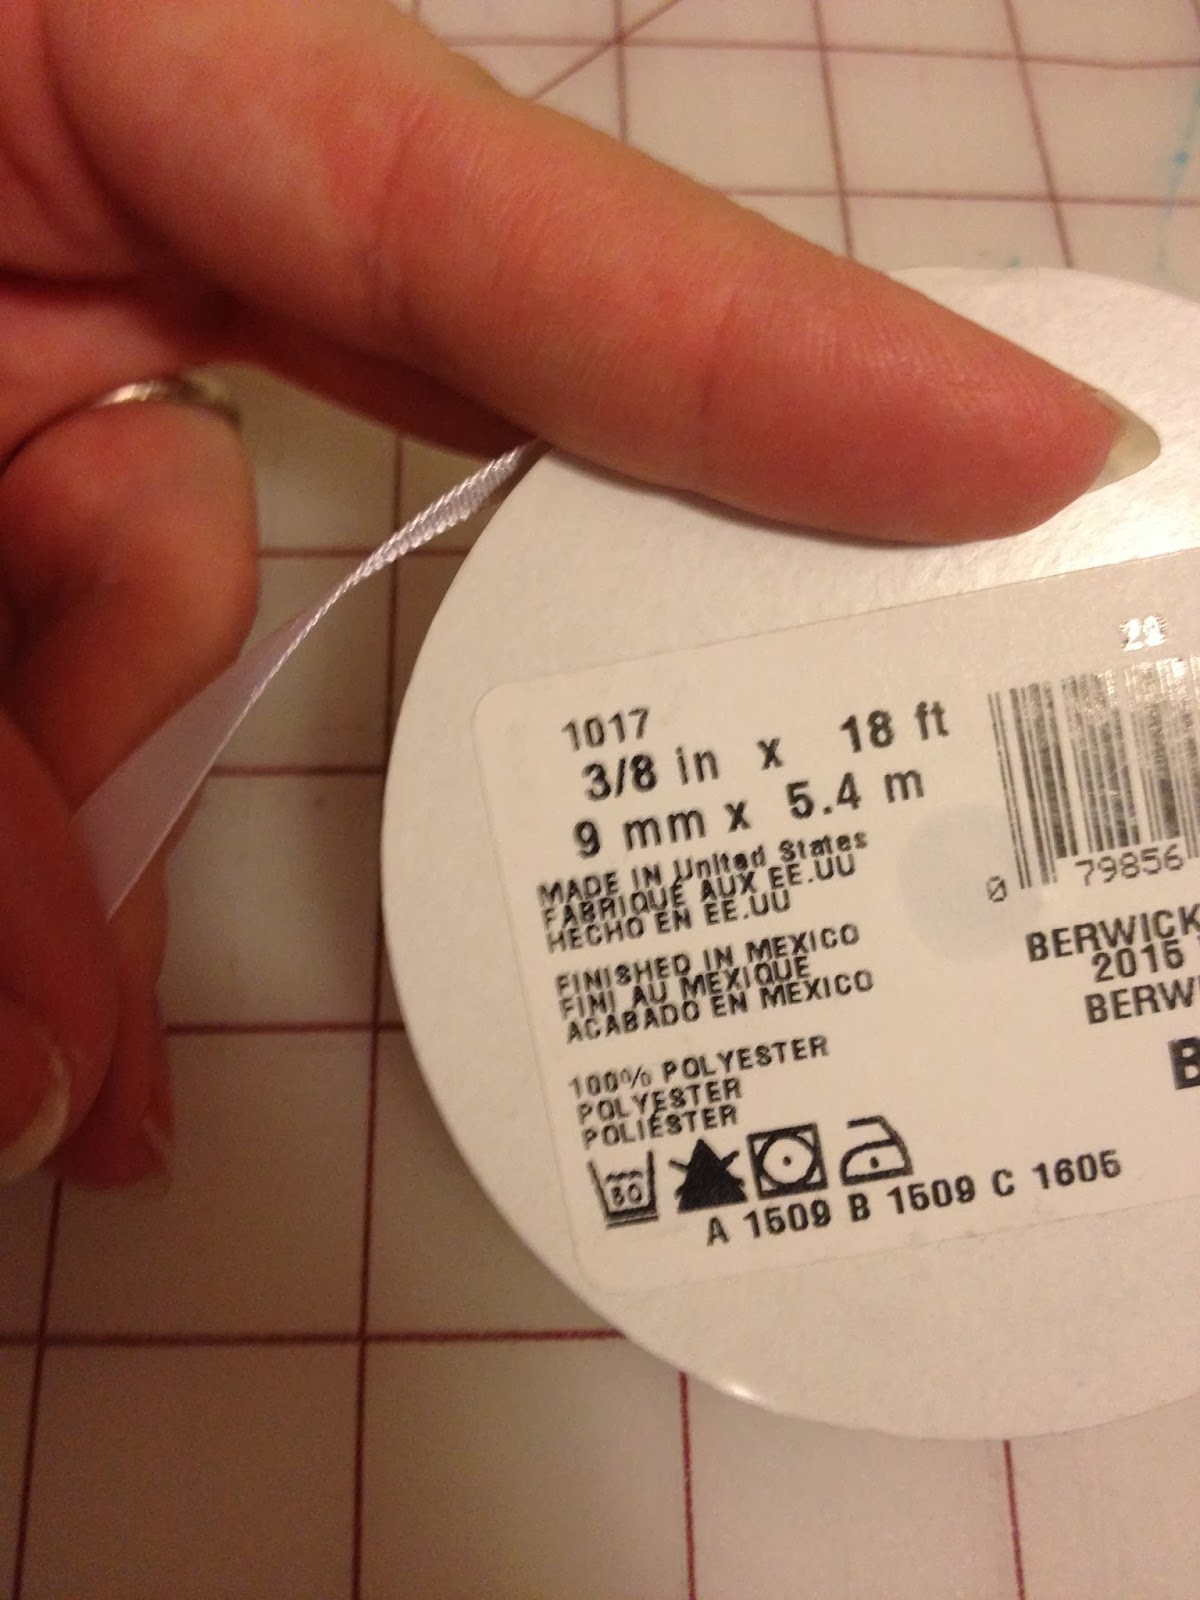
3. Glue all the colored circles to the book circles and then glue the letters on top of the colored circles.
4. You can either glue the ribbon onto the circles, or do as I did, and sew it on for a stronger hold. I just used a straight stitch and placed the ribbon on the circle, stitched, and continued to the next circle.

5. Your finished product should look a lot like this:

and at the party with the other decorations:
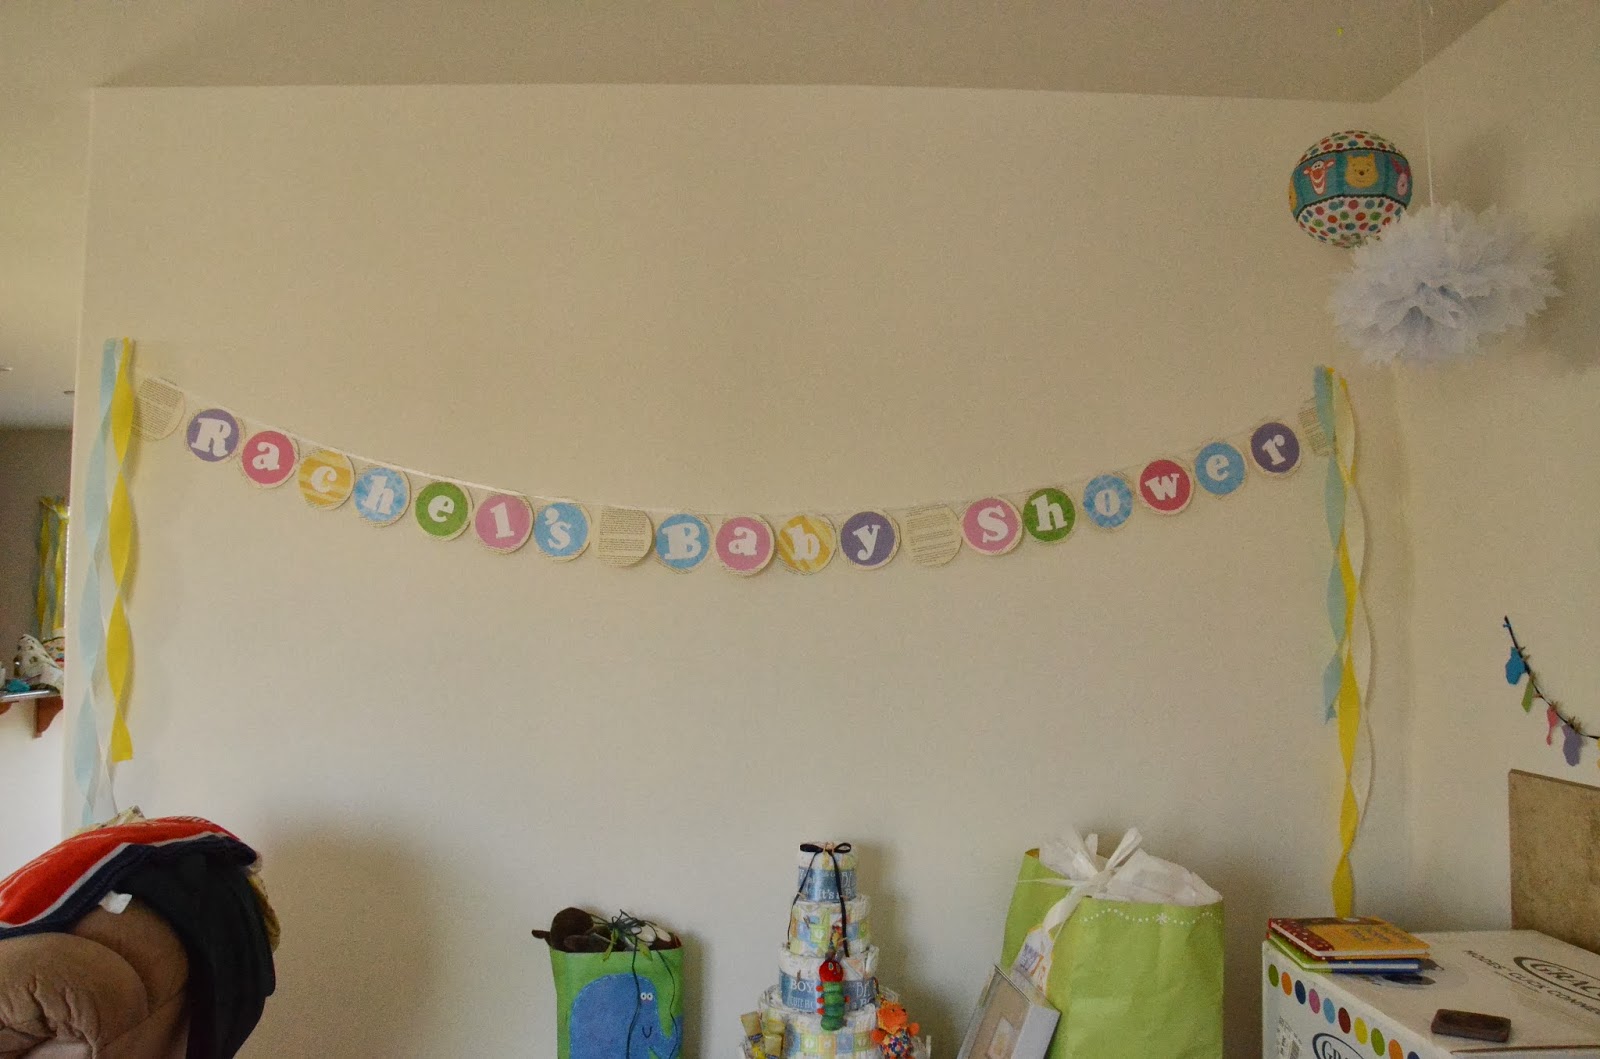
I enjoyed the small light pop of colors, but the beautiful personalized banner that I knew would fit PERFECTLY into the theme. Its just that simple.
Have Fun,
Sarah
Wednesday, March 12, 2014
Storybook Table Decoration
I searched for tons of great ideas for a long skinny buffet table decorations. I wanted something long that could sit behind the food at the party, but still scream Classic Storybook Themed Baby Shower. I eventually came up with the idea of color printing a few book covers, cutting them out, and placing them on some scrapbooking paper. Bind them together and place it on the table. Little did I know this project would be a little harder then just copy, cut, glue, and bind! Don't worry though, I have a tutorial with photos, so you can follow along and make your very own! You could use this design for any party. Use photos, and place them on both sides for a center piece on a table. Or use animals, characters, or designs that are part of your party and place this decoration on a counter, party table, food table, dessert table, or even a presents table! This decoration can be made and used for almost any event!
What you will need for this project:
Take a few books that you want to use, color copy the fronts, and shrink them (or enlarge them) to the size you desire. Cut them out.

Next grab a few scrapbook paper that you like, or will match you theme or colors. I chose a few boy themed light colored scrapbook paper. I them cut them to a desired size. Which I think was something like 8 x 10 inches.

I then laid the pages out and placed the book covers on each page. I did this and changed them up and moved them around, etc. Once I decided on what I liked, I then took a photo to remember.

I then measured about a half inch on all sides, to get the book in just the right spot/center. You would have to do some measuring with your book covers and scrapbooking pages to figure out where your center is. I used a PENCIL and put a mark where I measured each corner to be. Thats a helpful guide for the next step.

I then used Tacky Glue (which you can get at any craft store), and place a drop of glue in each corner and center of the book covers and glued them in to place. Use your pencil mark guides to help you place the cover back into the correct spot.

Once all your covers are glued down and dry, you will now need a needle (large enough to place Embroidery Floss through), a safety pin, Embroidery Floss in your desired color, a pencil, and ruler.

Start by measuring out a pattern of how you want or where you want your floss to go. I wanted mine to look like Xs so I made sure I worked in groups of 4. I then placed pencil marks, using my ruler, about a half inch from the edge of the paper, and a half inch from the dot before.
I then knot one end of my floss, thread it through the needle, and push through from the back of on page at the bottom, and move upward. Skipping one hole on each side.

I then continue back down, making all the Xs as I work. I then go back and pull all the loose floss and make the Xs tight.

I then pull the floss through the last hole, and knot it onto the first floss hole I went through, as you can see below. I knotted it 3 times.

Your back should now look all pretty.

The front should look something like this, or maybe you added an extra 2 holes... which I didn't have room for.

Now move on to the next pages. I linked the two left pages together, then the two right and then placed them together with the center, that way I wasn't working with 3 or 4 pages all at once.

I made it easier on myself, and I created a template to help guide me in placing the holes in the exact same place every time.

I line up my guide with the two pages, and then push my pencil through the holes to leave a small pencil mark on the scrapbook paper.


I then push my safety pin through the holes, from front to back, this will keep the paper from ripping, or pushing upward and leaving white around the hole.

Using your floss, I would cut about 10-12 inches of thread for each.

Start from the back, pushing up through the bottom to the front. Don't forget to knot the end of your floss.

Move to the hole directly next to it, and push down to the back.

Move diagonally and push your floss up through the next hole on the right.

Jump over and up one hole or at a diagonal. Push your floss through to the back.

Again, go diagonally to the next hole, or over and up one.

Continue this pattern up and back down.

Start pulling the thread tight.


Until you have this:

Finish it up with your knots.


Now carefully fold the pages so they don't stick out.

Then stand it up and check out your amazing work!

Use it at the party for a table decoration or anywhere else!

Get To Work,
Sarah
What you will need for this project:
Take a few books that you want to use, color copy the fronts, and shrink them (or enlarge them) to the size you desire. Cut them out.
Next grab a few scrapbook paper that you like, or will match you theme or colors. I chose a few boy themed light colored scrapbook paper. I them cut them to a desired size. Which I think was something like 8 x 10 inches.
I then laid the pages out and placed the book covers on each page. I did this and changed them up and moved them around, etc. Once I decided on what I liked, I then took a photo to remember.
I then measured about a half inch on all sides, to get the book in just the right spot/center. You would have to do some measuring with your book covers and scrapbooking pages to figure out where your center is. I used a PENCIL and put a mark where I measured each corner to be. Thats a helpful guide for the next step.
I then used Tacky Glue (which you can get at any craft store), and place a drop of glue in each corner and center of the book covers and glued them in to place. Use your pencil mark guides to help you place the cover back into the correct spot.
Once all your covers are glued down and dry, you will now need a needle (large enough to place Embroidery Floss through), a safety pin, Embroidery Floss in your desired color, a pencil, and ruler.
Start by measuring out a pattern of how you want or where you want your floss to go. I wanted mine to look like Xs so I made sure I worked in groups of 4. I then placed pencil marks, using my ruler, about a half inch from the edge of the paper, and a half inch from the dot before.
 |
| Notice the small pencil dots, those are my thread holes. |
I then knot one end of my floss, thread it through the needle, and push through from the back of on page at the bottom, and move upward. Skipping one hole on each side.
I then continue back down, making all the Xs as I work. I then go back and pull all the loose floss and make the Xs tight.
I then pull the floss through the last hole, and knot it onto the first floss hole I went through, as you can see below. I knotted it 3 times.
Your back should now look all pretty.
The front should look something like this, or maybe you added an extra 2 holes... which I didn't have room for.
Now move on to the next pages. I linked the two left pages together, then the two right and then placed them together with the center, that way I wasn't working with 3 or 4 pages all at once.
I made it easier on myself, and I created a template to help guide me in placing the holes in the exact same place every time.
I line up my guide with the two pages, and then push my pencil through the holes to leave a small pencil mark on the scrapbook paper.
I then push my safety pin through the holes, from front to back, this will keep the paper from ripping, or pushing upward and leaving white around the hole.
Using your floss, I would cut about 10-12 inches of thread for each.
Start from the back, pushing up through the bottom to the front. Don't forget to knot the end of your floss.
Move to the hole directly next to it, and push down to the back.
Move diagonally and push your floss up through the next hole on the right.
Jump over and up one hole or at a diagonal. Push your floss through to the back.
Again, go diagonally to the next hole, or over and up one.
Continue this pattern up and back down.
Start pulling the thread tight.
Until you have this:
Finish it up with your knots.
Now carefully fold the pages so they don't stick out.
Then stand it up and check out your amazing work!
Use it at the party for a table decoration or anywhere else!
Get To Work,
Sarah
Subscribe to:
Posts (Atom)