May 15:
Lots of cuddles from my kids today. Not sure if its growing, teeth, or just simply the day but thankful for all the wonderful cuddles!
May 16:
Thankful its Friday! Yeah, I am just glad the week is over so we can have a family weekend. I love spending time together as a family, its the best. Yay for Friday!
May 17:
My niece has arrived. Thankful for another beautiful baby girl to spoil. Leila Pitcher was born today and was a small 7lb 15oz baby. Can't wait to meet her.
May 18:
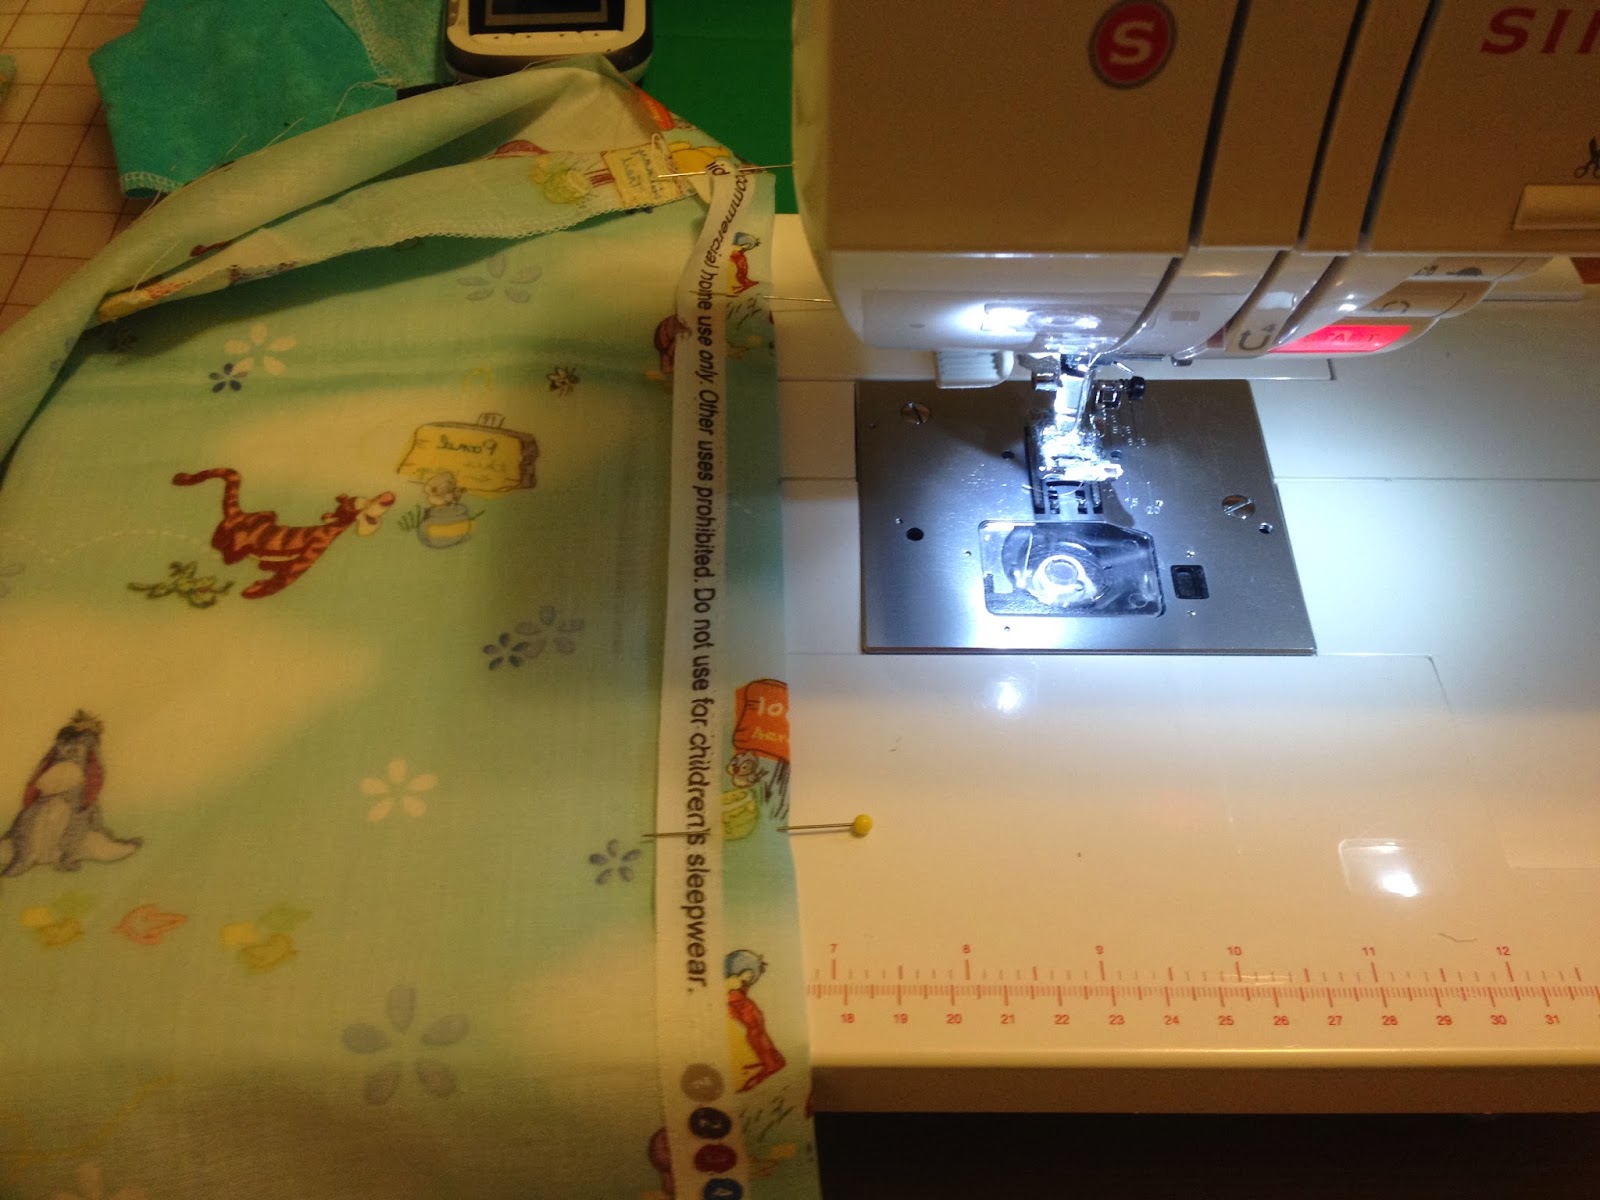
Today I am thankful for a little sewing time to be able to finish up Jareds bib and shirt for his first birthday. Heres a little sneak peek:
May 19:
Kind of sad but thankful I finished such an amazing series of books. I finished the Divergent series today and it was amazing. I am enjoying getting back into reading a little here and there (between my sewing projects.)
May 20:
So happy and very thankful to have this project done. It will always be a work in progress and probably always will be. However, the boys are loving it and playing with it a ton.
May 21:
My kiddos went to sleep in two different beds for nap time. I heard some laughing and went to get them from their beds, and found them in one bed. I am thankful they love each other this much, but im not sure the crib is big enough. They seemed happy though, so I guess im not complaining.
Give Thanks,
Sarah
Showing posts with label crib. Show all posts
Sunday, May 25, 2014
May Give Thanks, Week 3
Labels:
bib,
birth,
Birthday,
crib,
Divergent,
give thanks,
give thanks 365 days a year,
kids toy,
niece,
oven,
shirt,
sister in law,
stove
Monday, March 31, 2014
Crib Sheet Tutorial
I have made crib sheets before, but I haven't made a tutorial for it. So, now that I have had the chance to make two Winnie the Pooh themed crib sheets, I was able to make a photo tutorial.
You will need about two yards of fabric. You will also need about 70-80 inches of elastic.
1. Fold your fabric in half and then fold it in half the other way. Measure out the fabric so you have the following measurements and cut any extra material off.
2. You should now have a piece that looks like this.
3. Still with the fabric folded and all four pieces of fabric in one corner you will now need to cut out the square piece.
4. Using a square cutter, cut out an 8x8 inch square. Make sure you cut through all 4 layers of fabric.
5. Finished product should look like this.
6. Un-fold the fabric so you only have ONE corner in front of you.
7. Place the two corners, on top of each other, right sides together. (Place left hand on left side of fabric and the other on the right side of fabric. Take left hand over to the right hand. Line up the corners.)
8. Pin the pieces together.
9. Serge or sew the two pieces together.
10. Do the same thing to the other 3 corners, until you are done.
11. Fold the out side edge of the sheet inward towards the back/wrong side of the sheet. Make sure to fold slightly LARGER then your elastic. I believe mine is 1/4in and sew I folded 1/2 inch.
12. Use your iron and press your seam.
13. Start sewing your seam down, remember how larger your elastic is and sew accordingly. Mine was 1/4in, and my fold was 1/2in, so I sewed about 1/8 of an inch from the edge all the way around.
14. Try to line up seam from the corner as you go.
15. Leave about a two inch opening in your hem to slide your elastic into.
16. Take a safety pin and pin it to one end of the elastic.
17. Push the pin into the opening, and wiggle it down and around the entire sheet.
... just keep scrunching up the fabric using the pin the push through.
18. Once you are back at the beginning pull the pin and elastic out.
19. Take your pin off, and place the two pieces of elastic together.
20. Pull enough of the elastic out and away from the sheet as possible, and run it under the sewing machine using several back and forth stitches with your zig zag stitch,
21. Slide the elastic back into the sheet, pull the sheet tight, and get the open hole as flat as possible.
22. Stitch the hole up with a simple straight stitch. I like to back stitch a few times at the beginning and end to ensure it holds.
23. You are now done!
Enjoy Your Sheet,
Sarah
You will need about two yards of fabric. You will also need about 70-80 inches of elastic.
1. Fold your fabric in half and then fold it in half the other way. Measure out the fabric so you have the following measurements and cut any extra material off.
2. You should now have a piece that looks like this.
3. Still with the fabric folded and all four pieces of fabric in one corner you will now need to cut out the square piece.
4. Using a square cutter, cut out an 8x8 inch square. Make sure you cut through all 4 layers of fabric.
5. Finished product should look like this.
6. Un-fold the fabric so you only have ONE corner in front of you.
7. Place the two corners, on top of each other, right sides together. (Place left hand on left side of fabric and the other on the right side of fabric. Take left hand over to the right hand. Line up the corners.)
8. Pin the pieces together.
9. Serge or sew the two pieces together.
10. Do the same thing to the other 3 corners, until you are done.
11. Fold the out side edge of the sheet inward towards the back/wrong side of the sheet. Make sure to fold slightly LARGER then your elastic. I believe mine is 1/4in and sew I folded 1/2 inch.
12. Use your iron and press your seam.
13. Start sewing your seam down, remember how larger your elastic is and sew accordingly. Mine was 1/4in, and my fold was 1/2in, so I sewed about 1/8 of an inch from the edge all the way around.
14. Try to line up seam from the corner as you go.
15. Leave about a two inch opening in your hem to slide your elastic into.
16. Take a safety pin and pin it to one end of the elastic.
17. Push the pin into the opening, and wiggle it down and around the entire sheet.
... just keep scrunching up the fabric using the pin the push through.
18. Once you are back at the beginning pull the pin and elastic out.
19. Take your pin off, and place the two pieces of elastic together.
20. Pull enough of the elastic out and away from the sheet as possible, and run it under the sewing machine using several back and forth stitches with your zig zag stitch,
21. Slide the elastic back into the sheet, pull the sheet tight, and get the open hole as flat as possible.
22. Stitch the hole up with a simple straight stitch. I like to back stitch a few times at the beginning and end to ensure it holds.
23. You are now done!
Enjoy Your Sheet,
Sarah
Saturday, February 15, 2014
Crib Blanket Tutorial
I was lucky enough to be given the chance to make my sisters, soon to be born, sons crib set. I was so excited, and she had picked Winnie the Pooh as her theme. I let her pick the fabric, and once she decide on the one she liked, I purchased a few extra pieces of fabric to go along with the pooh bear fabric. The complimentary fabric was so I could create a crib blanket with hints of a quilting style.
Most crib blankets now a days are blocks of different fabrics, or appliqued character onto a panel. I want to do something similar but yet different. My sister said she liked the idea of blocks. I went with the design of keeping it simple and making the front large blocks of different fabric. The back, I wanted to applique his name on it and make it personalized, just for him.
I sketched something out and came up with this:
Once I have an idea of what I am going to do I then grab the fabric. I chose soft fabric, and different textures. Babies need soft, but I also like the idea of them having something to explore, and touching is what they do a lot of exploring through.
I then cut out all my blocks, and laid them in the design I drew out.
Start sewing the blocks together in each row. You can use whatever size seam, here I am using a 1/4 inch.
Sewing the blocks together, 1/4 inch seam.
Then you will have all your rows done.
Take the first row, lay it down with the right side of the fabric facing up. Then place the second row, right side of the fabric facing down, on top of the first row. If you need help remember which row is what you can look at your drawing, or simply pin numbers to them.
Start pinning the rows together by starting with the seams. If you do this, it will help line up all your blocks and the blocks will not look out of line.
Pin, pin, pin! When you are working with mink, pin, A LOT!
After you are done with the first two rows, you should have something like this! Off to the rest of the rows. Just simply add the 3rd row on top of the 2nd row, and sew. Then the 4th on top of the 3rd, sew; and so on and so forth, until you have the finished top.
Top is done!
Now on to the back. I cut my back fabric about 2 inches larger then the front, on all sizes.
I then traced all my letters onto a large piece of heat n bond paper. I then ironed the heat n bond paper to the pooh bear fabric. I carefully cut out each letter.
His name is cut out!
Then I slowly and carefully pulled off the heat n bond papers backing. Flannel has a tendency to fray easily, so I was careful while pulling the heat n bond backing off.
I then placed the letters on the back of the blanket piece, and set them where I liked. I played around with the letters, trying several different styles, but decided on an off set, to one side, style. I also stayed about 4 inches from the top and bottom.
I then pinned each letter into its place.
I then ironed the letters into their place. Make sure the back fabric (white) is ironed and flat. This will help prevent the letters from ironing down all bumpy and such.
I then used a zig-zag with a smaller stitch, notice my .6, thats the stitch from front to back. This is what I use to applique.
I then carefully applique my fabric done.
Once you have a few done, this is what it should somewhat look like.
Finished appliqueing the letters onto the back. Once I do this, I actually go back to the ironing board and give everything a nice press. This way when I start stacking the blanket I know its nice and flat.
Time to put it all together. I placed my back of my blanket with the right side down (facing away from me), and then added a layer of batting. In this case, because I am making a baby blanket and not a quilt I am using a batting that has a lot of volume to it. I cut the batting about the same size as my back fabric.
I then carefully place my front panel on top of the batting, right side facing up (towards the ceiling), and carefully place it in place where I like it.
I then get my pins out and pin, pin, pin. Did I mention you have mink so you pin, pin, pin!
I am working with mink, so in order to keep the mink and blanket top from slipping or moving on me while I quilt it, I am going to lay a zig-zag stitch around the edge of the 3 layers. I follow around the top panel and stay as close to the edge as possible.
You should have something like this.
Now that I don't have to worry about my edges moving or shifting, I now can quilt the blanket. You can do this however you want. I personally just wanted a simple clean design, so I quilted in the ditch. Which just means I followed the seams on the front panel and sewed along those lines.
This is what it looks like on the back once its quilted!
I then clean up all the extra material, cutting the back and batting down to the front panels size.
I then measure, and cut the correct amount of binding. I am using mink, but you can use anything you want. I wanted the edges to be soft and cuddly, so mink was my choice!
I then sew the binding together.
I then place my binding and begin sewing it on.
When you are done, you should have something like this:
Time to hand sew the back of the binding on. You can machine finish it, but I am again, working with mink, and wanted to keep the quilt simple. To hand sew this binding, it took me about 2 hours or so.
When I was finished, I was so happy and excited to see the finished product!
The back looks great, and I love how the name just blends in, it doesn't scream out.
It looks great, and I am so happy with the finished product.
Now, I wait and see if the mommy-to-be likes it (its my sister, so she better love it, J/K)!
Happy Blanket Making,
Sarah
Most crib blankets now a days are blocks of different fabrics, or appliqued character onto a panel. I want to do something similar but yet different. My sister said she liked the idea of blocks. I went with the design of keeping it simple and making the front large blocks of different fabric. The back, I wanted to applique his name on it and make it personalized, just for him.
I sketched something out and came up with this:
Once I have an idea of what I am going to do I then grab the fabric. I chose soft fabric, and different textures. Babies need soft, but I also like the idea of them having something to explore, and touching is what they do a lot of exploring through.
I then cut out all my blocks, and laid them in the design I drew out.
Start sewing the blocks together in each row. You can use whatever size seam, here I am using a 1/4 inch.
Sewing the blocks together, 1/4 inch seam.
Then you will have all your rows done.
Take the first row, lay it down with the right side of the fabric facing up. Then place the second row, right side of the fabric facing down, on top of the first row. If you need help remember which row is what you can look at your drawing, or simply pin numbers to them.
Start pinning the rows together by starting with the seams. If you do this, it will help line up all your blocks and the blocks will not look out of line.
Pin, pin, pin! When you are working with mink, pin, A LOT!
After you are done with the first two rows, you should have something like this! Off to the rest of the rows. Just simply add the 3rd row on top of the 2nd row, and sew. Then the 4th on top of the 3rd, sew; and so on and so forth, until you have the finished top.
Top is done!
Now on to the back. I cut my back fabric about 2 inches larger then the front, on all sizes.
I then traced all my letters onto a large piece of heat n bond paper. I then ironed the heat n bond paper to the pooh bear fabric. I carefully cut out each letter.
His name is cut out!
Then I slowly and carefully pulled off the heat n bond papers backing. Flannel has a tendency to fray easily, so I was careful while pulling the heat n bond backing off.
I then placed the letters on the back of the blanket piece, and set them where I liked. I played around with the letters, trying several different styles, but decided on an off set, to one side, style. I also stayed about 4 inches from the top and bottom.
I then pinned each letter into its place.
I then ironed the letters into their place. Make sure the back fabric (white) is ironed and flat. This will help prevent the letters from ironing down all bumpy and such.
I then used a zig-zag with a smaller stitch, notice my .6, thats the stitch from front to back. This is what I use to applique.
I then carefully applique my fabric done.
Once you have a few done, this is what it should somewhat look like.
Finished appliqueing the letters onto the back. Once I do this, I actually go back to the ironing board and give everything a nice press. This way when I start stacking the blanket I know its nice and flat.
Time to put it all together. I placed my back of my blanket with the right side down (facing away from me), and then added a layer of batting. In this case, because I am making a baby blanket and not a quilt I am using a batting that has a lot of volume to it. I cut the batting about the same size as my back fabric.
I then carefully place my front panel on top of the batting, right side facing up (towards the ceiling), and carefully place it in place where I like it.
I then get my pins out and pin, pin, pin. Did I mention you have mink so you pin, pin, pin!
I am working with mink, so in order to keep the mink and blanket top from slipping or moving on me while I quilt it, I am going to lay a zig-zag stitch around the edge of the 3 layers. I follow around the top panel and stay as close to the edge as possible.
You should have something like this.
Now that I don't have to worry about my edges moving or shifting, I now can quilt the blanket. You can do this however you want. I personally just wanted a simple clean design, so I quilted in the ditch. Which just means I followed the seams on the front panel and sewed along those lines.
This is what it looks like on the back once its quilted!
I then clean up all the extra material, cutting the back and batting down to the front panels size.
I then measure, and cut the correct amount of binding. I am using mink, but you can use anything you want. I wanted the edges to be soft and cuddly, so mink was my choice!
I then sew the binding together.
I then place my binding and begin sewing it on.
When you are done, you should have something like this:
Time to hand sew the back of the binding on. You can machine finish it, but I am again, working with mink, and wanted to keep the quilt simple. To hand sew this binding, it took me about 2 hours or so.
When I was finished, I was so happy and excited to see the finished product!
The back looks great, and I love how the name just blends in, it doesn't scream out.
It looks great, and I am so happy with the finished product.
Now, I wait and see if the mommy-to-be likes it (its my sister, so she better love it, J/K)!
Happy Blanket Making,
Sarah
Labels:
baby,
batting,
binding,
blanket,
crib,
crib blanket,
DIY,
flannel,
heat n bond,
mink,
nursery,
Pooh Bear,
sew,
Winnie the Pooh
Subscribe to:
Posts (Atom)