Pages

Showing posts with label bedding. Show all posts

Sunday, June 22, 2014

June Give Thanks, Week 3

June 15:
     Happy Father's Day to all the amazing fathers out there. Today is the day that we all thank our wonderful fathers; sadly I do not have one to thank. Instead I have an amazing, wonderful, inspiring, uplifting, supportive, and loving husband who takes care of our kids and does a damn good job at it, and that (or rather, who) I am thankful for.
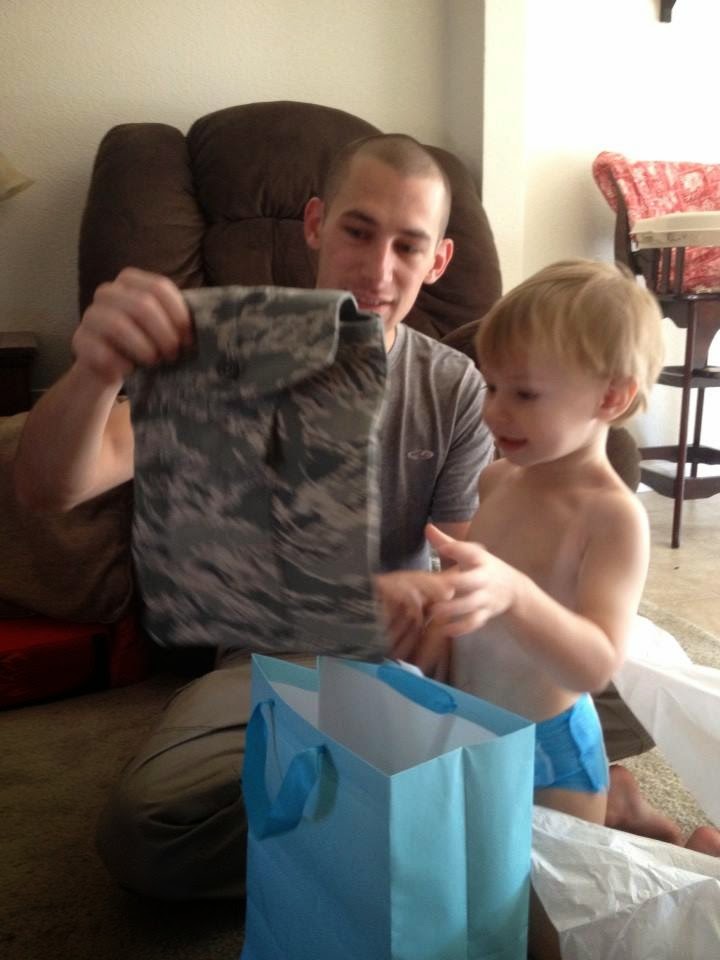
Opening his Father's Day gift I made.

Its an ipad mini case made from his uniforms.

June 16:
     I love when I have a chance to do a little sewing. Its my happy place. I am so excited and really thankful to have finished a door hanging project that has been in the works for awhile now. I finally finished it and was able to hang it up today!

Hanging on the front door.

The appliqued stars.

How I quilted the corners.

June 17:
     Weight loss has been a huge part of each and every day this year so far. I wanted to take a moment today to be thankful for each small and large weight loss. Even though some weeks I loose a few ounces and others I loose 5 pounds; we all need to remember that its just another step forward to a healthier goal and healthier life style. Work hard and enjoy the small (and large) victories!

Updated weight loss photo.

June 18:
     Started a new sewing project today, and of course its for our master bedroom decor. I can not wait to finish it. With that, I am so thankful to my husband for letting me go crazy and re-do our master bedroom bedding/decor. I can not wait to get the quilting tool I need to make our blanket!!! I am so thankful for these fun and wonderful projects!!!

June 19:
     I am so thankful that my oldest son loves to help me in the kitchen. He sees me starting to get the chocolate chip cookie dough items out and he asks/signs "help?" I love that he wants to crack the eggs, and pour the flour in. I am so glad he will have these fun memories of making cookies with us.

June 20:
      I am so lucky and thankful for my amazing neighbor. She has a daughter my sons age and they absolutely love to play together. I love how they just run each other out, and he always sleeps great after they hang out. I cant thank her enough for all the information she gives me about the community, parties, and local events. She is by far one of the best neighbors I have had, ever!

June 21:
     Thankful beyond thankful for being able to attend a new group today. Not only did my oldest get to play at a playground, but I was able to meet a few other moms, and snag a ring sling for our vacation! I can not wait to try the ring sling out and hopefully I end up loving it (as well as little man). So happy I finally am getting out into the community and exploring the world outside my house (don't judge, I am a hermit.)

Give Thanks,
Sarah

Monday, March 31, 2014

Crib Sheet Tutorial

I have made crib sheets before, but I haven't made a tutorial for it. So, now that I have had the chance to make two Winnie the Pooh themed crib sheets, I was able to make a photo tutorial.

You will need about two yards of fabric. You will also need about 70-80 inches of elastic.

1. Fold your fabric in half and then fold it in half the other way. Measure out the fabric so you have the following measurements and cut any extra material off.


2. You should now have a piece that looks like this.


3. Still with the fabric folded and all four pieces of fabric in one corner you will now need to cut out the square piece.


4. Using a square cutter, cut out an 8x8 inch square. Make sure you cut through all 4 layers of fabric.


5. Finished product should look like this.


6. Un-fold the fabric so you only have ONE corner in front of you.


7. Place the two corners, on top of each other, right sides together. (Place left hand on left side of fabric and the other on the right side of fabric. Take left hand over to the right hand. Line up the corners.)


8. Pin the pieces together.


9. Serge or sew the two pieces together.


10. Do the same thing to the other 3 corners, until you are done.


11. Fold the out side edge of the sheet inward towards the back/wrong side of the sheet. Make sure to fold slightly LARGER then your elastic. I believe mine is 1/4in and sew I folded 1/2 inch.


12. Use your iron and press your seam.


13. Start sewing your seam down, remember how larger your elastic is and sew accordingly. Mine was 1/4in, and my fold was 1/2in, so I sewed about 1/8 of an inch from the edge all the way around.


14. Try to line up seam from the corner as you go.


15. Leave about a two inch opening in your hem to slide your elastic into.


16. Take a safety pin and pin it to one end of the elastic.


17. Push the pin into the opening, and wiggle it down and around the entire sheet.


... just keep scrunching up the fabric using the pin the push through.


18. Once you are back at the beginning pull the pin and elastic out.


19. Take your pin off, and place the two pieces of elastic together.


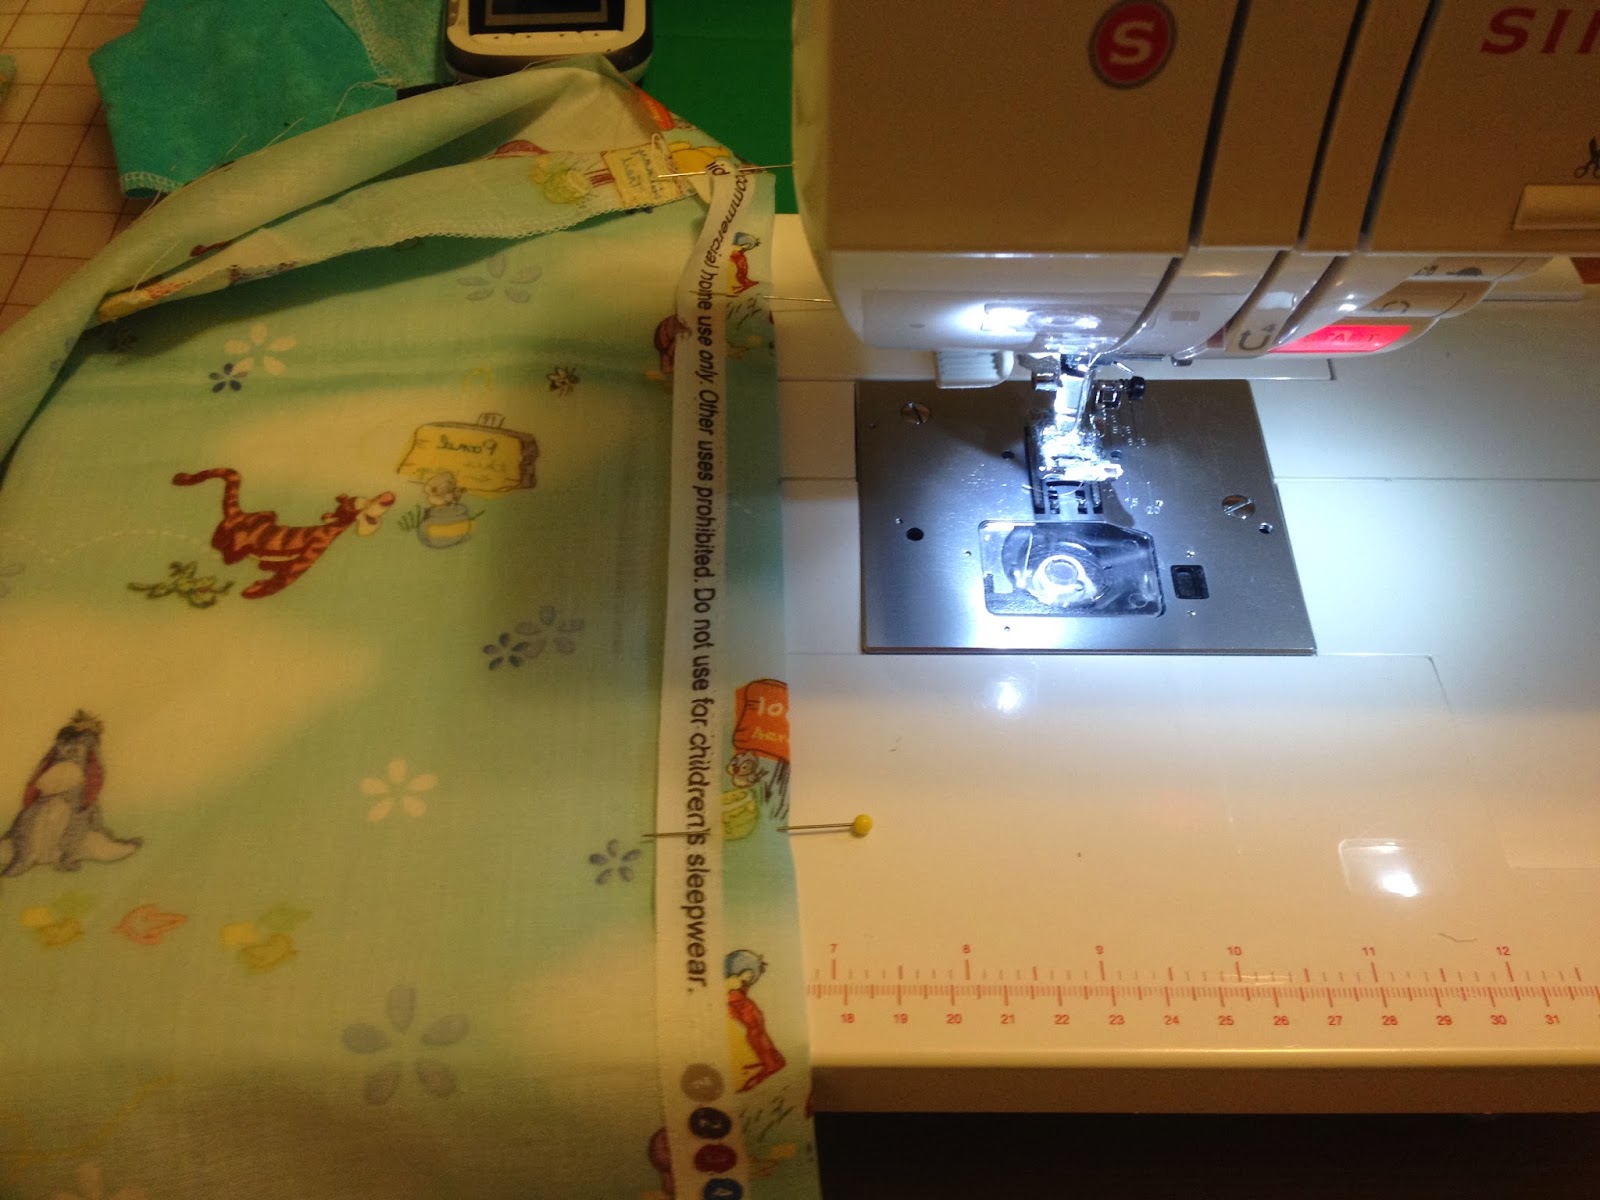
20. Pull enough of the elastic out and away from the sheet as possible, and run it under the sewing machine using several back and forth stitches with your zig zag stitch,


21. Slide the elastic back into the sheet, pull the sheet tight, and get the open hole as flat as possible.


22. Stitch the hole up with a simple straight stitch. I like to back stitch a few times at the beginning and end to ensure it holds.


23. You are now done!


Enjoy Your Sheet,
Sarah