Pages

Showing posts with label chocolate. Show all posts

Sunday, August 3, 2014

Easter 2014

I know, I am soooo behind on this post, but what better time then now.... I can't wait until next year, right? Alright, so with that lets see if I can bring back some of these memories from Easter (I know it was only a few months ago, but I do have two kids).

The community center on base was offering some fun free activities, and for us military; free is our life! We headed over early in the day, and began by making some picture frames with the kids.


This was his finished picture frame.
 They even had a bunny on hand, to take photos with; or in our case, traumatize our oldest son some more.


Once we calmed him down, we let him run crazy and do his first Easter egg hunt. He loved that!!!


They even had some giveaways, so the kids played while we waited to see if we won anything... uh, nope!


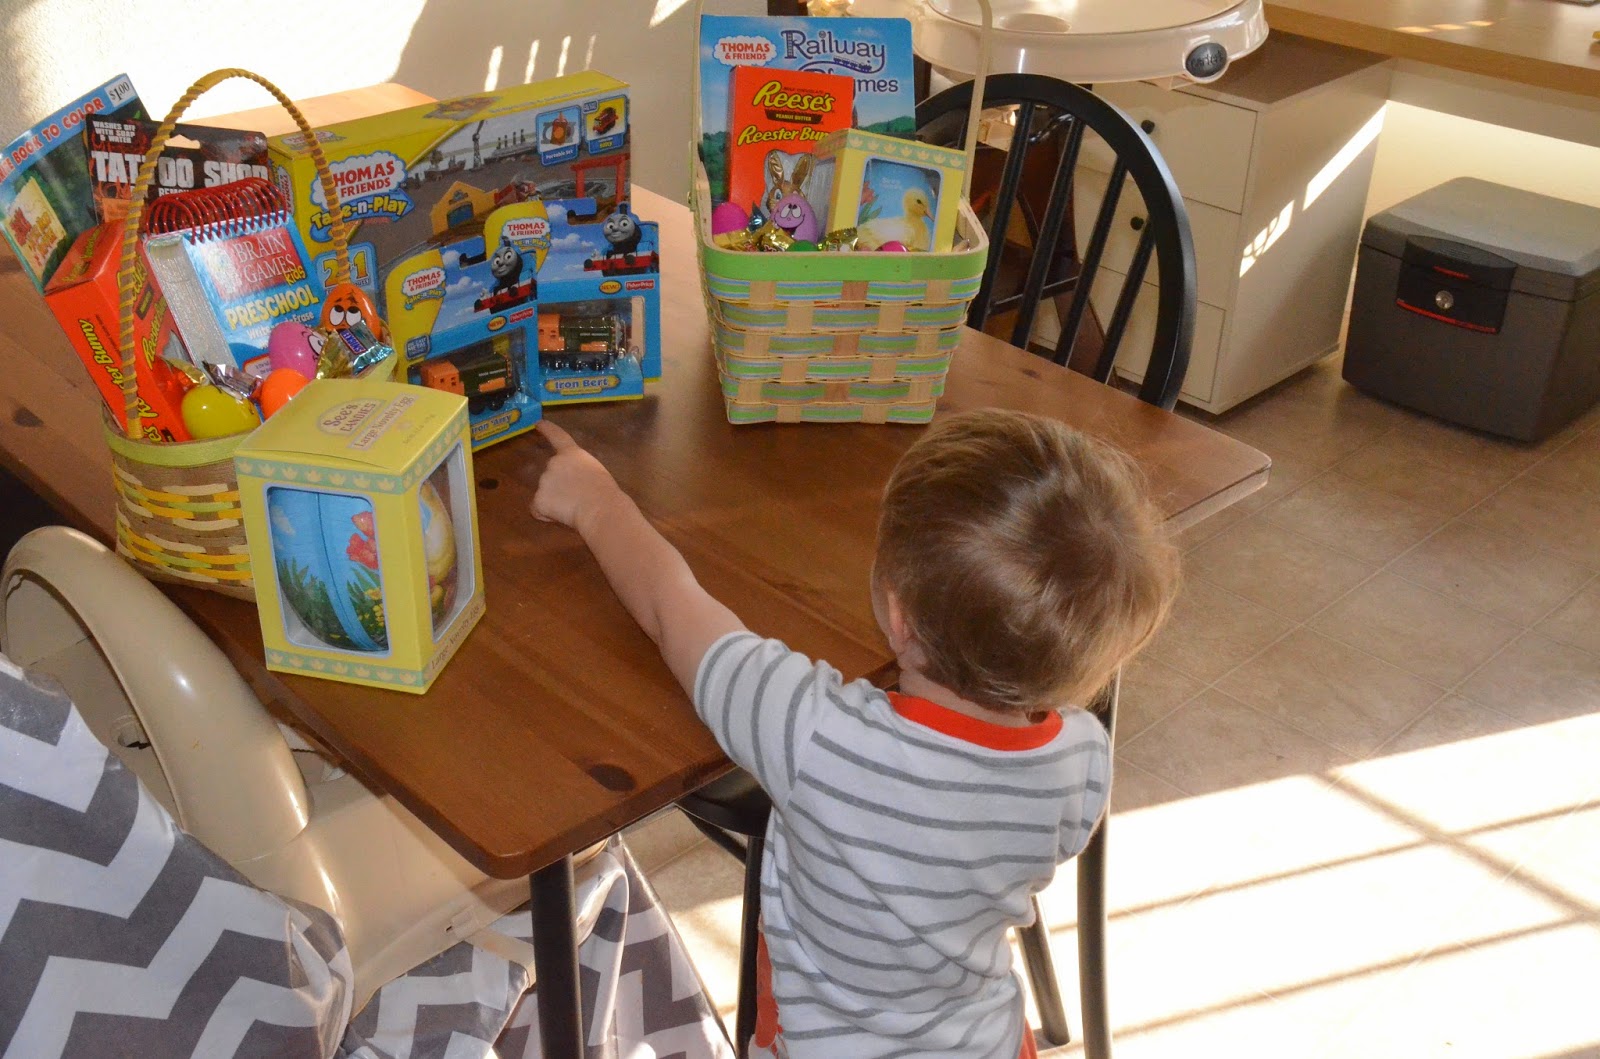
We had baskets ready for the kids to open the next morning, and boy did they love them. I always think that you should go all out for each holiday, but I find that they really don't NEED more toys, or more candy. So, instead we did very little candy and one gift. In the end I am glad we did, because our family ended up sending them stuff as well.


When the kids finally were awake, they couldn't believe their eyes, which made us happy to see them so excited.


Our oldest loved the Easter egg hunt, that we thought we should let him run around our yard and gather some more. Boy did he go crazy!!


Taking a moment to enjoy his goodies.
 It was a great Easter this year, and it was an amazing 1st Easter for our youngest. I hope each year is just as amazing, fun, and full of excitement. 

Happy Late Easter,
Sarah


Sunday, February 3, 2013

Cake Decorating!

My all time favorite craft to do is cake decorating! I use to teach the Wilton classes at our last base, and I loved every minute of it. My students were all so creative, exciting, and inspiring! I enjoyed helping them grow as a student, and I even helped some start their own small business! 

I had a cake order the other day and I wanted to put together a tutorial on how to crumb coat and icing a cake. In this tutorial I am icing a rectangular cake (or sheet cake) which has two layers (not tiers) of cake. You can do this with multiple layers of cake, or just one. 


Step 1:
First place your cake on the cake board, and center it. You can even put a little icing under the cake to keep it from sliding around. Then place a HUGE pile of icing in the center of the cake.


 Step 2:
Spread the icing over the entire top of the cake, pushing the icing slightly off the edge of the cake. Make sure the icing is even.


 Step 3:
Place the next layer of cake on top of the first layer. Center the cake over the bottom layer. Place another large pile of icing in the center of the cake.


Step 4:
Push the icing over the top edge of the cake, as you ice the top. Slowly use that icing to cover the sides of the cake. When covering the cake use a thin amount of icing. Make sure you fill in any holes or open gaps between the two cakes.
Step 5: 
Let crumb coat sit for about 5 minutes or until slightly firm.


Step 6:
Place another large pile of icing in the center of the cake. Begin to spread the icing over the top of the cake and slightly off the top edges.


Step 7:
 Using a thick amount of icing (on your spatula) place it on the sides of your cake and work around the cake sides. Note: I work from top to bottom, this helps because I use the icing thats hanging off the top edge to keep a clean flow with the side icing. 
Continue icing with a thick amount around the base of the cake.


 Step 8:
Continue to work all sides and top until smooth. Take a napkin or paper towel and remove any extra icing around the base of the cake (on the cake board.) Let your icing sit for about 5 minutes.


Step 9:
Use a VIVA paper towel (dry) to smooth the cake. Place the towel on the slightly firm icing and LIGHTLY place our hand on the towel and rub back and forth. Remove the towel slowly and move to the next spot. Continue this until the entire cake has been smoothed!


Step 10: 
Decorate your cake as you please!
(I have done this cake twice, yes I know!)


I hope you enjoy this tutorial and feel free to leave a comment if you have any questions! Also, feel free to check out my other cake creations at my website or facebook page!

Ill be back soon with even more crafts and baking tutorials, ideas, and inspiration!

Sarah