Pages

Showing posts with label baby quilt. Show all posts

Saturday, November 22, 2014

Give Thanks November, Week 3

Nov. 15:
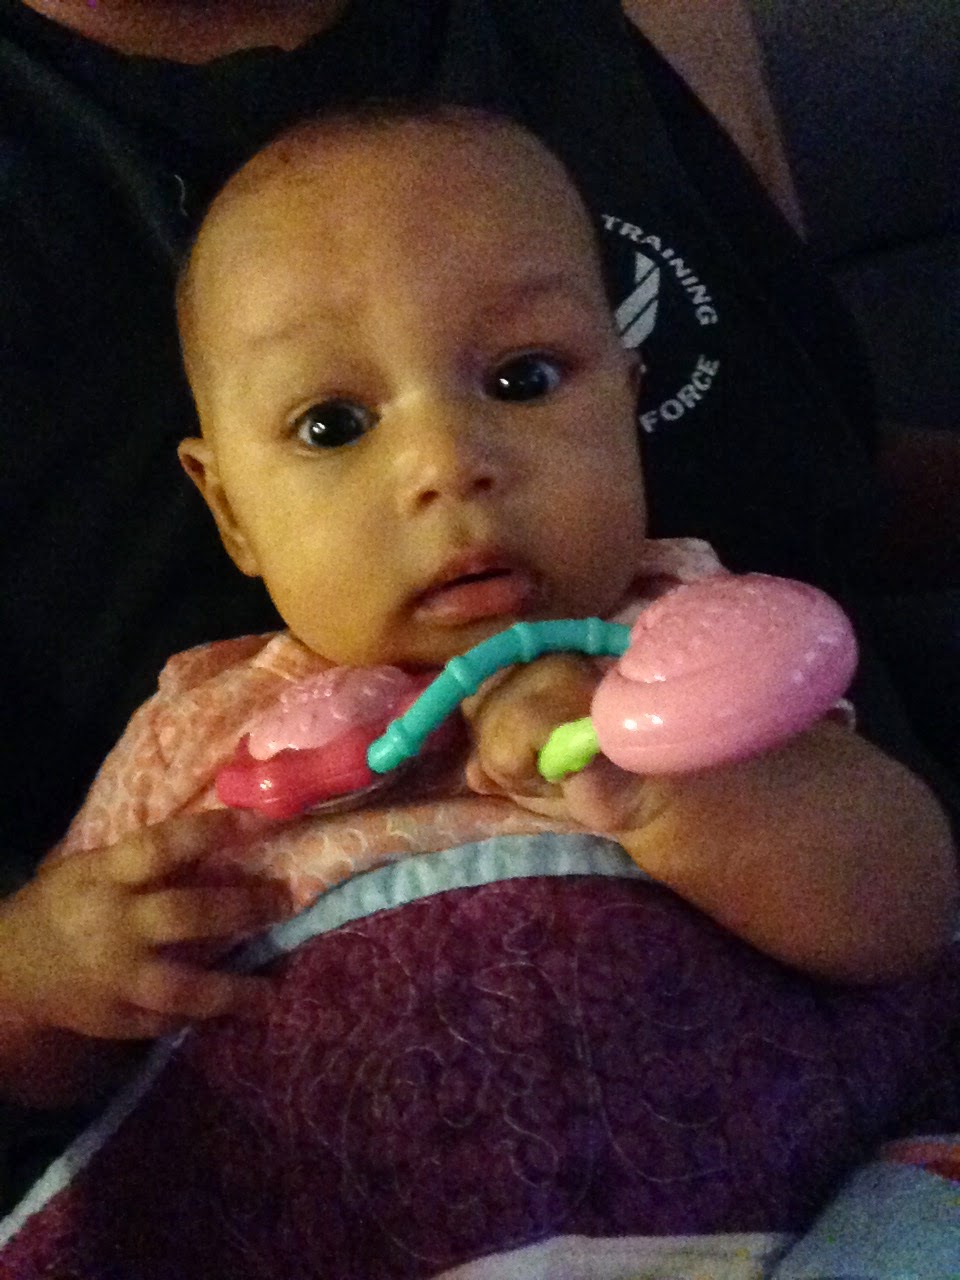
      Thankful that the baby quilt is finished! Now that adorable baby can enjoy the warmth of this quilt.


Nov 16:
      Thankful today that I made it safely to southern California. Thankful to have helping hands, friendly faces, and a warm bed to sleep!


Nov. 17:
      Today is my husbands birthday! I am thankful to have him in my life, be the father to our two boys, be the most understanding person I know, and still stays strong and energetic each and every day! I love you babe, happy birthday!


Nov. 18:
     Thankful that I was able to see my nephew and my sister, as well as my mother so far, while on this vacation! So far, so good!


Nov. 19:
     I am always up for a new experience and to see new things. My mother-in-law took my sister, mother and myself to a quilt art show. Yes a quilt art show. Thankful that I was able to see what I love to do in an art form, it was a wonderful experience!


Nov. 20:
      Thankful that my son is not seriously ill or injured. A night at the ER and some antibiotics later, he has strep, but so thankful its not anything extremely dangerous.

trying to sleep while in the waiting room at the ER


Nov. 21:
     After the last few days with a very sick kiddo, I am thankful for a few short minutes to do some sewing and quilting. Yay for some alone time.


Give Thanks,
Sarah

Saturday, November 15, 2014

Give Thanks November, Week 2

Nov. 8:
      Thankful that I could have such amazing clients to make items for. I am enjoying all the new and unique items I get to make.


Nov 9:
     Thankful for the random lady at the pond that came down and gave our boys several loafs of bread to feed the ducks. They were so happy, and it really just goes to show what wonderful people are still in the world.


Nov. 10:
     Thankful for the simple crafty mind that I was blessed with; it makes making paper piecing patterns extremely easy.


Nov. 11:
     Thankful for a slow day with lots of cuddles from the neighbors dog (who we are babysitting for a month). She really makes me feel appreciated, and loved.


Nov. 12:
      Excited and thankful that I found a fabric swapping group! I can't wait to send out the first batch, and receive fabric too.


Nov. 13:
     SOOOOOOO Thankful that I am NOT a thanksgiving/black Friday shopper. If we shop on Thanksgiving, thats tons of families and family members who wont be able to enjoy the time with each other. Thankful to those who boycott Thanksgiving day shopping.


Nov. 14:
      Excited and thankful to have the chance to make a mom-to-be, a special baby quilt for their new bundle of joy. I really hope she likes it, and tonight I will finish up the binding so that it is ready to be delivered.


Give Thanks,
Sarah

Monday, November 3, 2014

A Quilt for a Special Baby Girl

While stationed in New Mexico, we made some wonderful friends. Right after we PCSed to California we found out they were pregnant, and shortly after heard they were having a GIRL!!

I have been so busy with my own life, I never stopped to ask how she was doing. I randomly sent her a text, only to find out she had given birth to her wonderful adorable baby girl. I was just so in awww of her, and her precious little hands. She really looks like her mommy.

I then, instantly began working on a quilt for that adorable little one. I picked out the girliest fabric and colors I had in my stash. I loved the idea of using the purples and pinks, with a soft yellow and soft blue.


I decided on these fabrics, and little by little pulled some or replaced others.


I did a bunch of HST (half square triengles), and started my process of putting them into a pattern...


Did some random sewing.... to help with ideas...


I then fell apon this star like design, and just fell in love with it.


I laid it out, and tried a few different styles of it...


I then picked this one:


...and sewed it all together....


I placed a white boarder around it, and felt it needed more.


So using, the purple fabric, I added an even larger boarder and that was it, I knew this was a finished, adorable perfect top.


I had some wonderful pink mink, and used some left over scraps to create a unique backing. I don't do simple for the people I love.


Time to quilt...


Finishing up the light blue, beautiful binding.


All done, and I am in love with it. I just wanted that little baby girl to have something extra special, just for her.


Front with back.


The FMQ (free motion quilting) I did. Not as bad as I thought it would be.


Back detail.


Had to add the label.


I also hand made her card, and really loved how the colors matched.


All in all, I received a wonderful photo and text saying they had received the quilt, and loved it! I am glad that little princess can cuddle up in it, and hopefully she keeps it for years to come.


It Was A Blessing To Make It,
Sarah

Sunday, April 13, 2014

Baby Quilt

I have tons of random fat quarter bundles, jelly rolls, and layered cakes. I get them when I see them on sale, or when I have a coupon, or if I am super lucky I get them from family or friends for free. This one I believe someone gave me. I have had it for years, I think. I know a mommy-to-be and wanted to make something personal for her and her soon to be born son. I came up with the design by taking a few different quilt ideas online and combining them. This bundle was 7 fat quarters. Two were the exact same fat quarter, so I really had a half a yard of one and 5 other fat quarters.

I wanted to do strips, but the size I wanted to do, I couldn't do with the fat quarters. So instead, I did a few strips (pieced together), a few blocks (quick), and a few small different direction strips/bigger blocks. Its a baby crib size, so when it was all done it was about 30 x 50.

I started by drawing out what I wanted to do with the fabric. Making measurement marks on the paper; what they needed to be cut at and what they would (hopefully) be when I was done sewing them together. I always measure, cut, or sew something wrong; so I tend to add an inch or half inch here and there for safety.

Once I have the design on paper, I cut. I began by cutting the longest pieces and widest pieces, then I move on to the smaller pieces. If I don't have enough of one material, I use a different one. I then use my design wall to move items around and change the design if needed. Which I had to do, as I did not have enough of one material, so I made two long blocks instead of one.

This is the design on my wall. You can see nothing is sewn together.
 Once I move the pieces around and decide on a top that I love or like, I then begin to sew. With this one I went in sections. The bottom section, middle section, and top section. The three long strips in the middle is the middle section. The top and bottom section are above and below those. Does that help?

Moving on, I then piece the long blocks, to the small blocks. Then sew the three long strips together, and then add it to the bottom section.

Bottom and middle section done.
I move onto the top section. Finished that, trimmed everything up and made it as rectangular as I could.
Top is done.
I then decided on a dark blue for the back, in flannel. I wanted it to be soft, but I am also working on a budget. I had navy blue flannel on hand and it actually looks great with the other fabrics. I then cut the blue flannel about an inch larger then the top on all sides. I did the same with the batting as well. I layered all three on top of each other, and then pinned it down with safety pins. Lots of safety pins.

Pinned and ready to quilt.
Once I decided I wanted to hand quilt this baby blanket and not machine quilt it, I then grabbed 3 different embroidery floss colors. Each color matched the quilt. One was a light yellow, baby pastel blue, and a white. I then stitched just a simple straight stitch around blocks, and straight across the quilt.

The top, hand quilted up close.

The back, hand quilted up close.
I then used the same color for the binding as I did the back. This helped pull the back color to the front and tie everything together. The finished baby quilt was better then I had in mind. I was unsure of the quilt in the beginning, but after I put the finished touches on it, I love it!

Folded up and showing off the hand quilted and hand stitched binding!

I love the back. The hand sewn quilting is just so much fun.

The front fabrics with the back fabric.

The completed front of the quilt.
This by far has been one of the fastest quilts I have done in awhile, on top of that, I hand quilted it! Its so exciting. I can't tell you how thrilled, energized, and excited I am that I hand quilted something. Its like a drug for me right now. I am still excited about this project.

Happy Hand Quilting,
Sarah